A design example with Tanuki - deadwood preparation

A design example with Tanuki – deadwood preparation Our main radius of action lies in southern Hungary. We are very fortunate to be able to find numerous two to three hundred year old ancient cherry trees there that have reached heights of two to three meters. These particularly beautiful tree sculptures can rightly call themselves natural monuments.

Categories

Growing methods

Tags

Nursery
Instructions

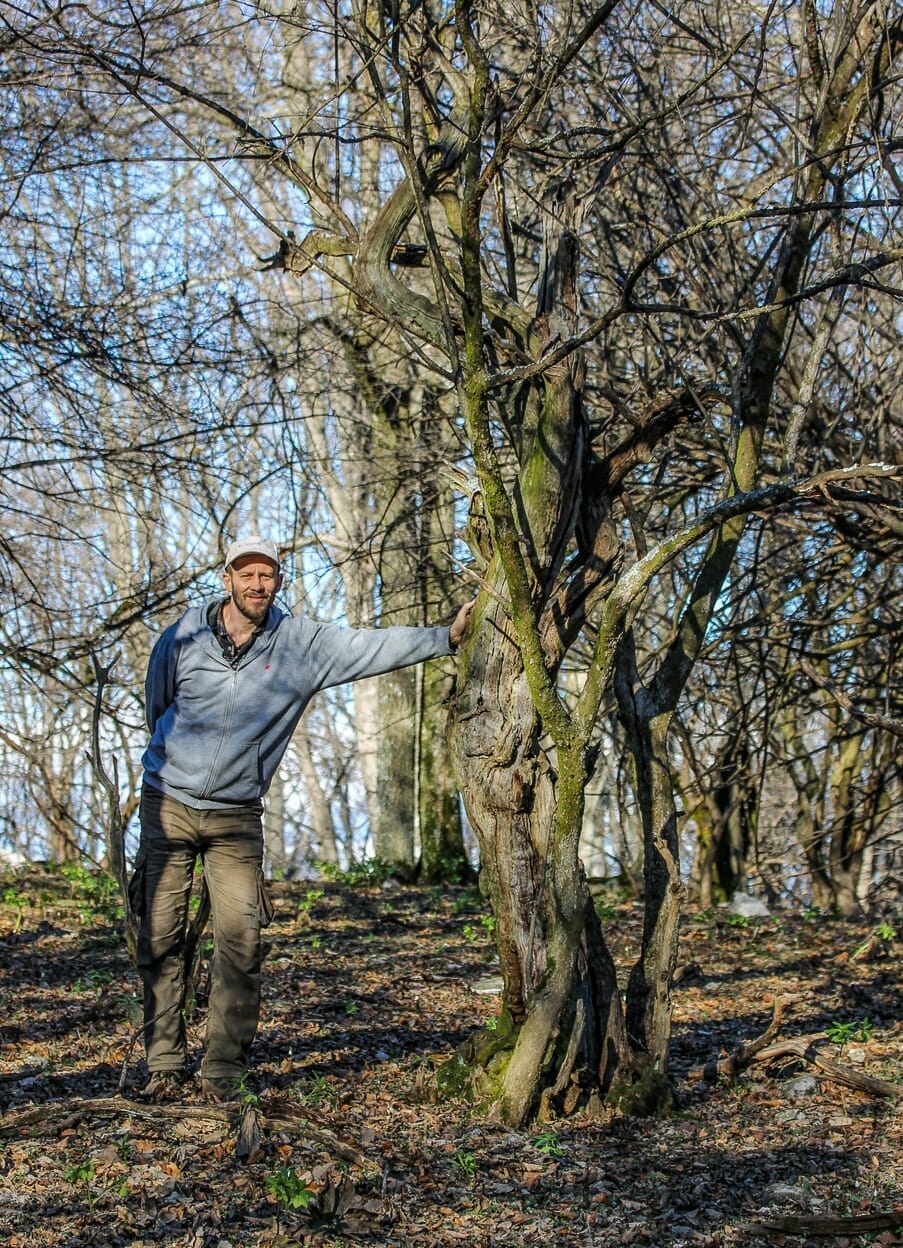
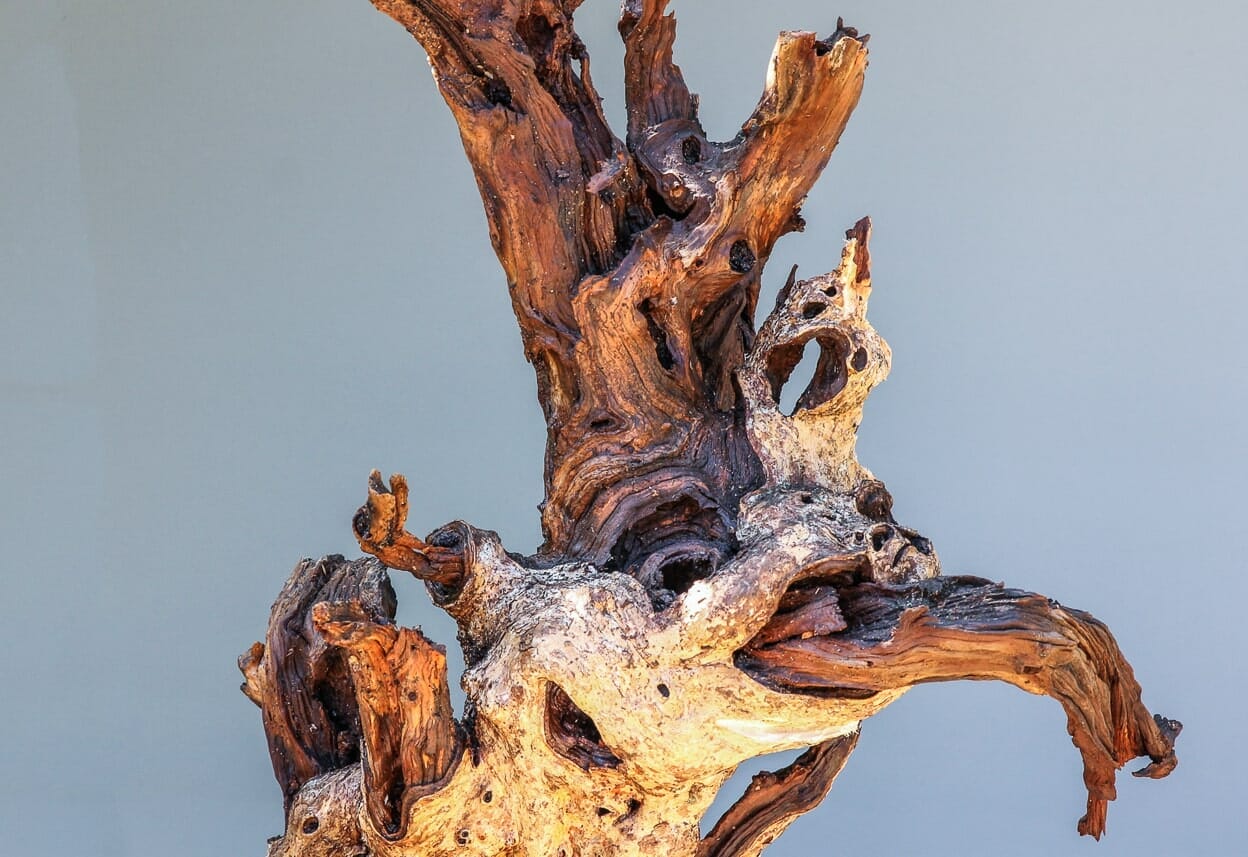
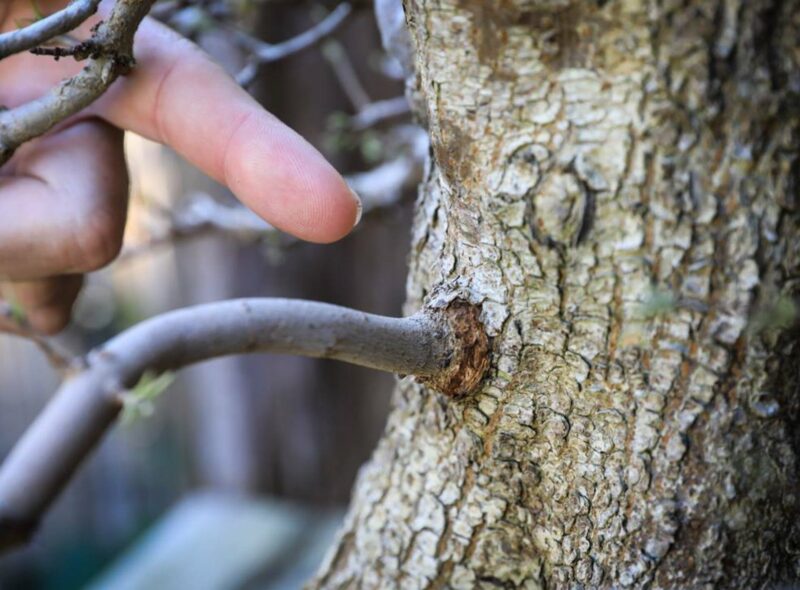
They usually have only a few living branches or are already completely dead. The dead branches are regularly removed by forestry workers, leaving plenty of dead wood that we can use for tanuki designs. The wood of the cornelian cherry is particularly thickened, grows very slowly and is therefore remarkably hard in its structure.
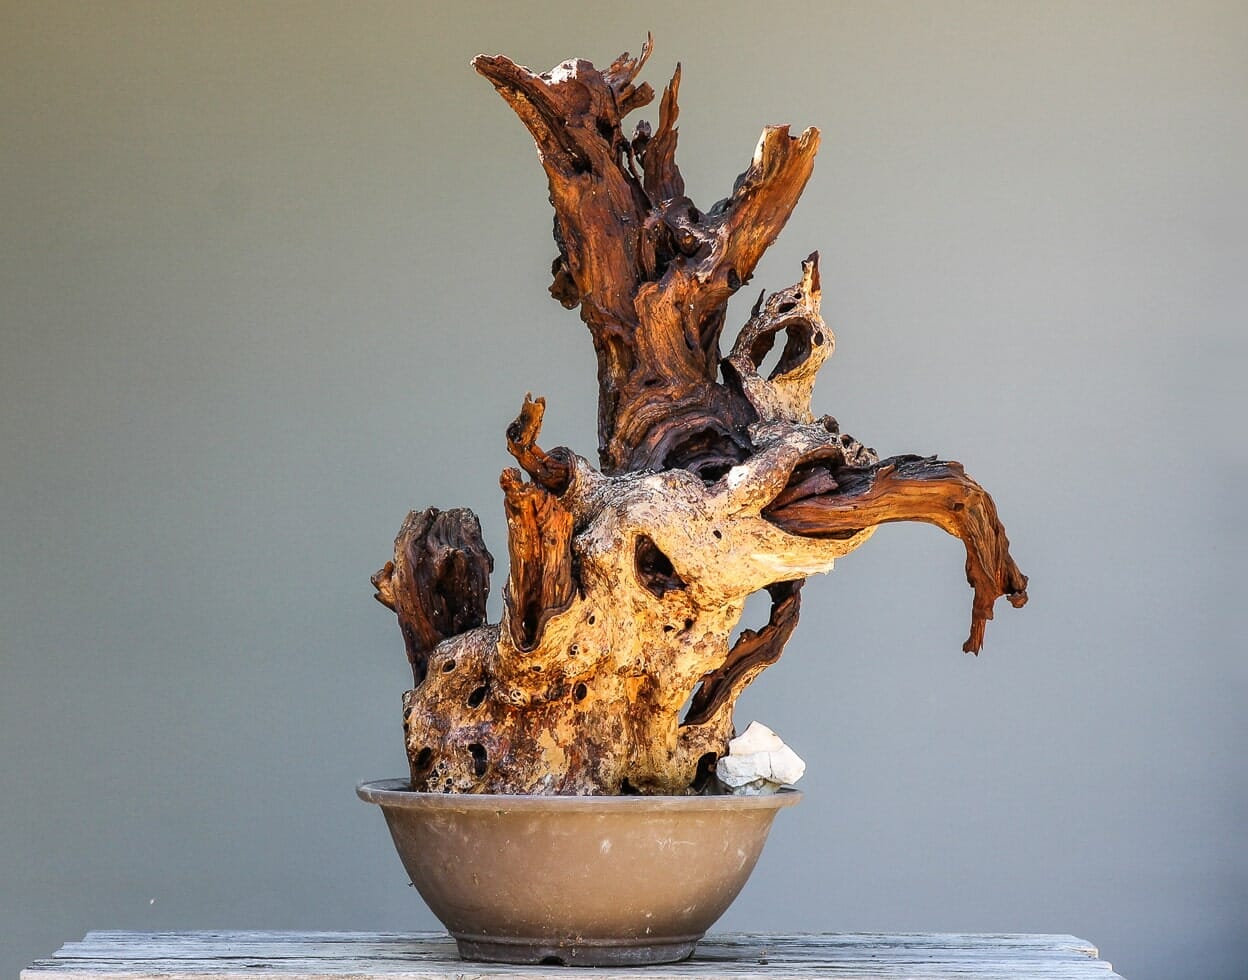
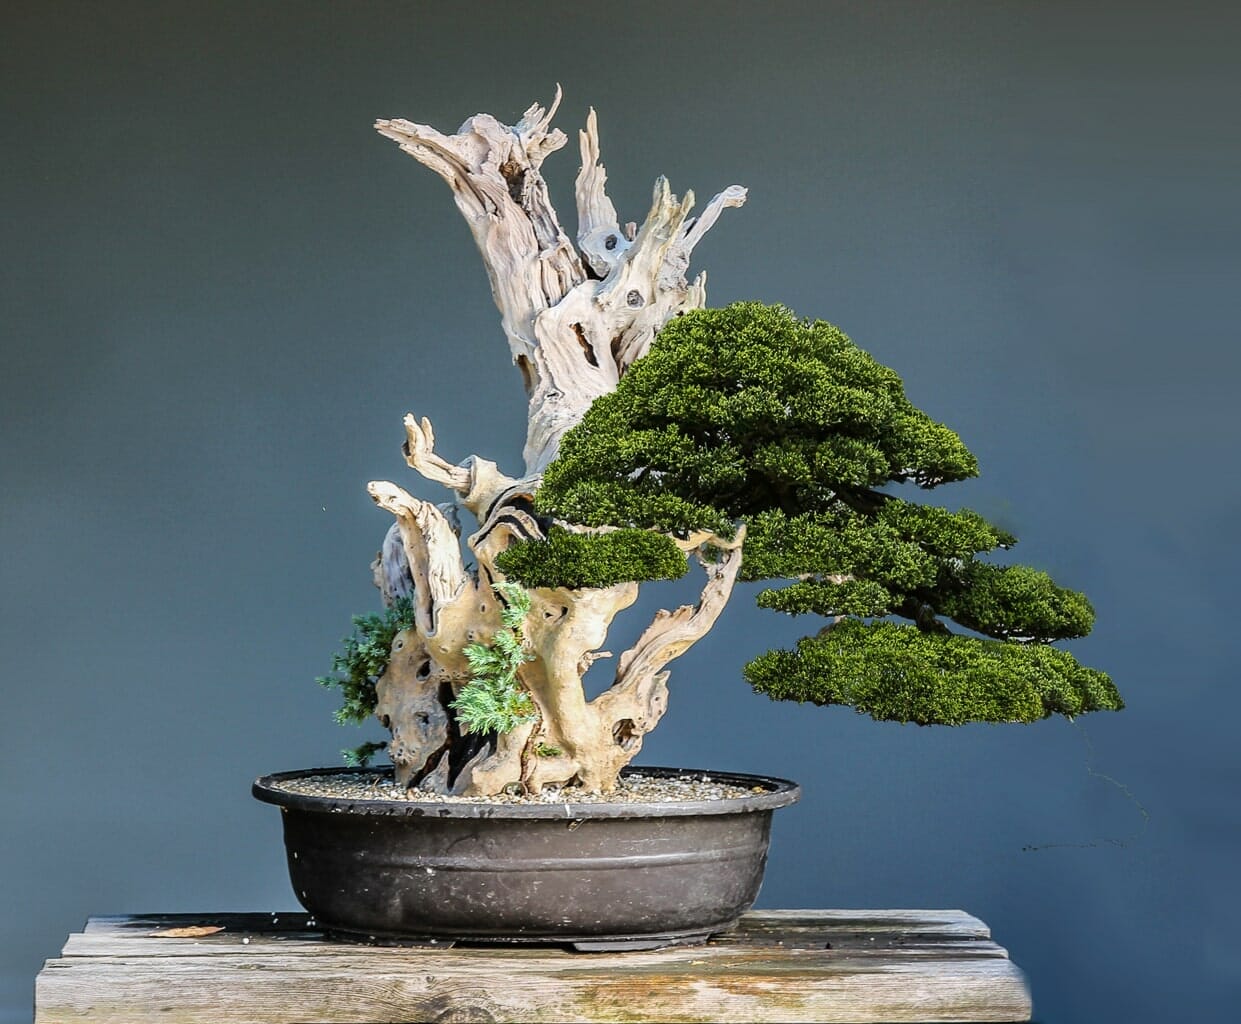
 We have planted several such tanuki trees as bonsai in pots. The oldest specimens have now been in the ground for around 15 years and show no signs of rotting. Due to the slow growth, injuries to the wood form interesting grain patterns. Such ideal deadwood for a bonsai may well be 100 years old or more. 
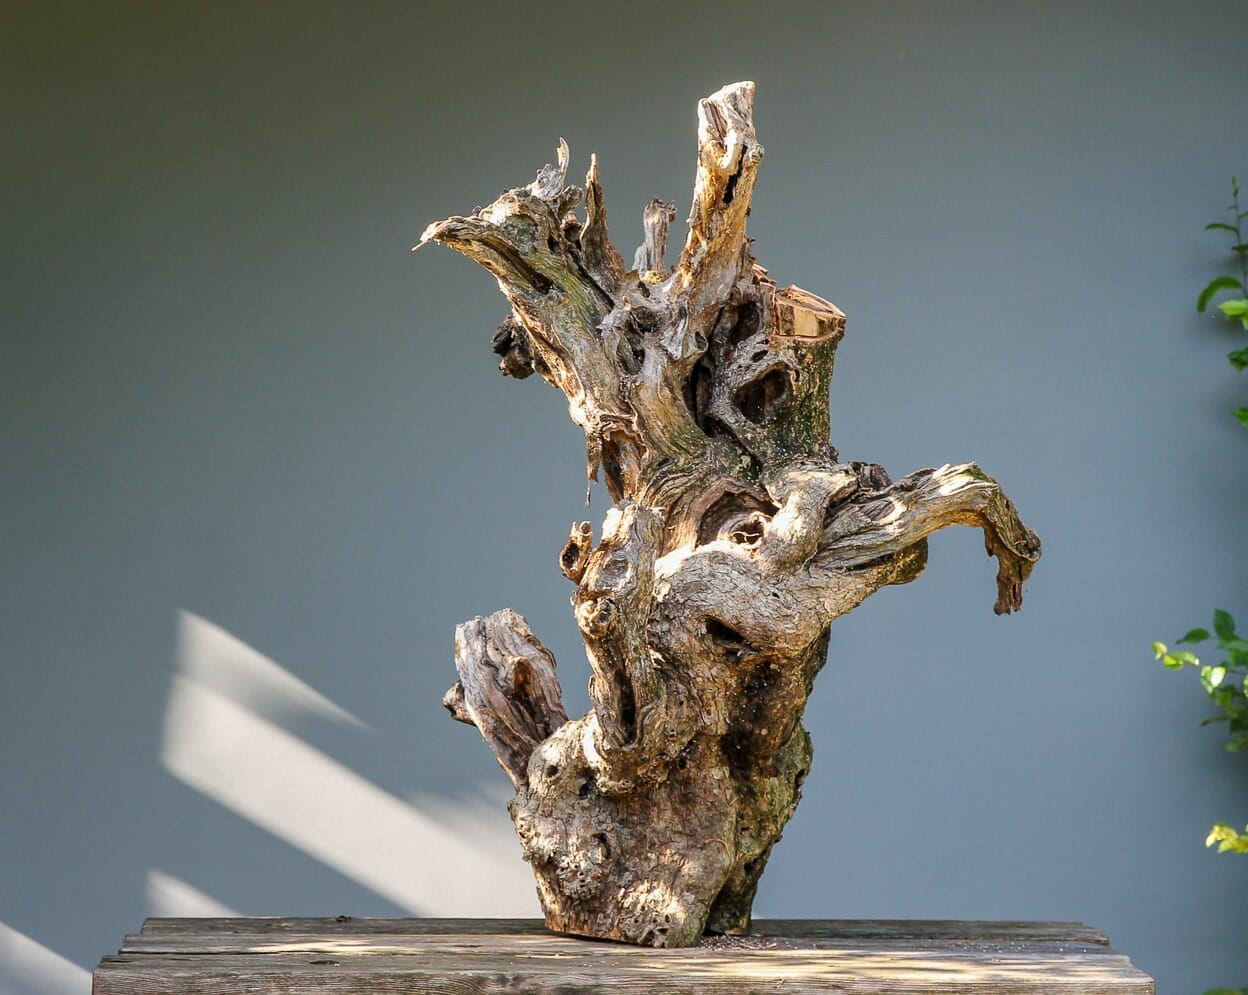
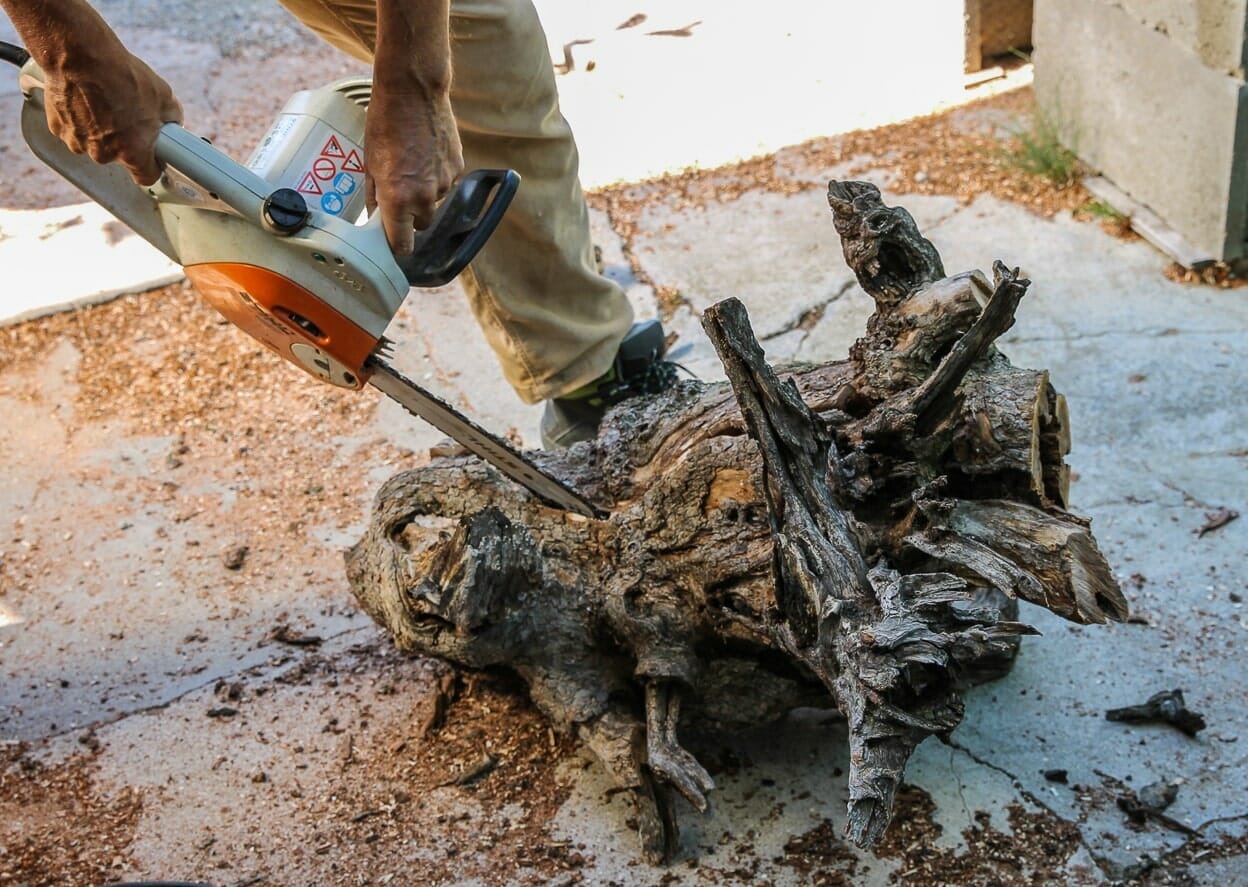
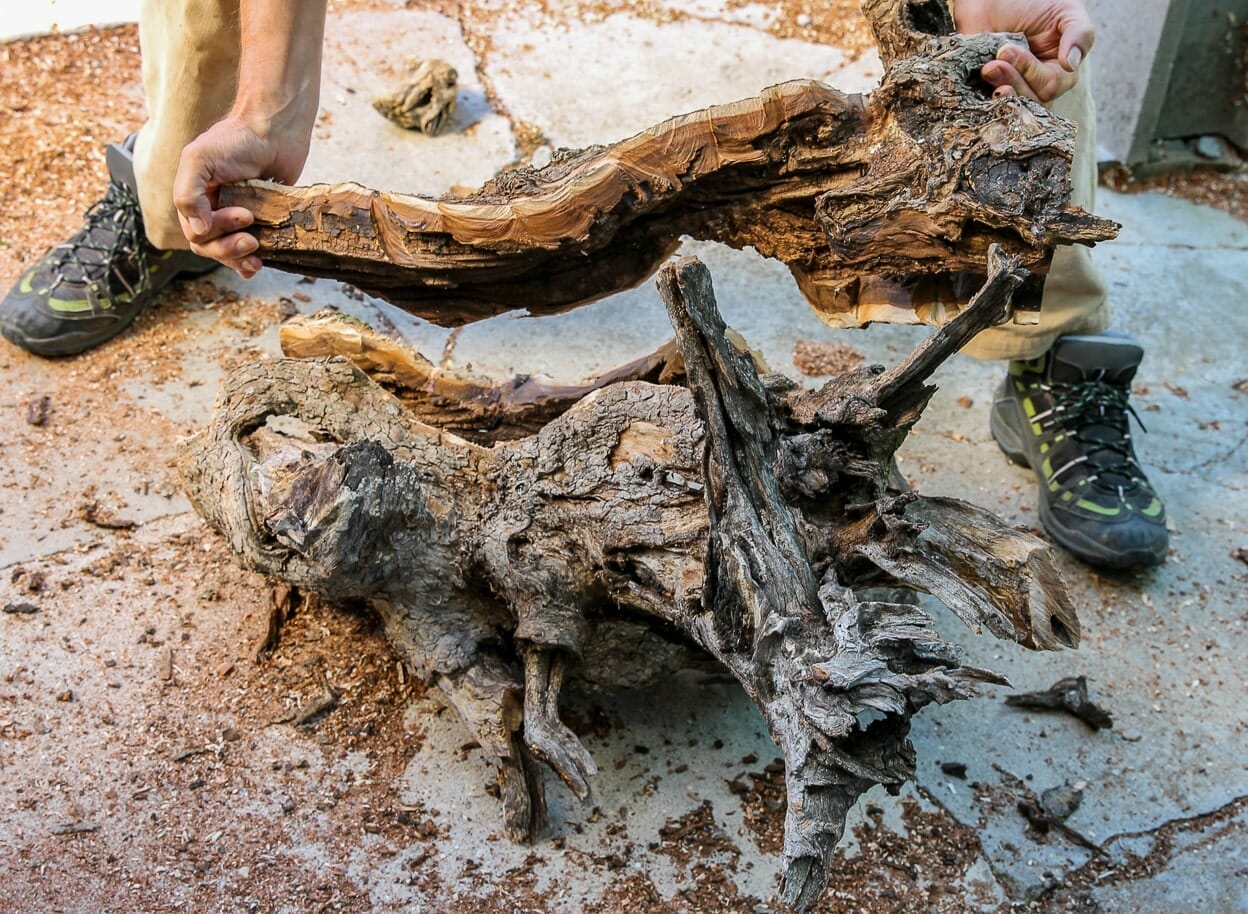
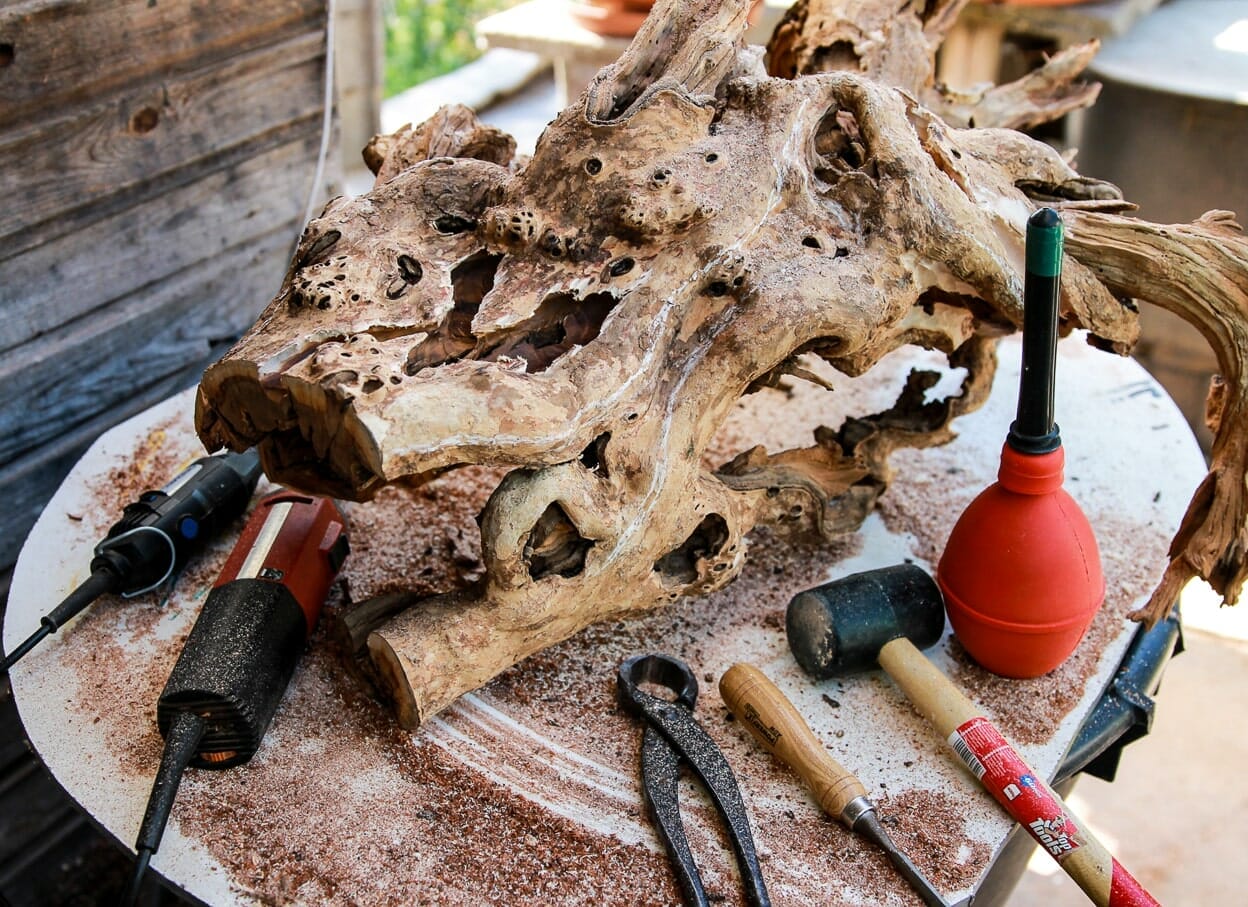
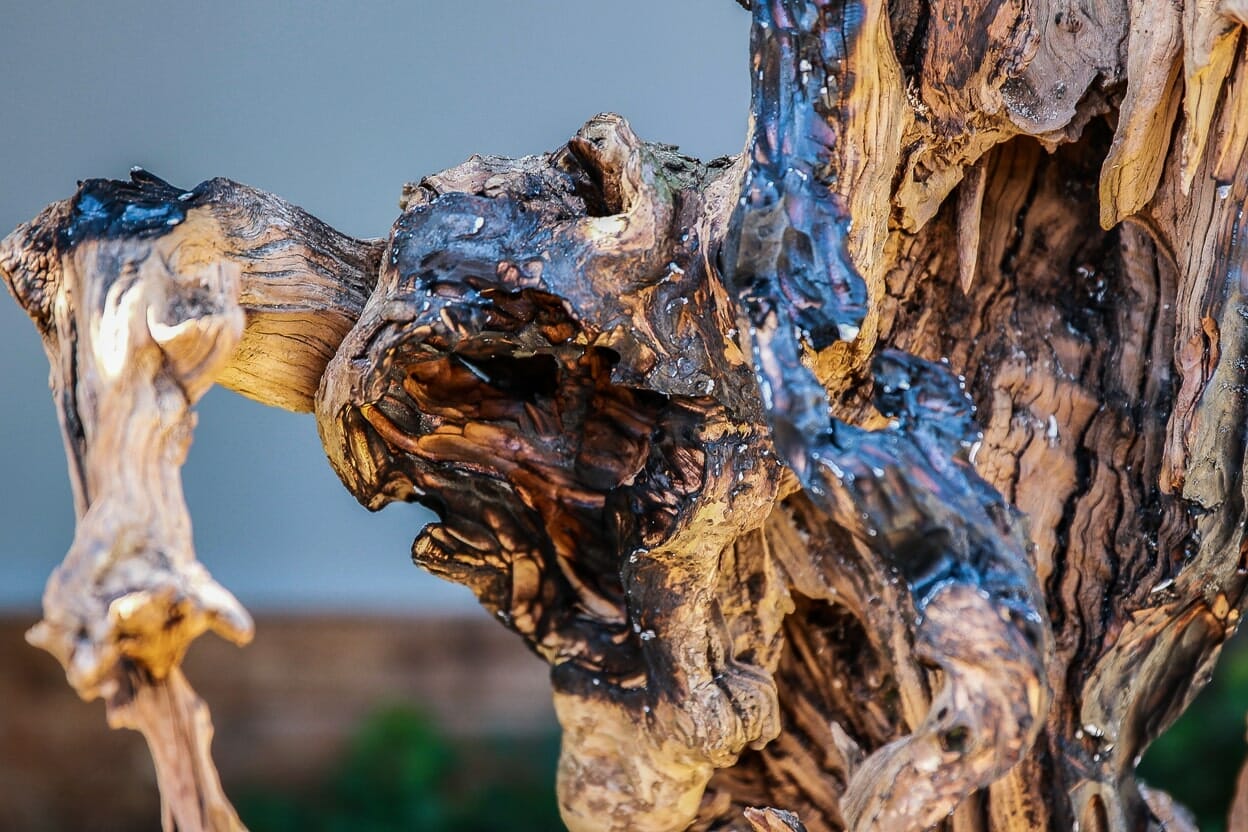
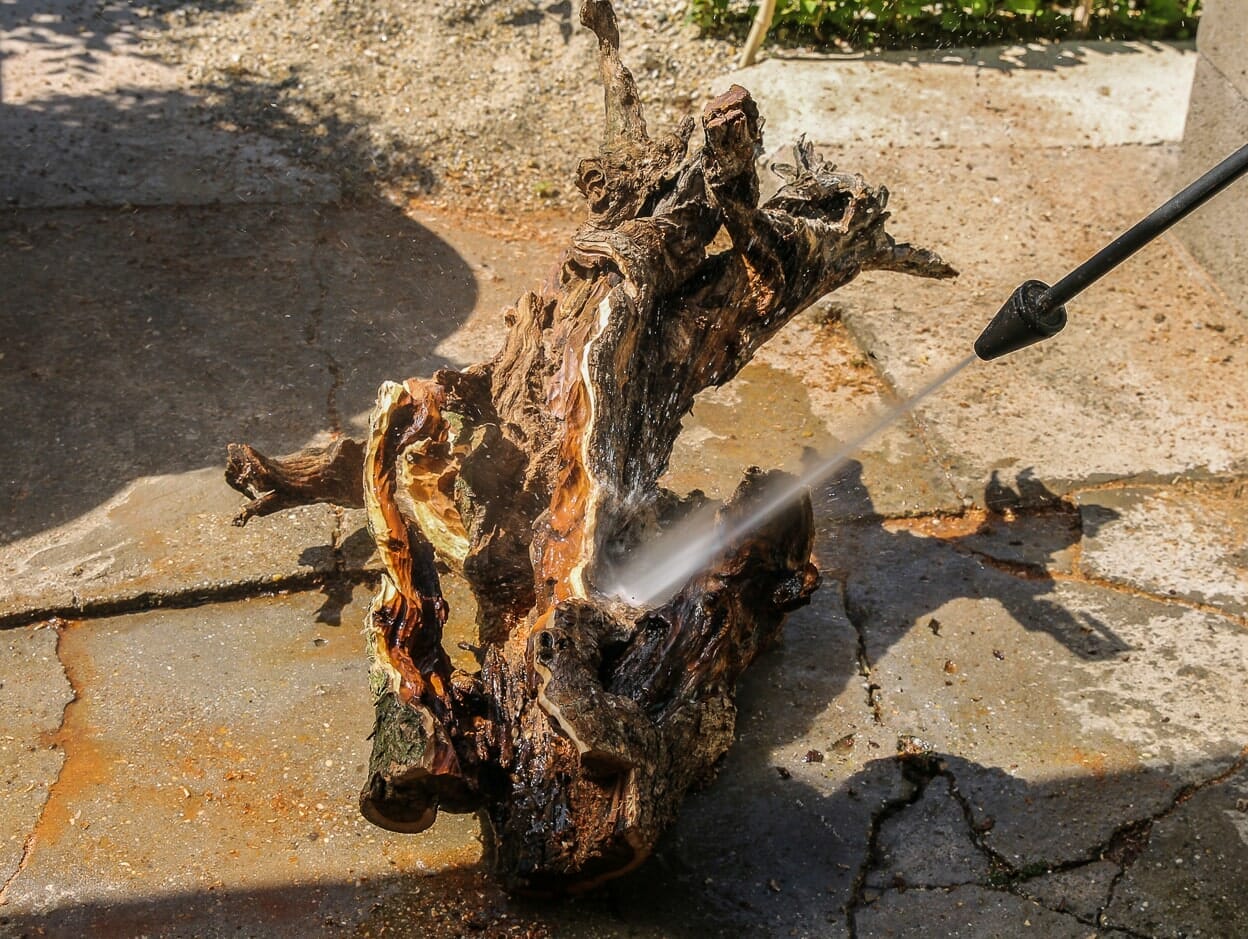
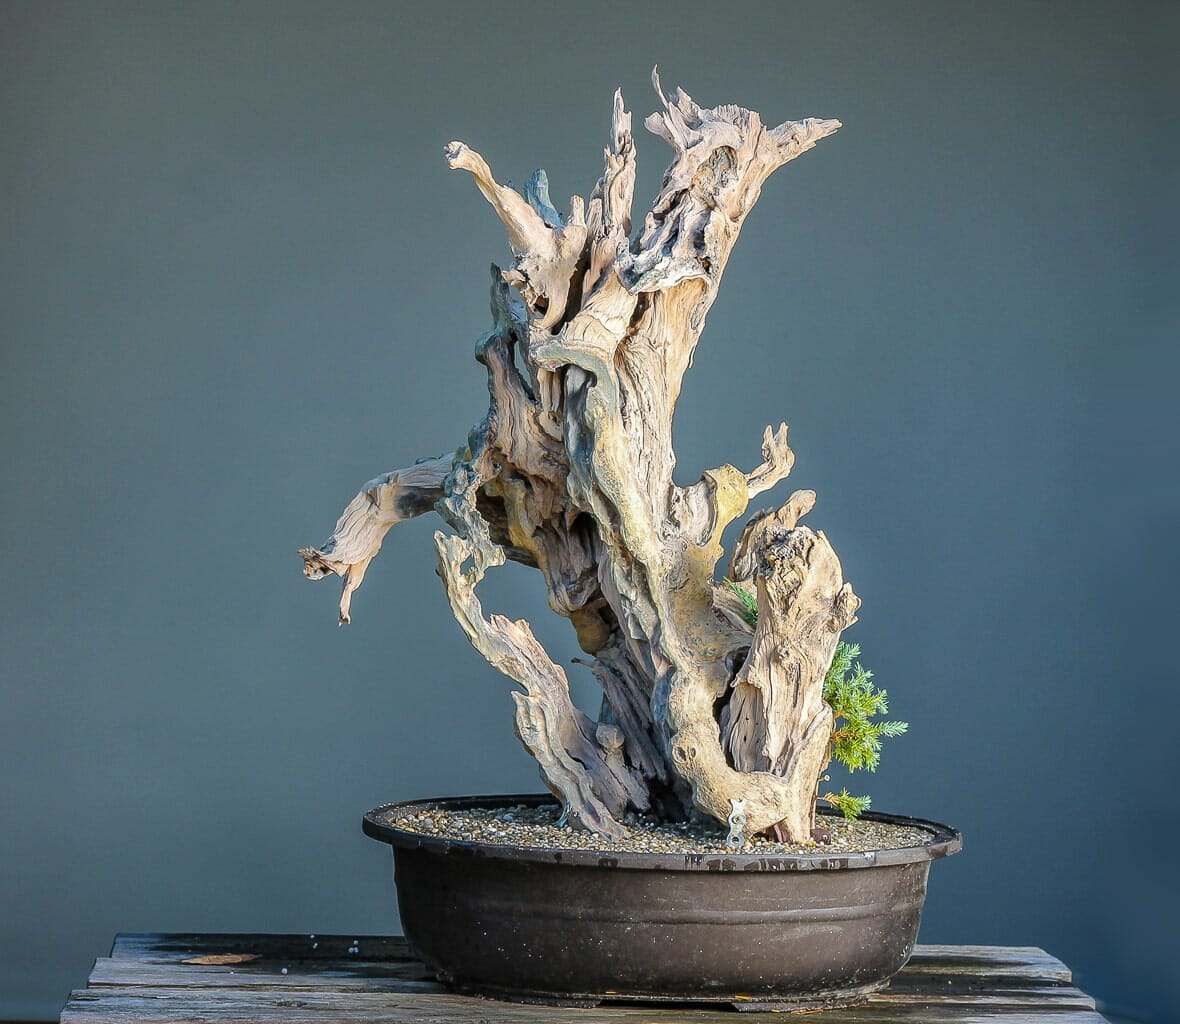
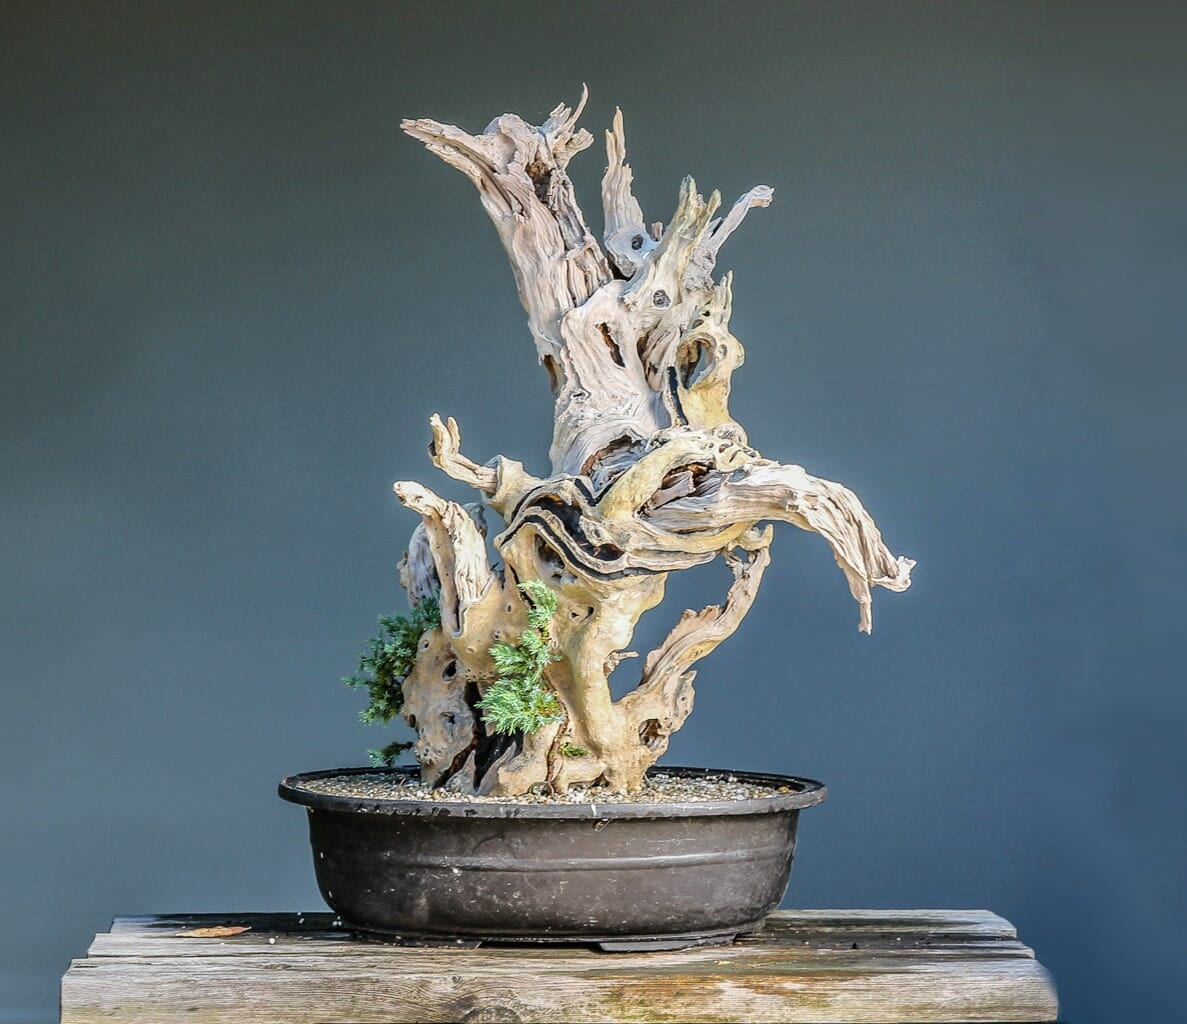
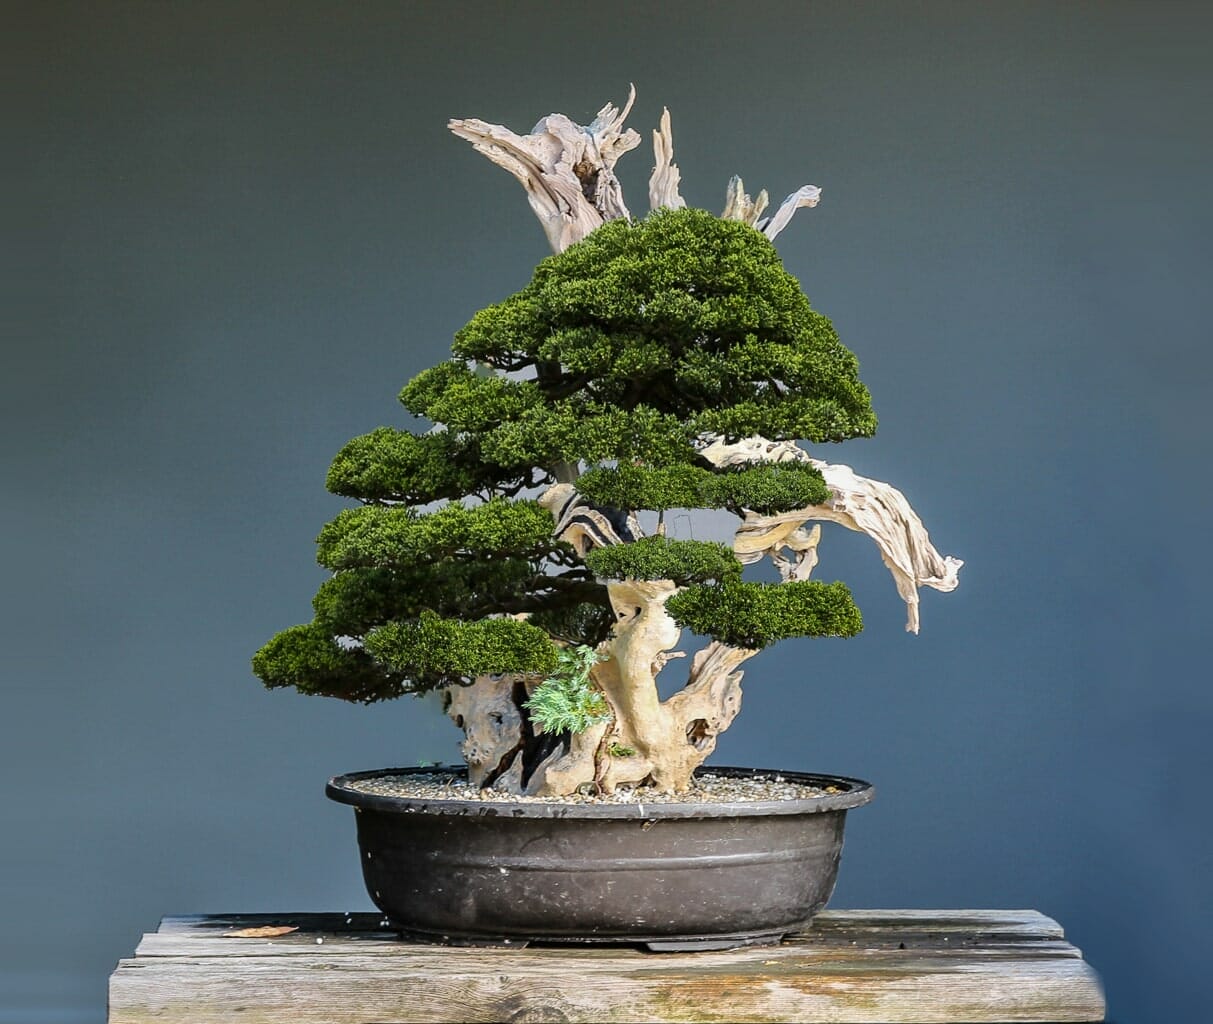
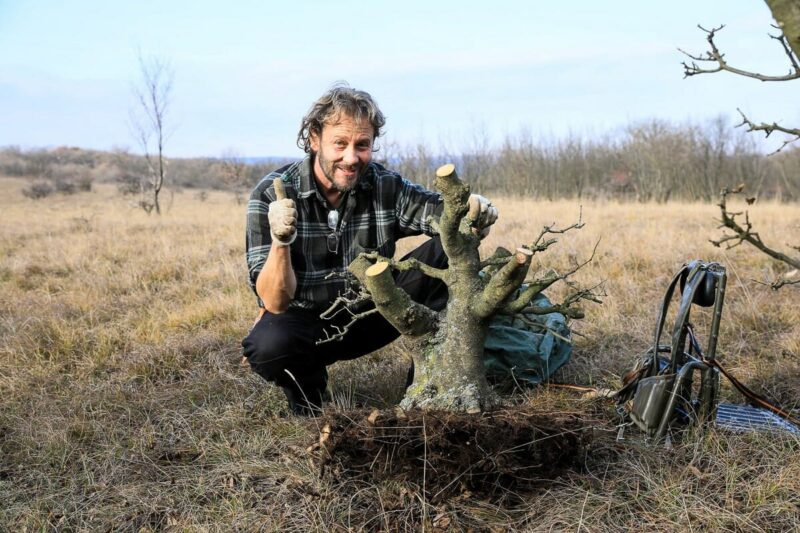
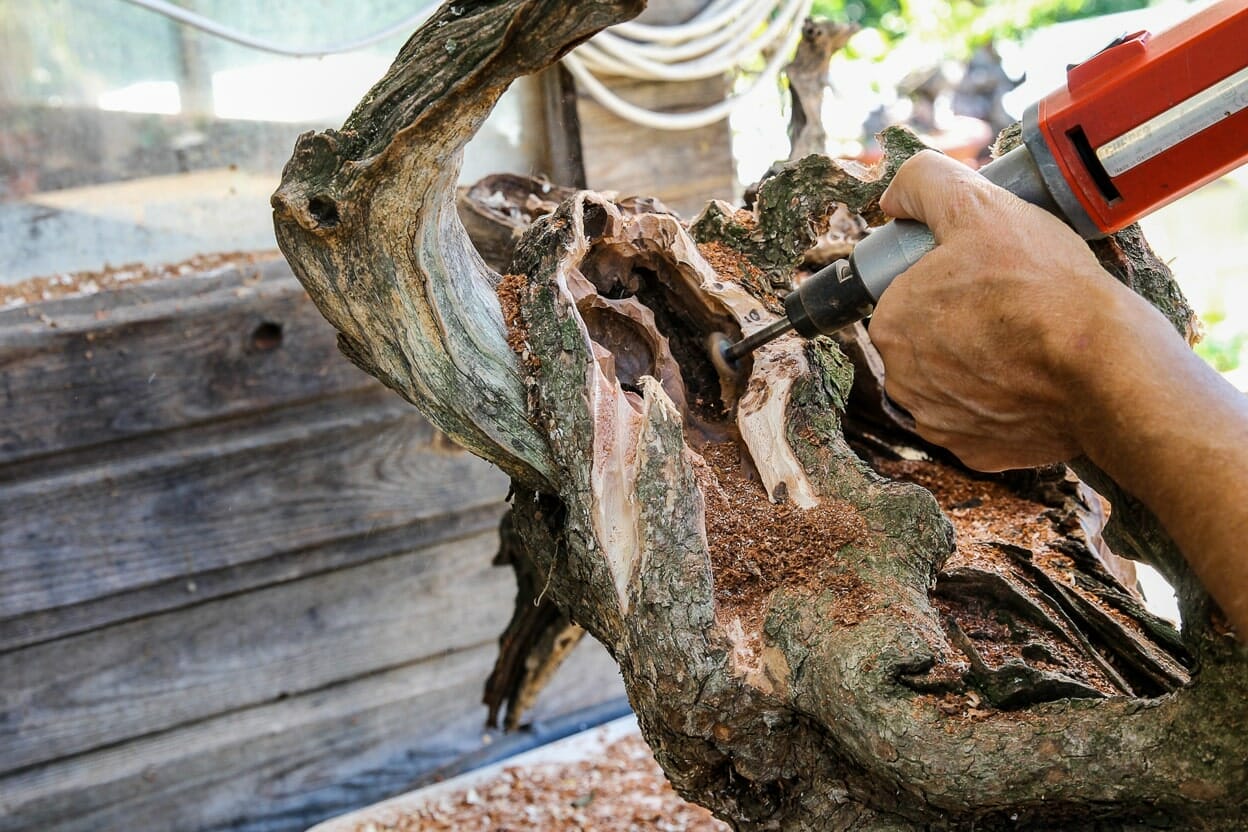
In this series of pictures, we now show how deadwood preparation works for a future structure.

Step 1
1

Thus the cornelian cherry can be seen in many ways in the southern Hungarian forest (as already mentioned).

Step 2
2

This is freshly collected deadwood. However, it cannot yet be processed in this form as it is still too heavy and has far too many wood dimensions.

Step 3
3

During rough processing with the chainsaw, we discovered an attractive grain inside the deadwood. We uncovered this and made the whole piece of wood much lighter.

Step 4
4

The next step is to work on unsightly stumps and interfaces. We work on these with a milling machine and chisel to achieve an aesthetically pleasing overall look. Drawing the lifeline with chalk is helpful for this work. This ensures that the work is done accurately and precisely.

Step 5
5

The freshly processed surfaces of the deadwood are burned off. This creates a very natural appearance. Even better results can often be achieved by using a sandblast.

Step 6
6

The final cleaning of the deadwood is done practically and effectively with a high-pressure cleaner.

Step 7
7

7 We treat the prepared and clean deadwood with Jinmittel to bleach the surfaces. Two to three coats of the agent are applied.

Step 8
8

Here we see the front of the deadwood, together with the young plants, potted in a bonsai pot. The new color makes the deadwood look much more appealing and delicate.

Step 9
9

Here we see the front of the deadwood, together with the young plants, potted in a bonsai pot. The new color makes the deadwood look much more appealing and delicate.

Step 10
10

To give an example of what the tree could look like in the future, we have created two virtual variants here to generate ideas.

See also: