About the ablacate and drill grafting techniques

When we want our bonsai to grow as optimally as possible, we use techniques such as lapping and drill grafting. These methods can be used to compensate for undesirable natural developments such as an inharmonious root base or missing trunk branches.

Categories

Growing methods

Tags

Grafting
Instructions

These techniques can be used on almost all types of trees. Such interventions are particularly easy on thin-barked trees such as maple, beech, ash, apple or sycamore. These techniques also work on trees such as prunus or periwinkle, which have thicker bark, but the results take longer to achieve. While thin-barked trees show results after a few months, evergreens need several years. These techniques are often used with your own branches or seedlings. When should the various techniques be used? Spring is the best time to gfraftin the roots. The ideal time is when the worst of the cold has passed and the trees are not yet sprouting. Basically, the branches can be stripped all year round. However, the ideal time is before budding. For deciduous trees, the beginning of June is a good time and grafting should then take place after the first leaf pruning. A time when the tree has no leaves is always ideal for grafting. This can be in March or in June after the first leaf pruning. The same applies to all techniques: they should not be used in winter, as frost damages the fresh and open wounds.
Example of root grafting on a plane tree in March

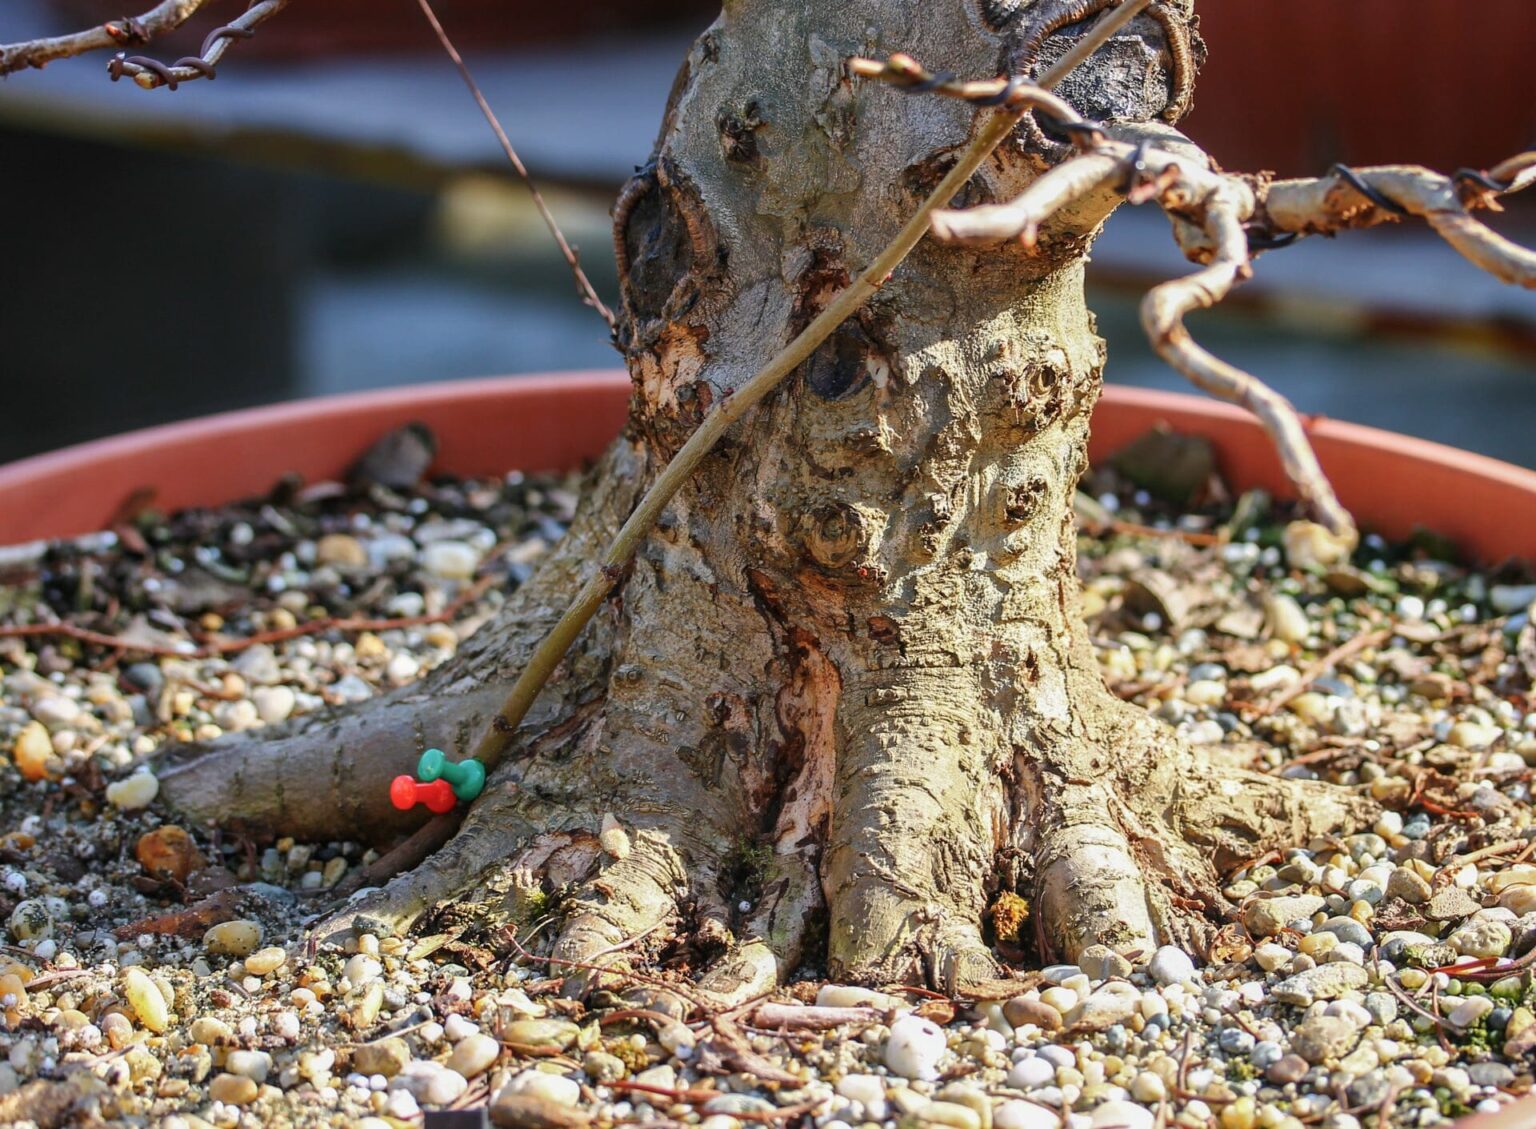
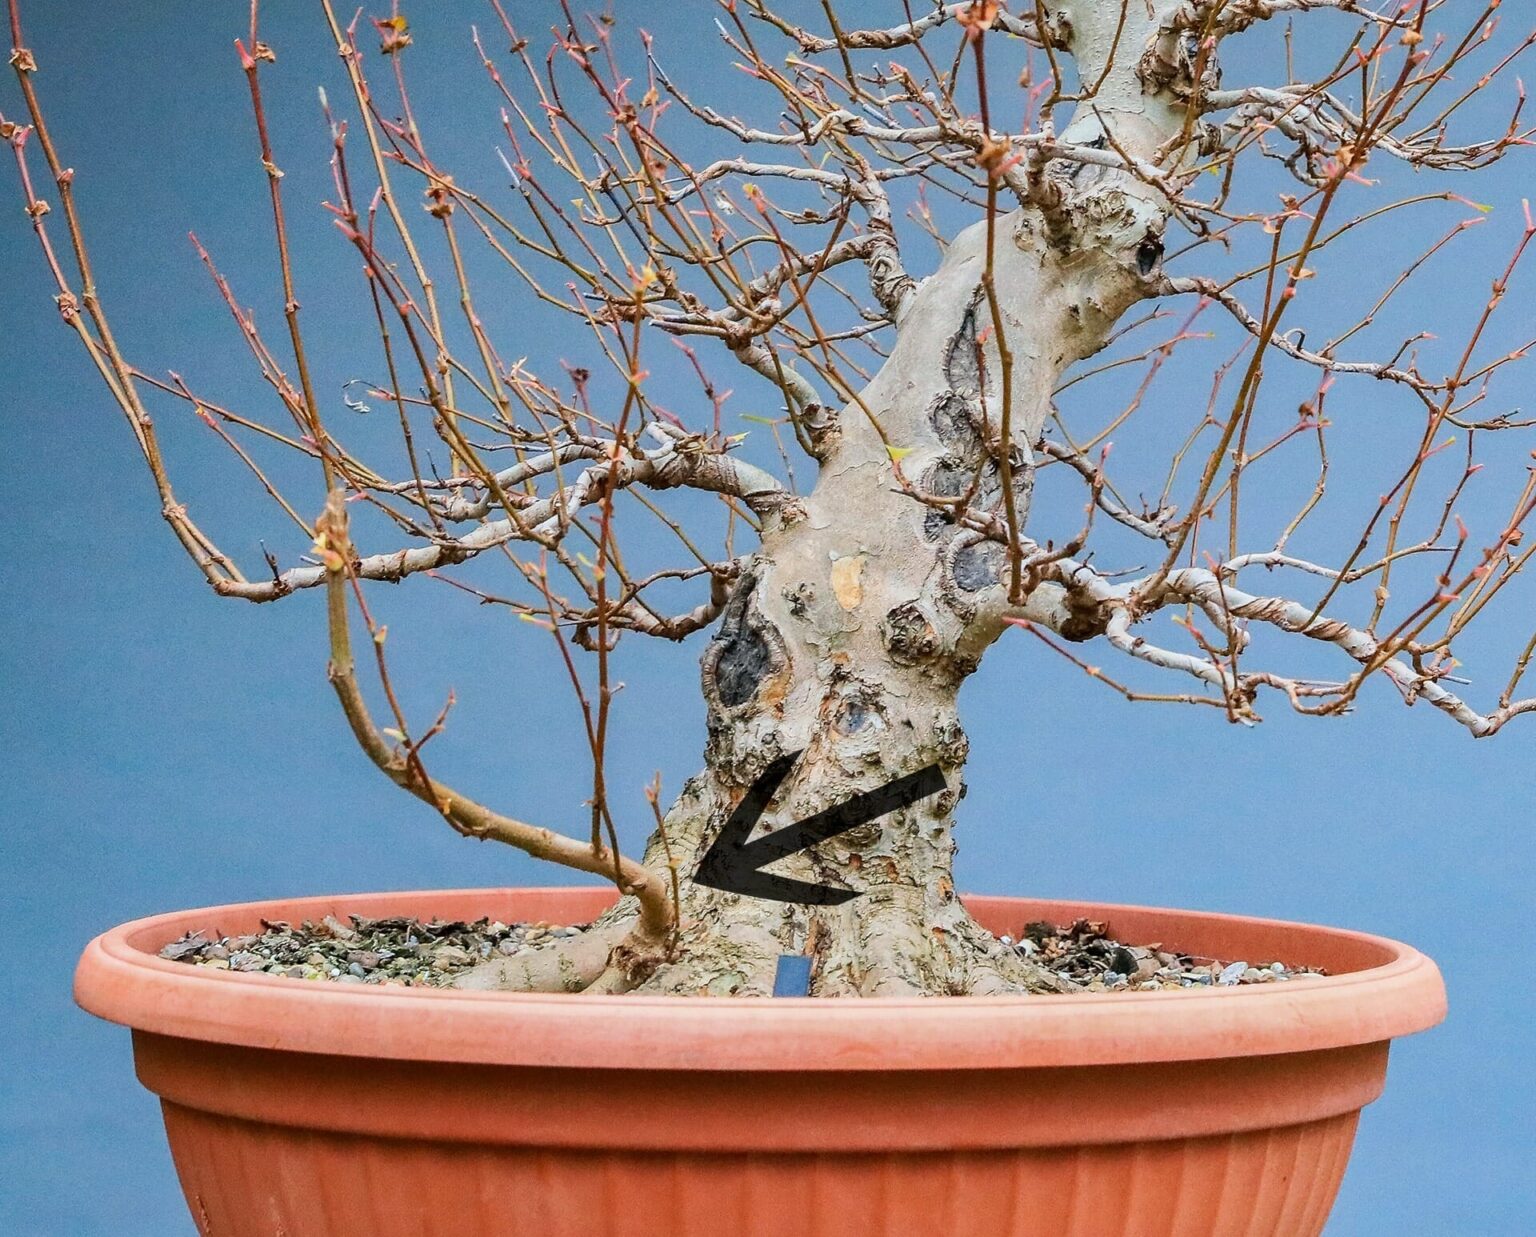
Our plane tree has already formed a very nice nebari, but an unsightly gap has formed between two thick roots. We are now filling this gap with a one-year-old sycamore seedling.

Step 1
1

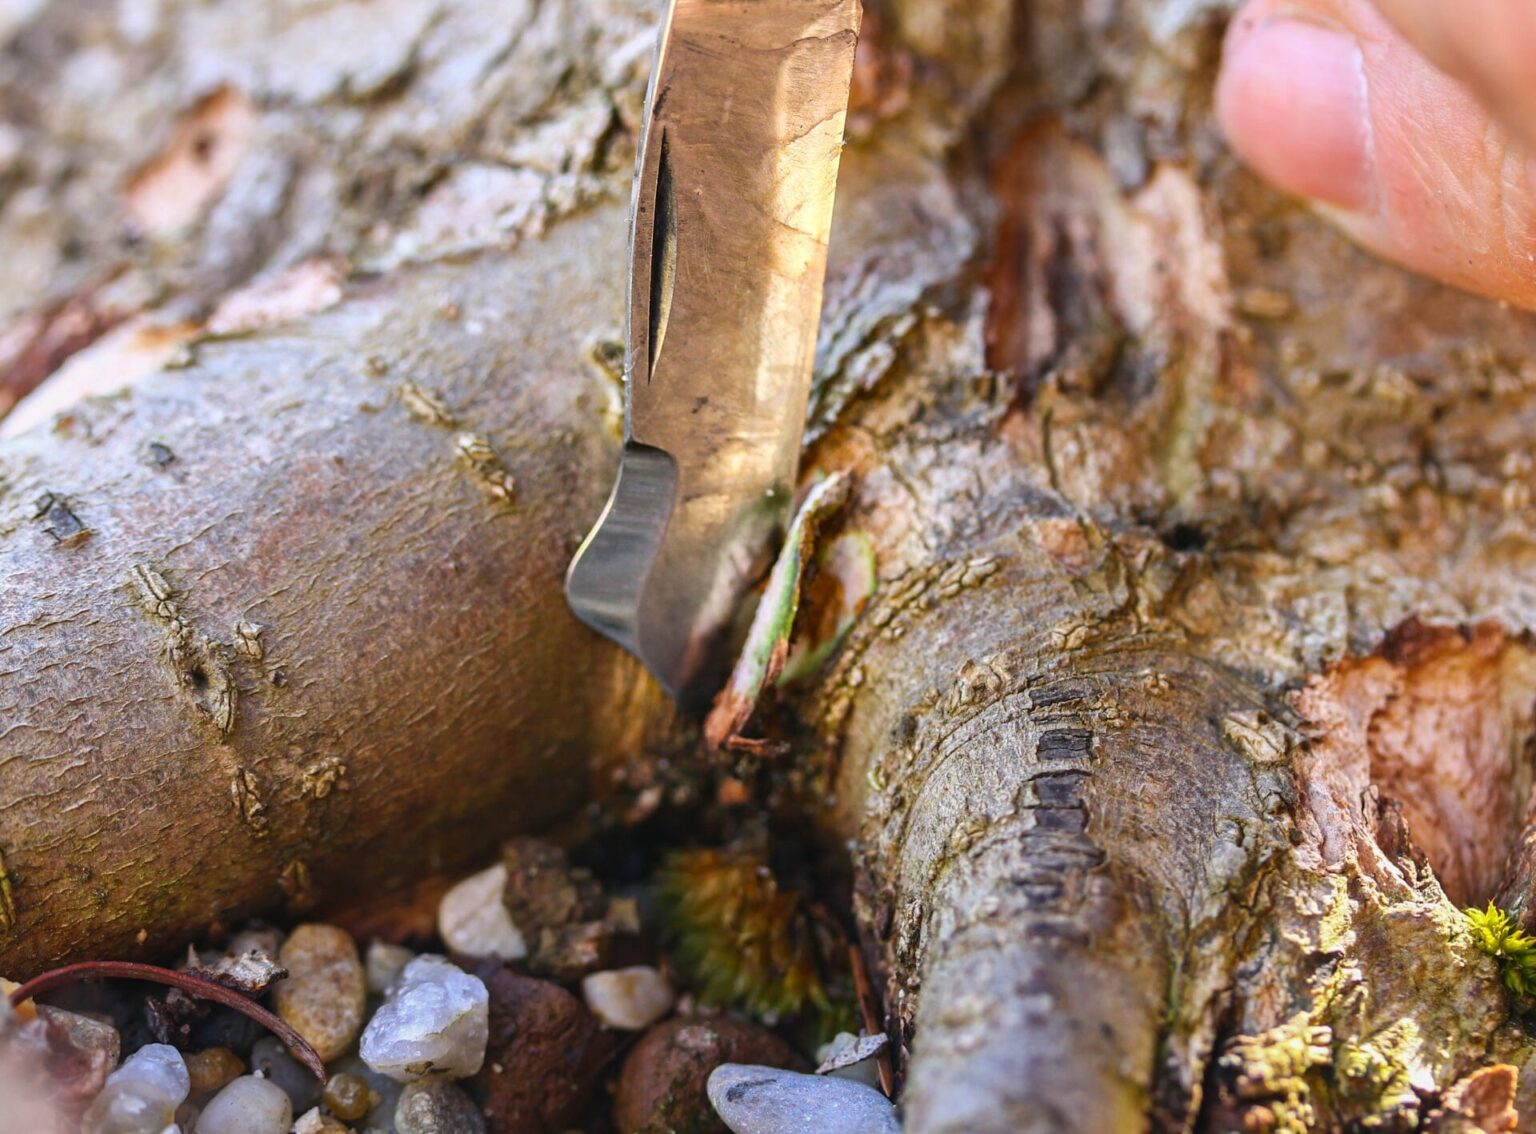
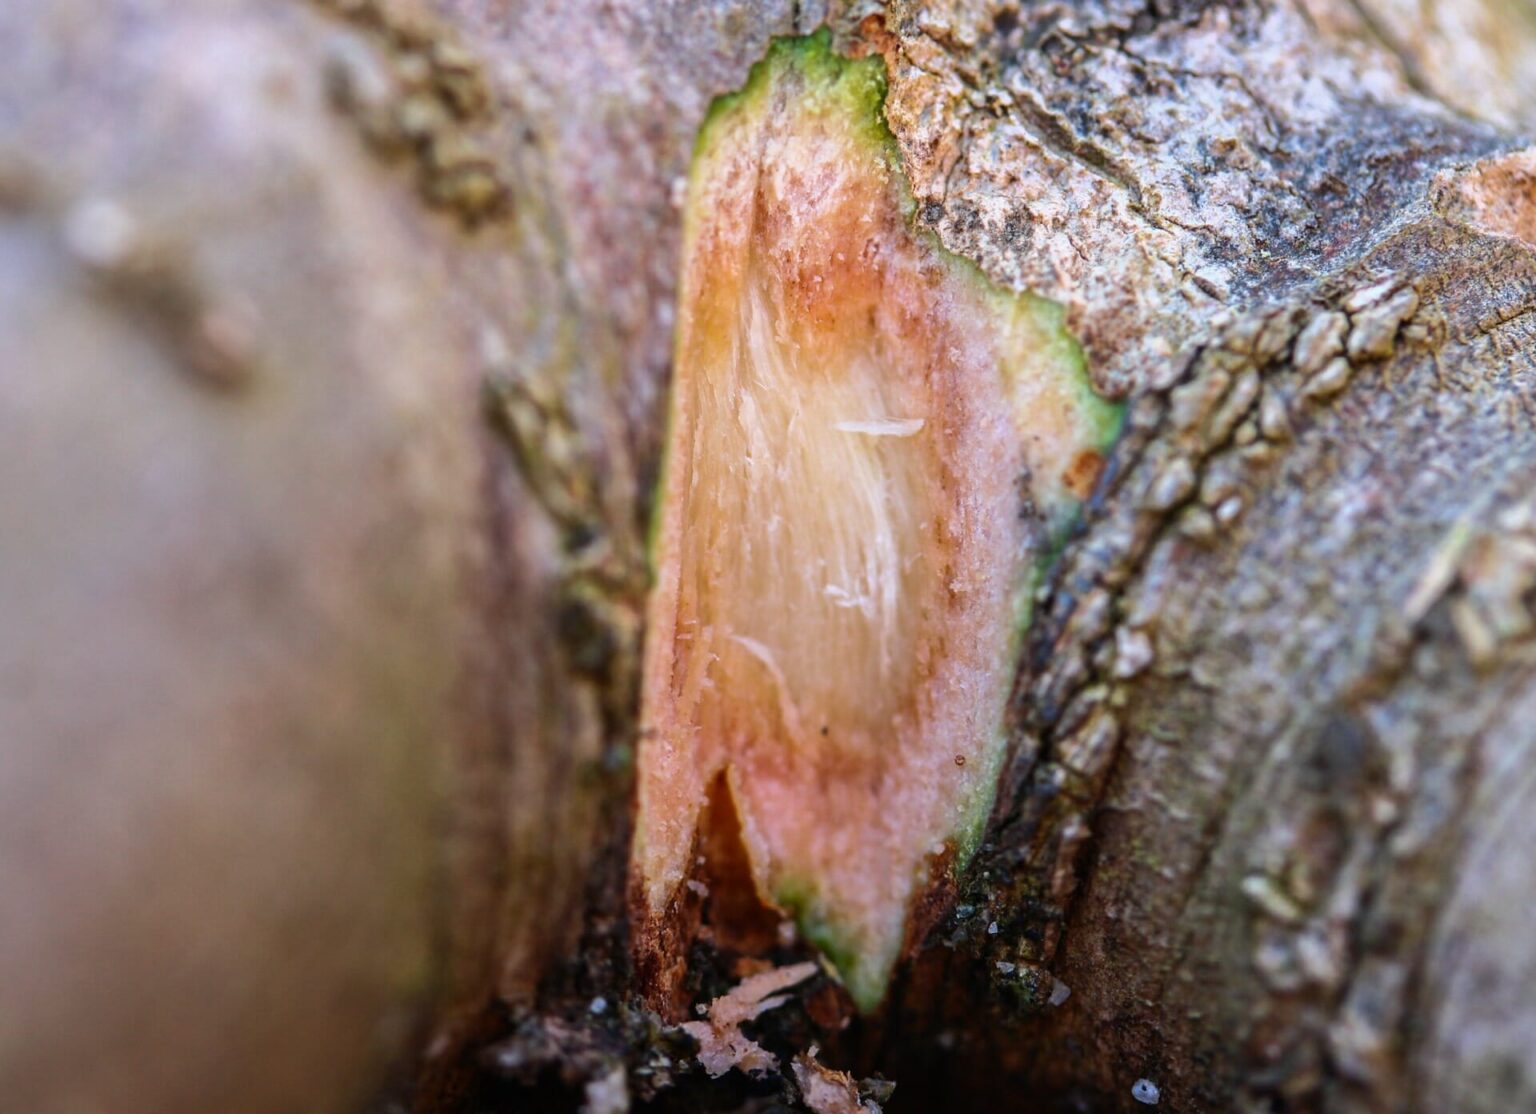
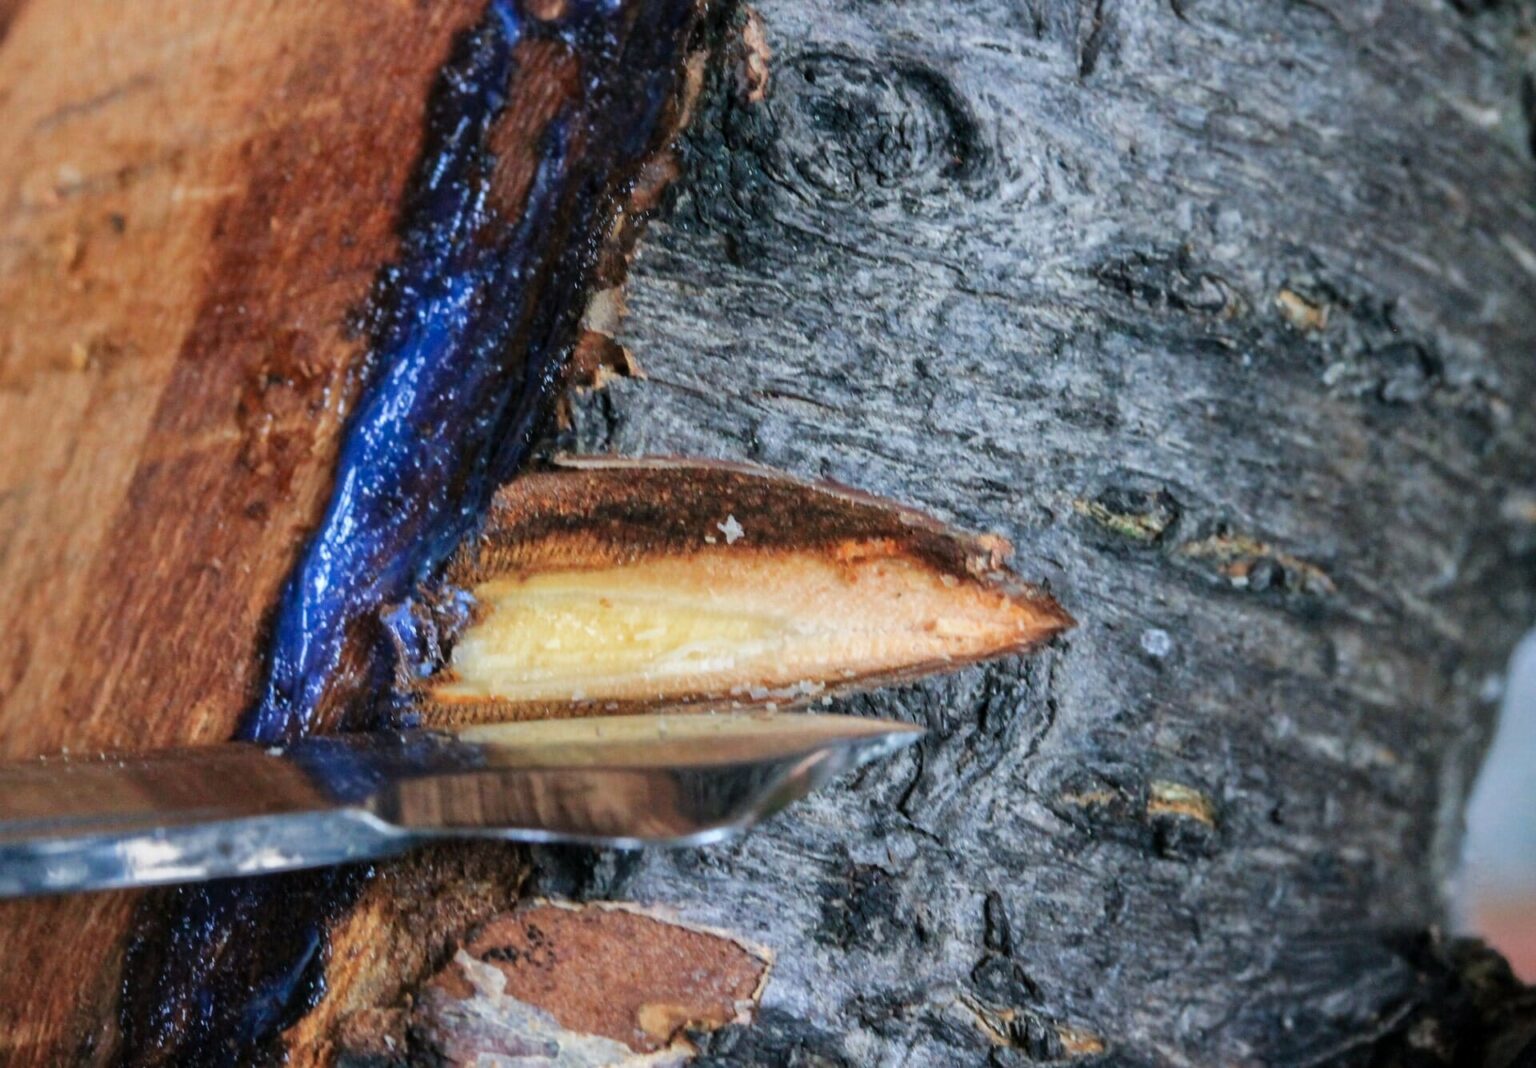
First, we make an incision between the two thick roots, the later "cutting point". We have to cut through the cambium.

Step 2
2

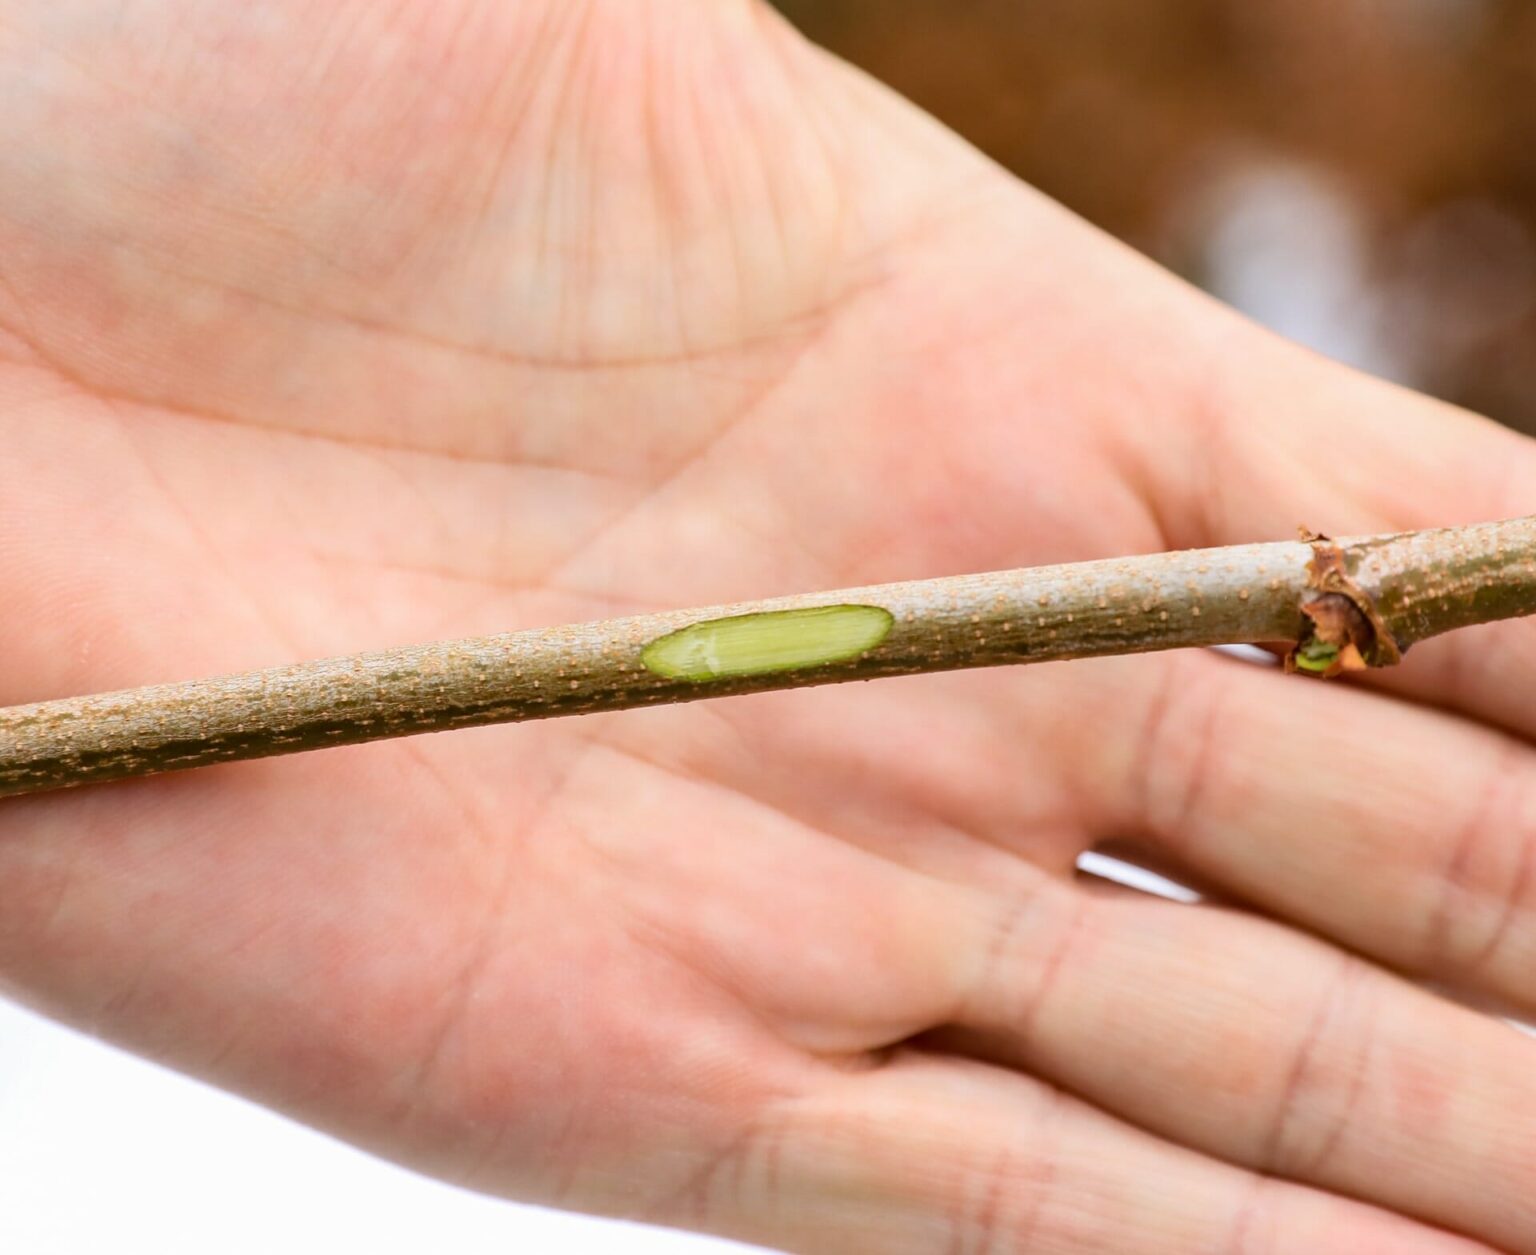
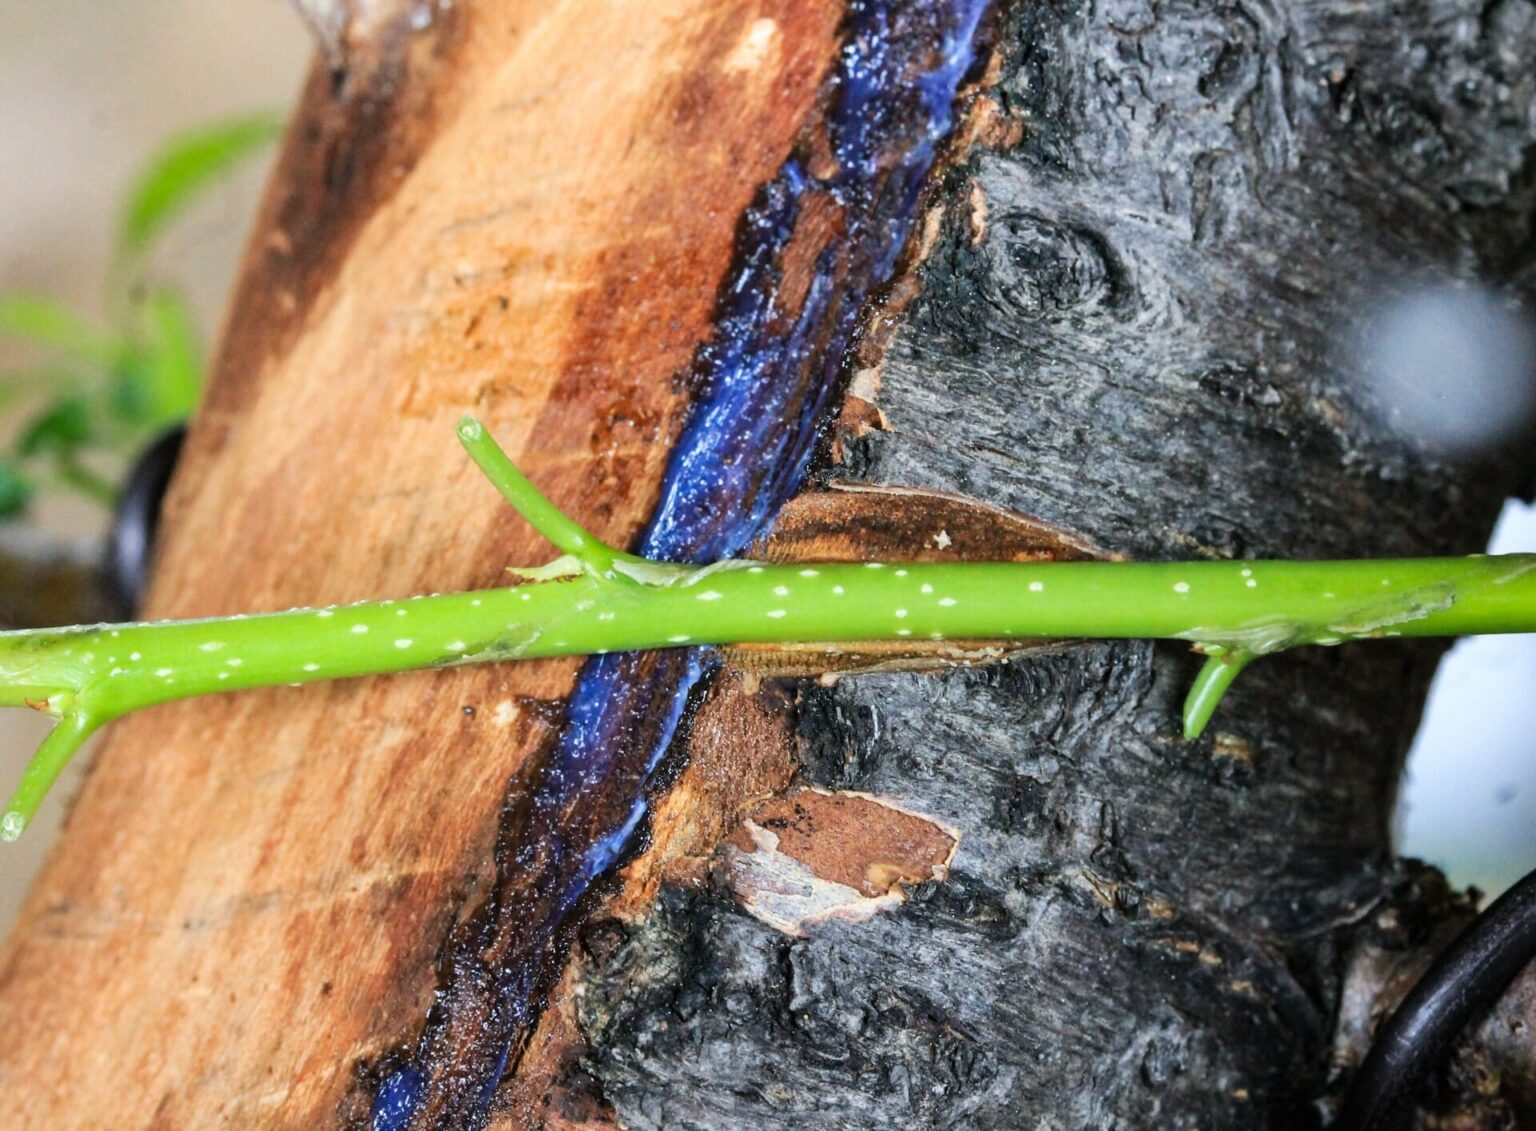
We also cut the seedling at a suitable point, the cambium must be exposed here. This allows the cambium to reach the cambium when the seedling is connected.

Step 3
3

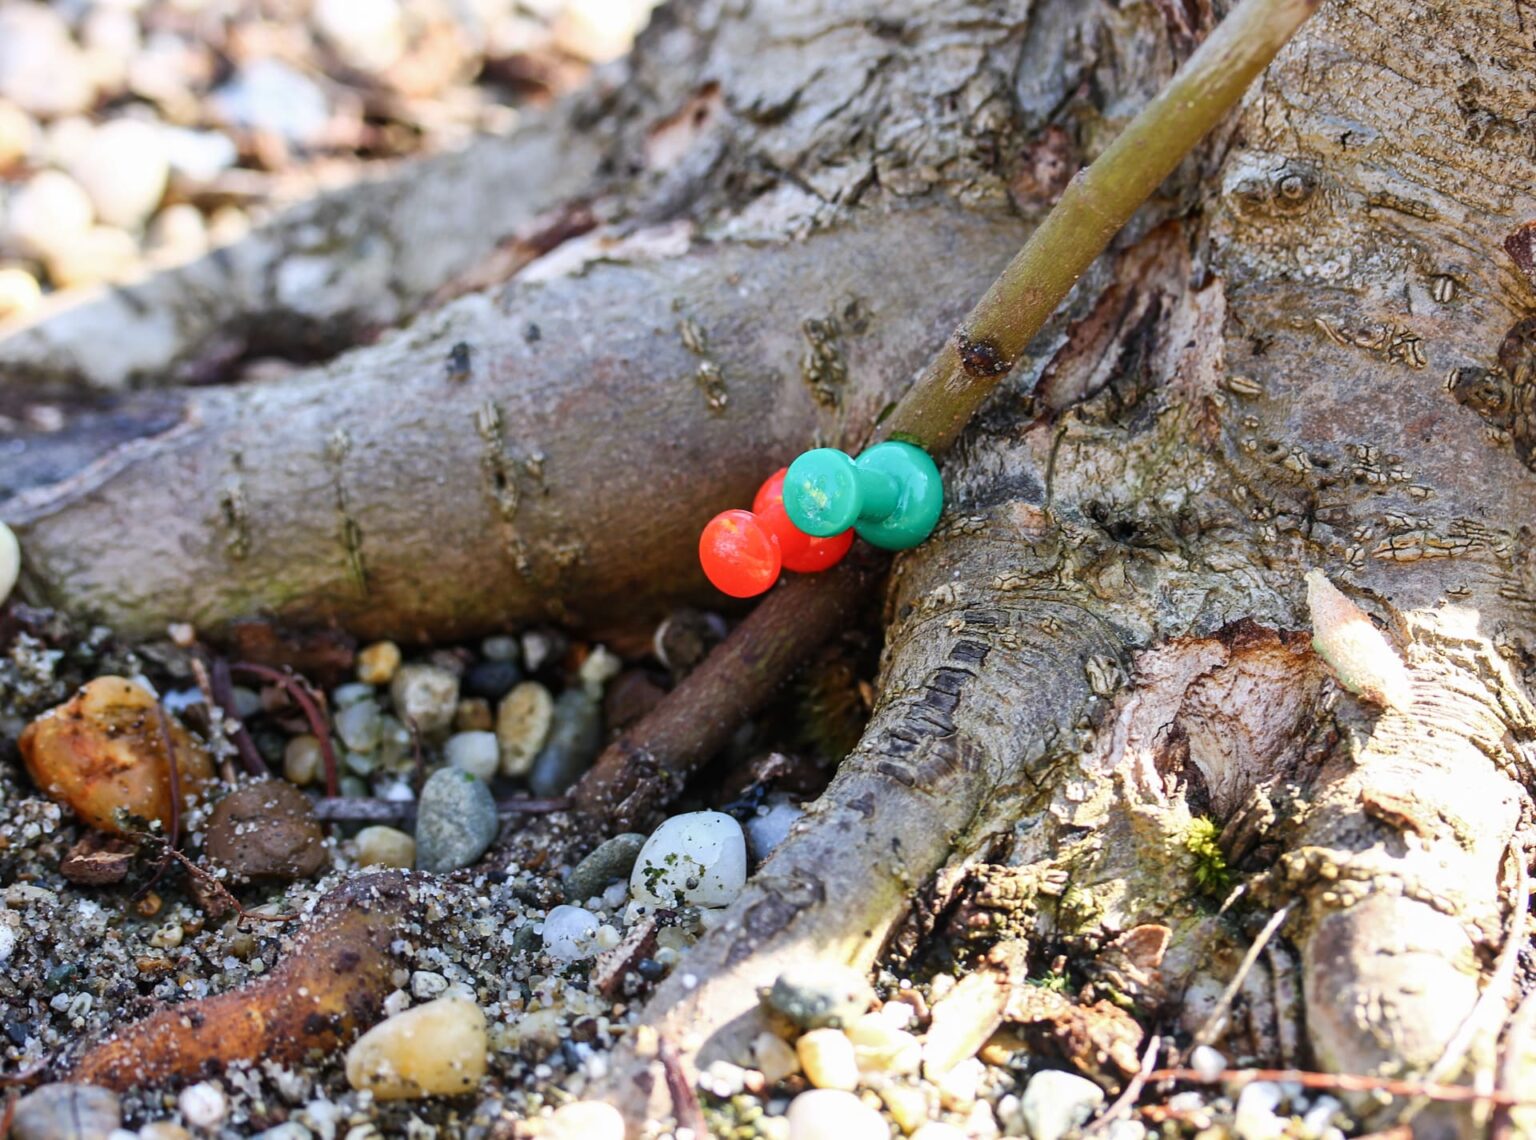
We attached the seedling to the sycamore in the correct position with nails. Now only the upper branch of the seedling needs to grow. The lower part forms a new root and thickens. The procedure causes callus to form and the seedling becomes a sacrificial branch.

Step 4
4

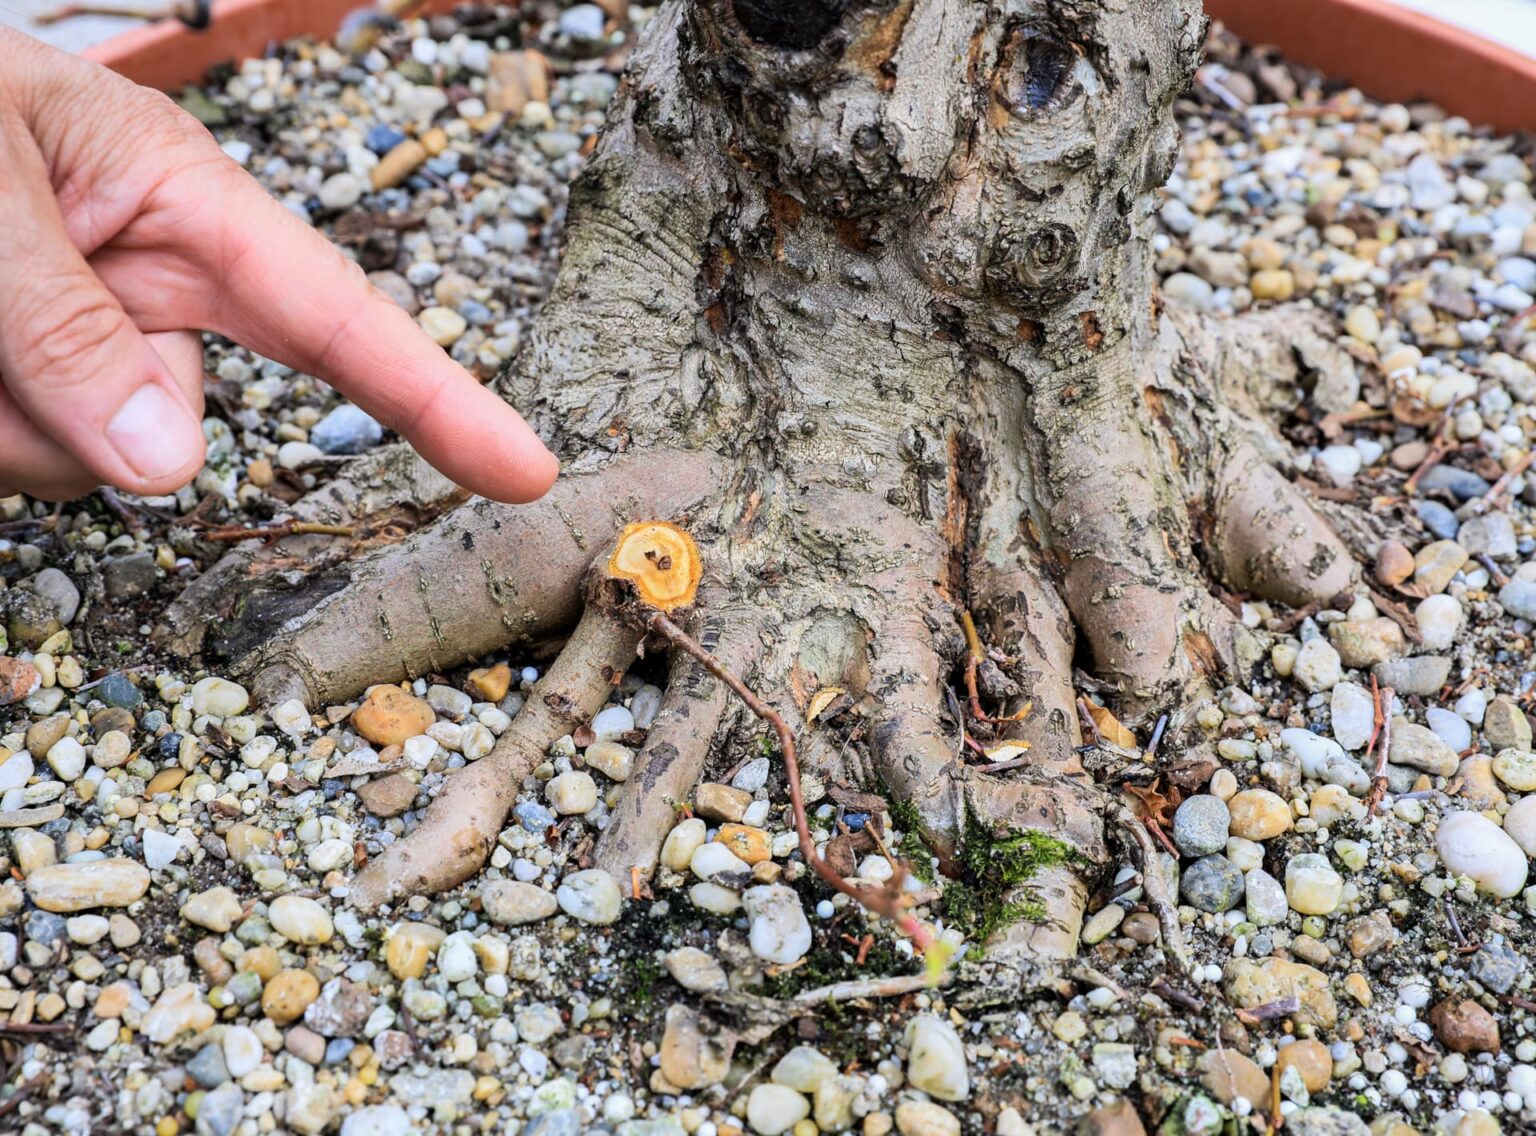
It finally took two years for the new root to grow in completely and become sufficiently thick.

Step 5
5

Here once again the new ingrown root. We have already cut off the sacrificial branch at this point.

Example of laxation on a stone cherry (Prunus mahaleb)

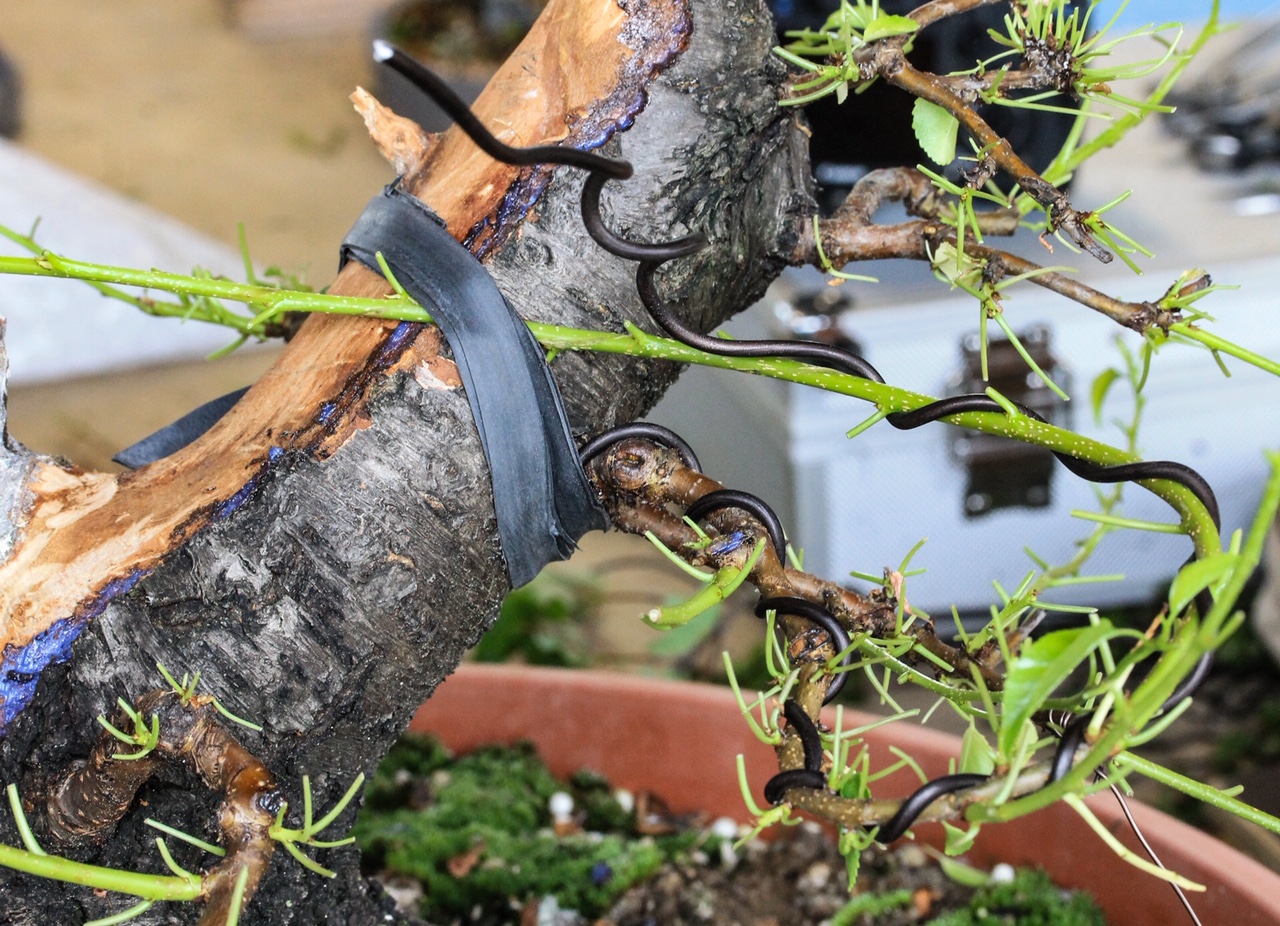
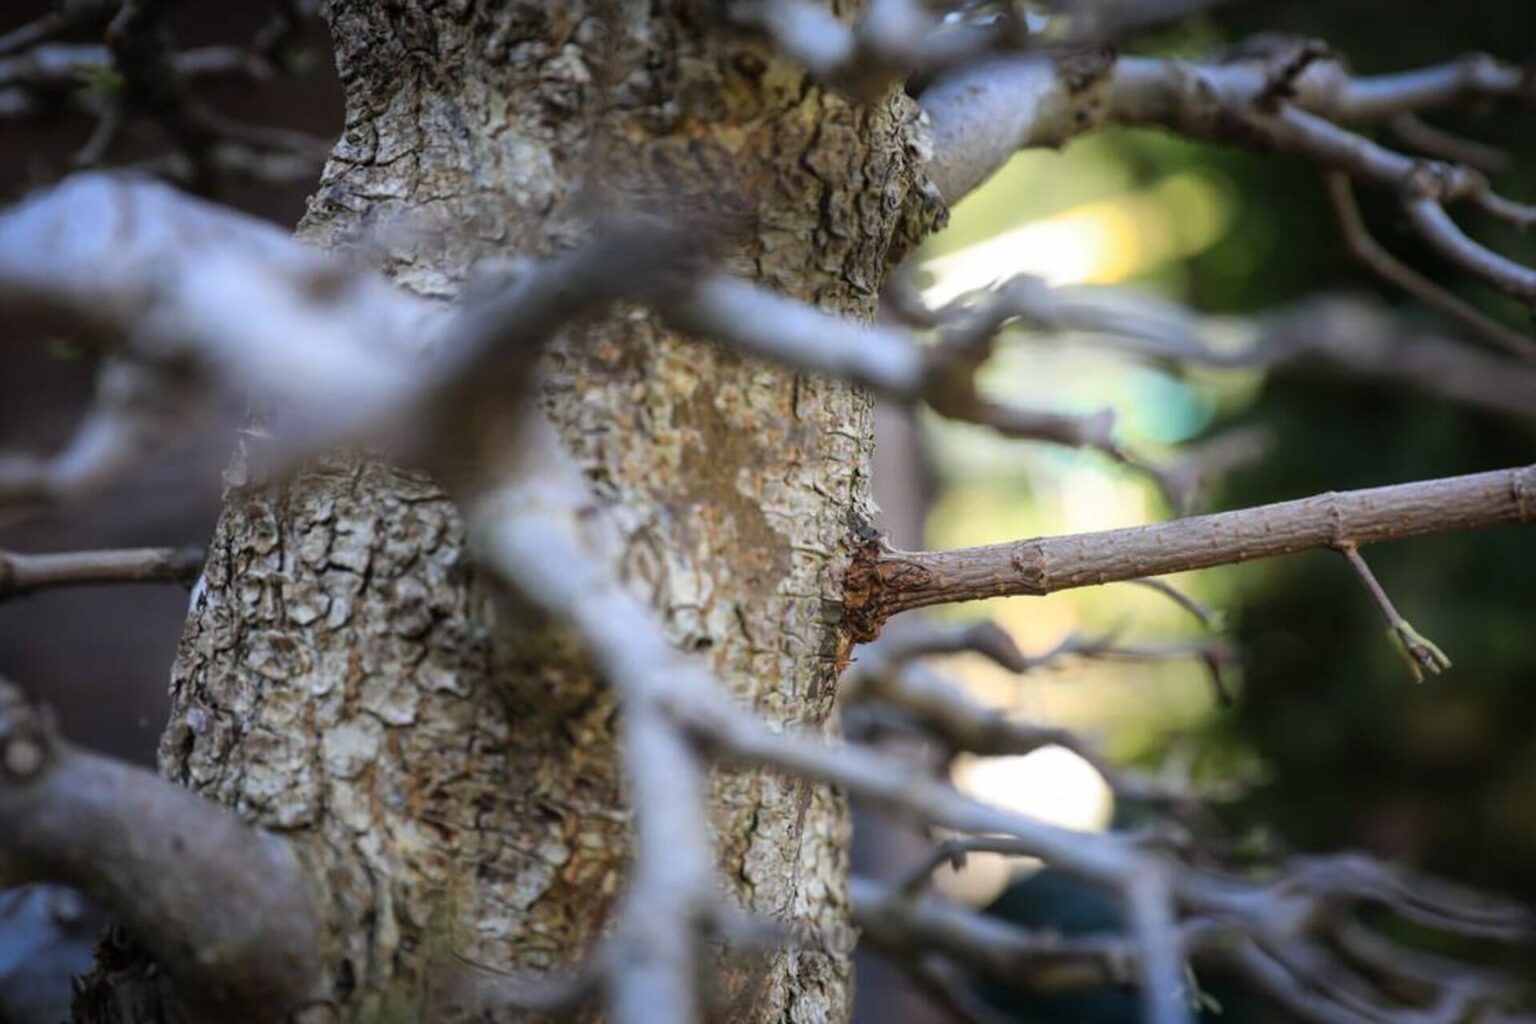
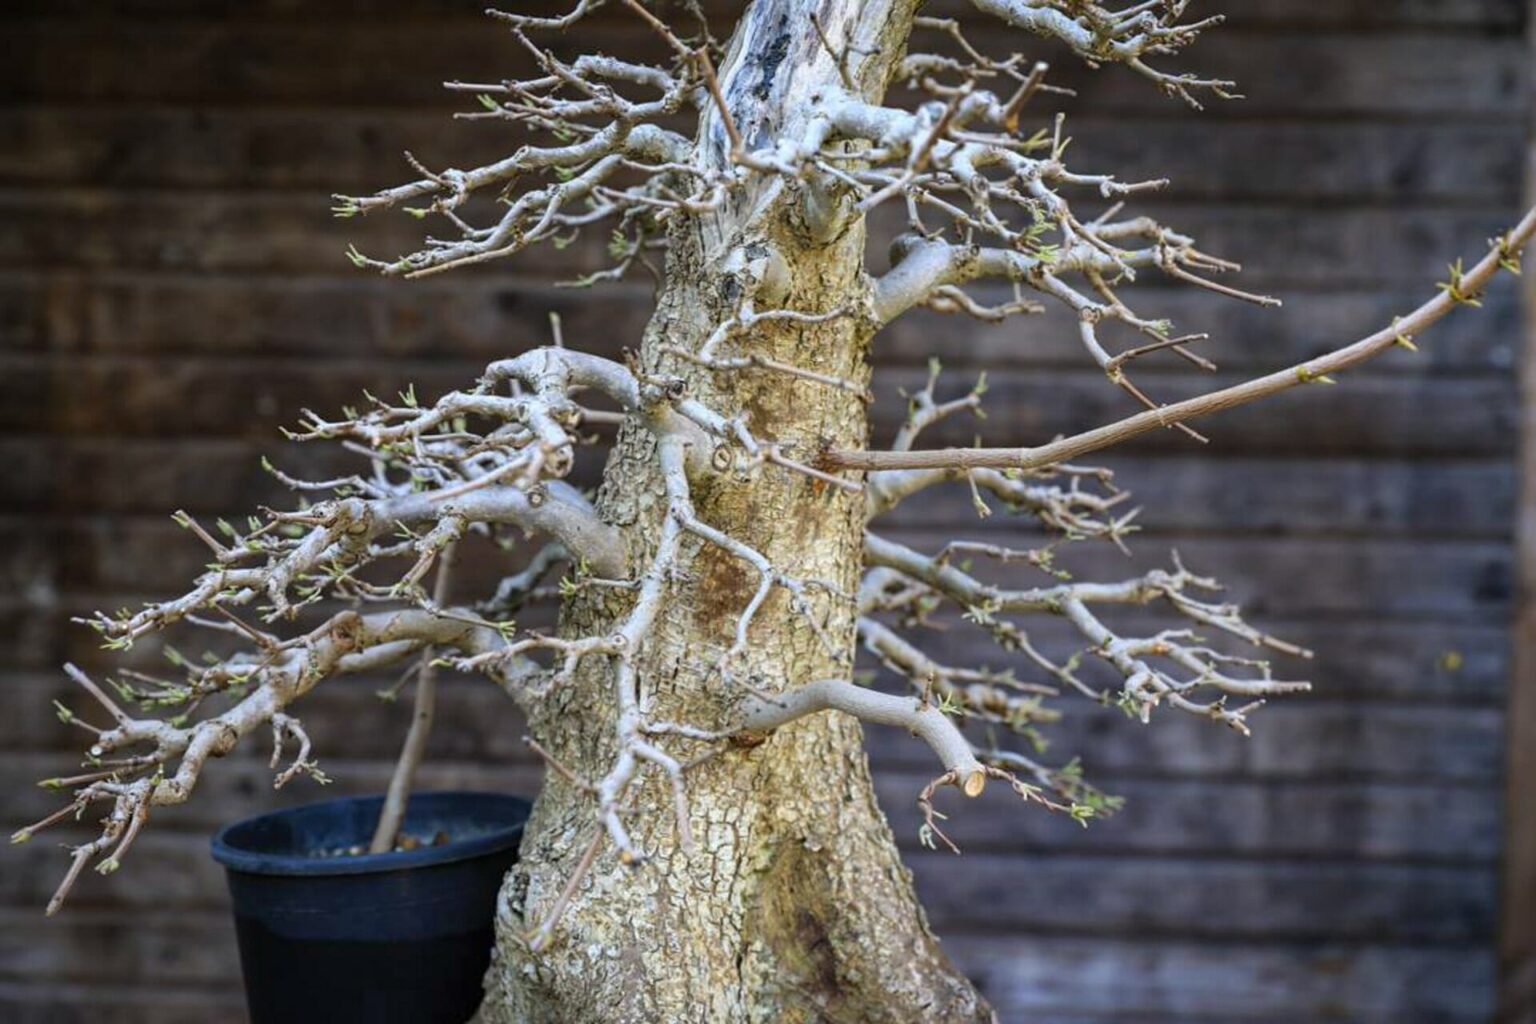
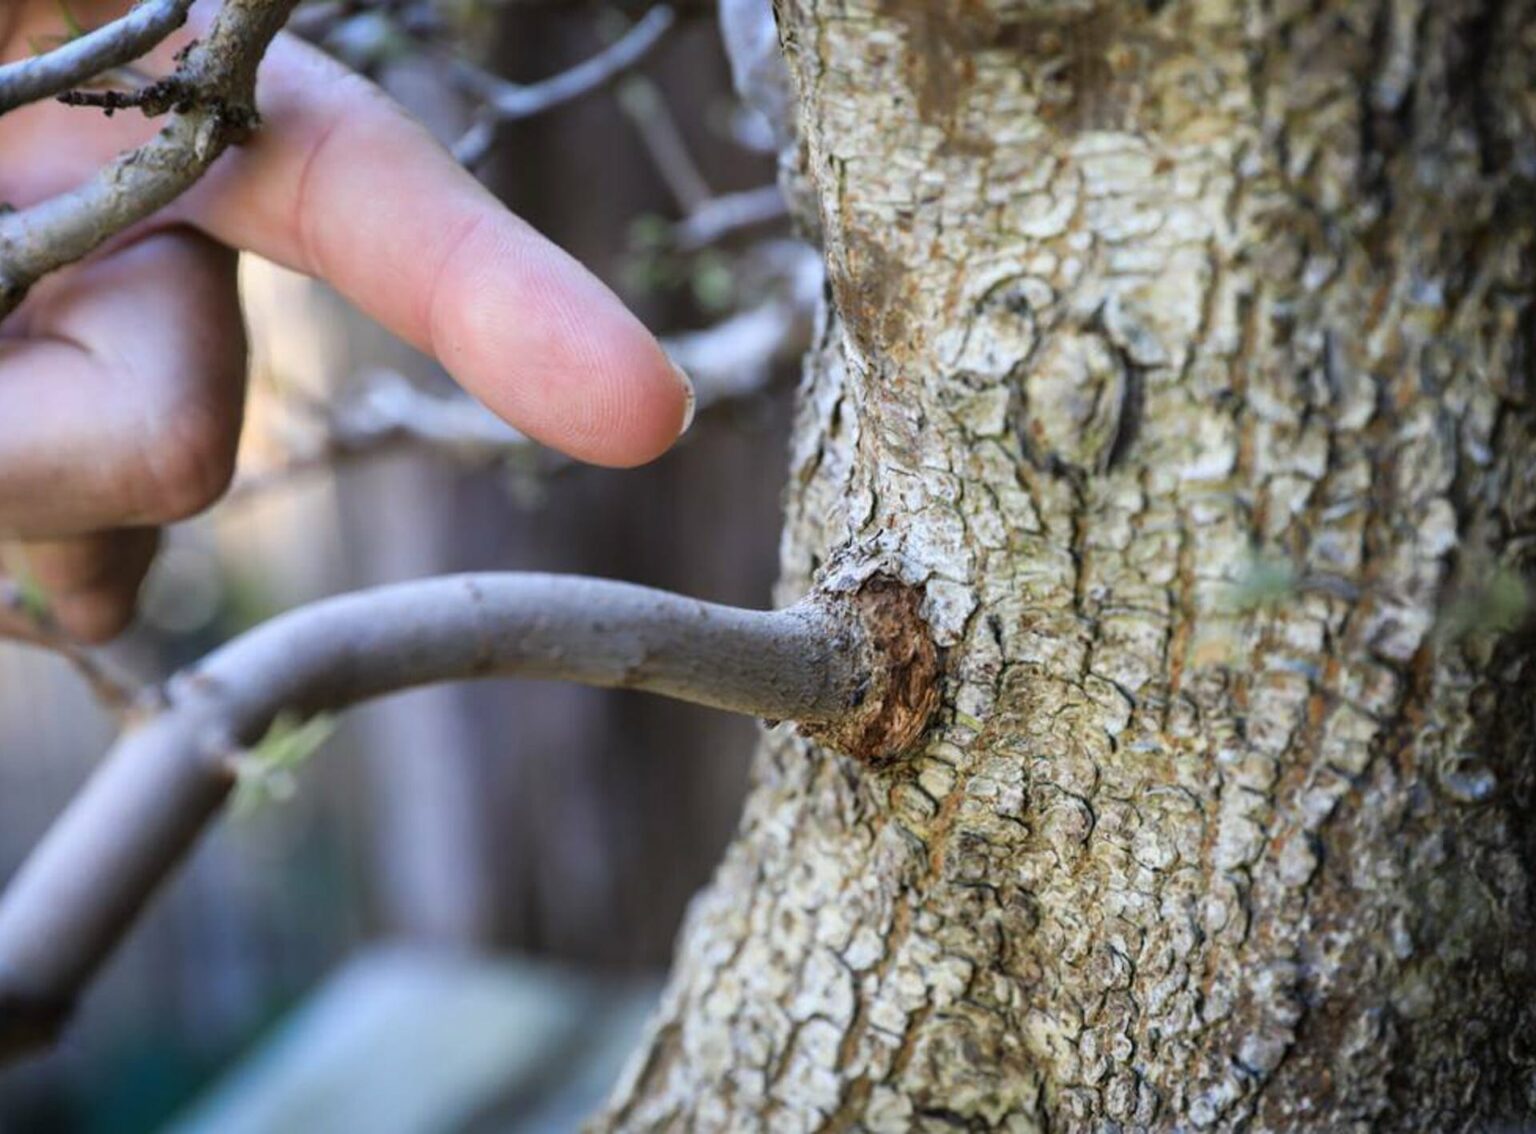
We carried out the procedure in June after the first leaf pruning. The trunk of our tree had not formed a lateral branch over a large area, so we left a new branch here. We used one of its own lateral branches for this purpose. The process until complete intergrowth can take around two to three years for this tree

Result

Here you can see the successfully ingrown shoot.

Example of a drill graft

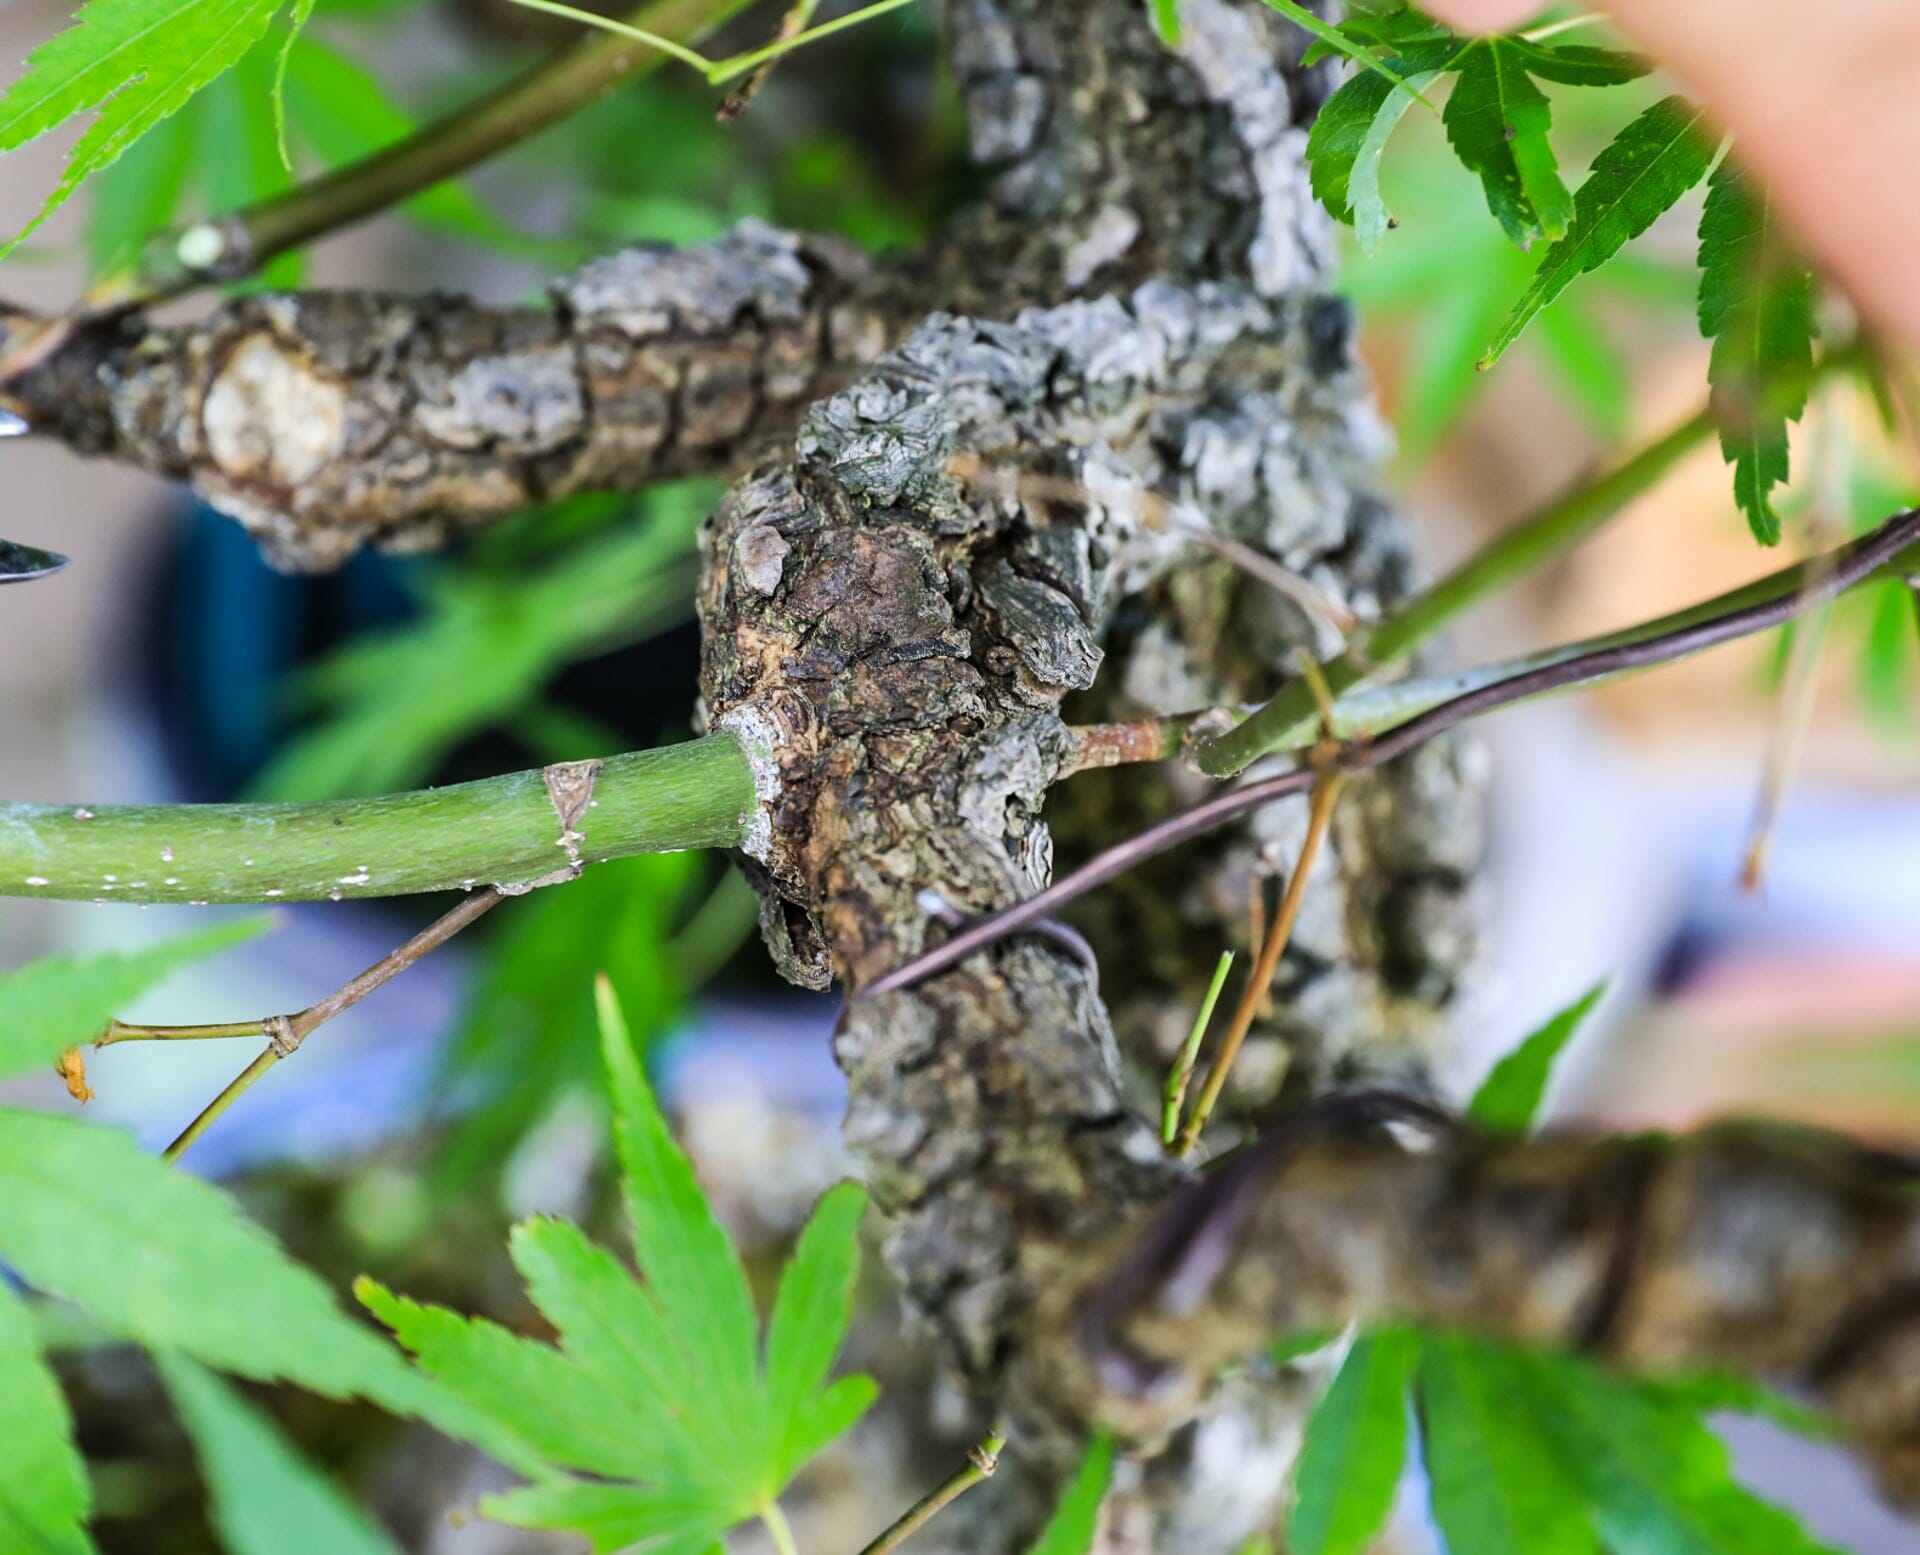
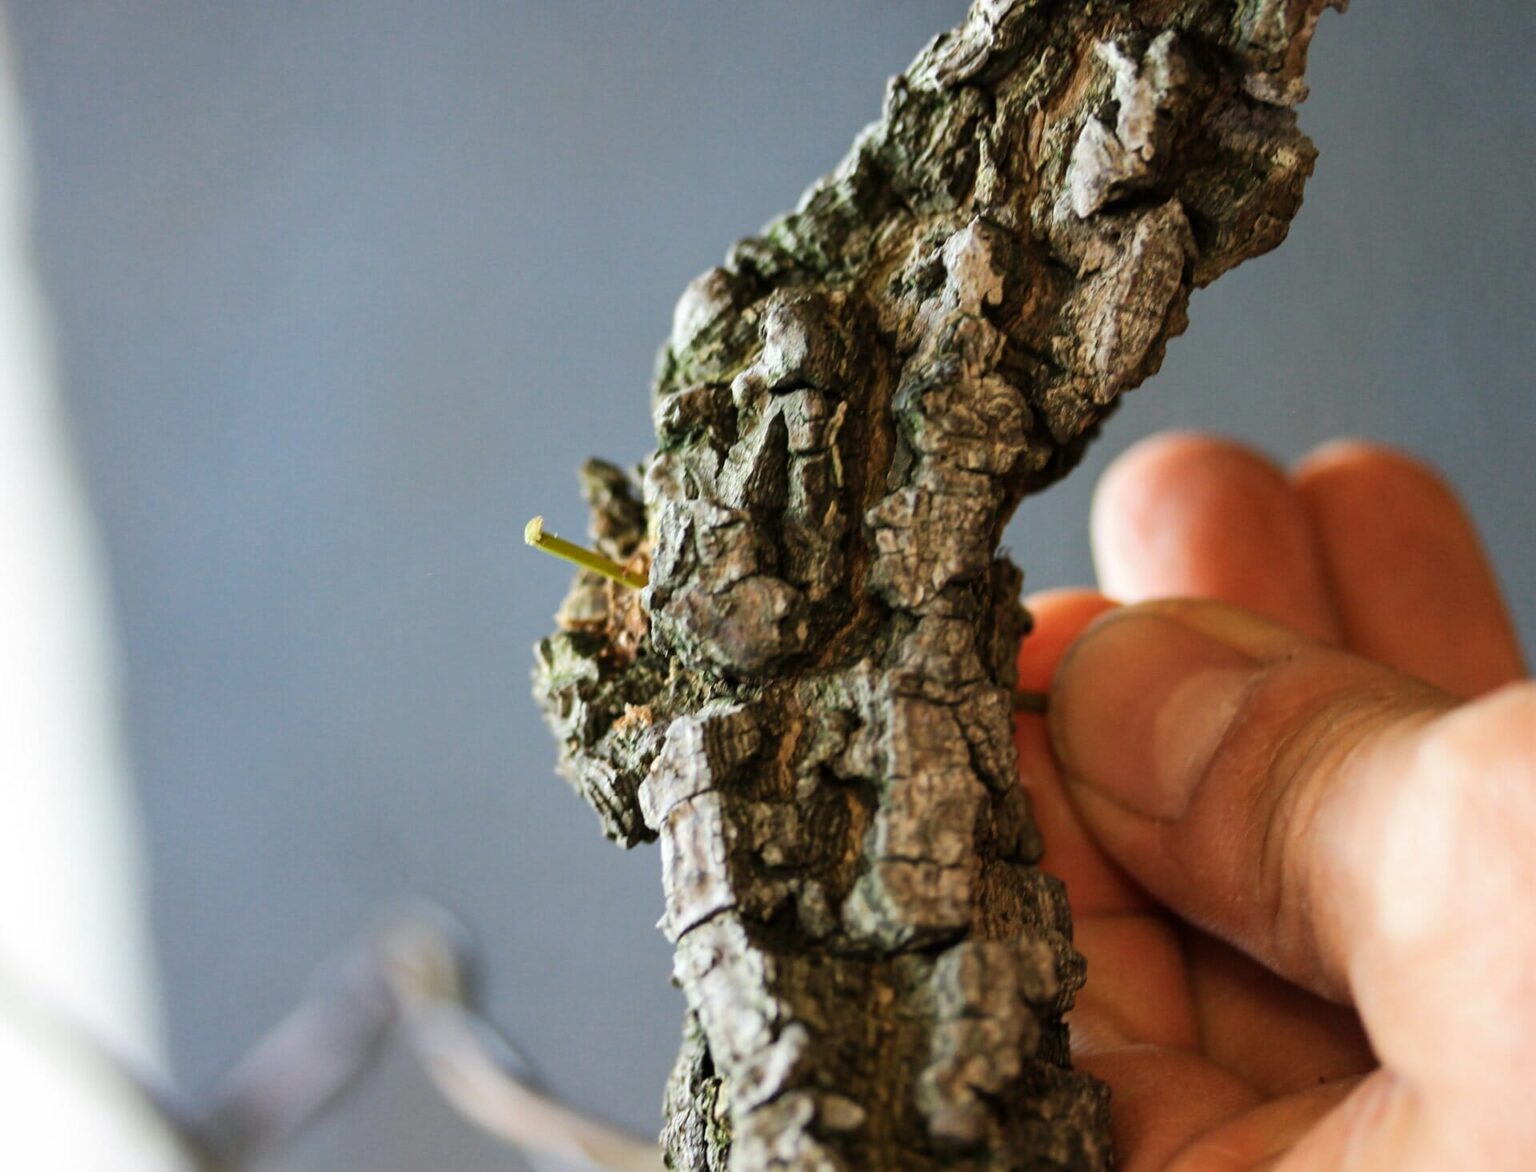
For our grafting in June, we used a Japanese maple (Acer palmatum Arakawa). The Japanese maple only forms a few lateral branches on its own, so a little help is needed to achieve an attractive overall appearance. For our procedure, we used the tree's own branches, which we left to grow for a year.

Step 1
1

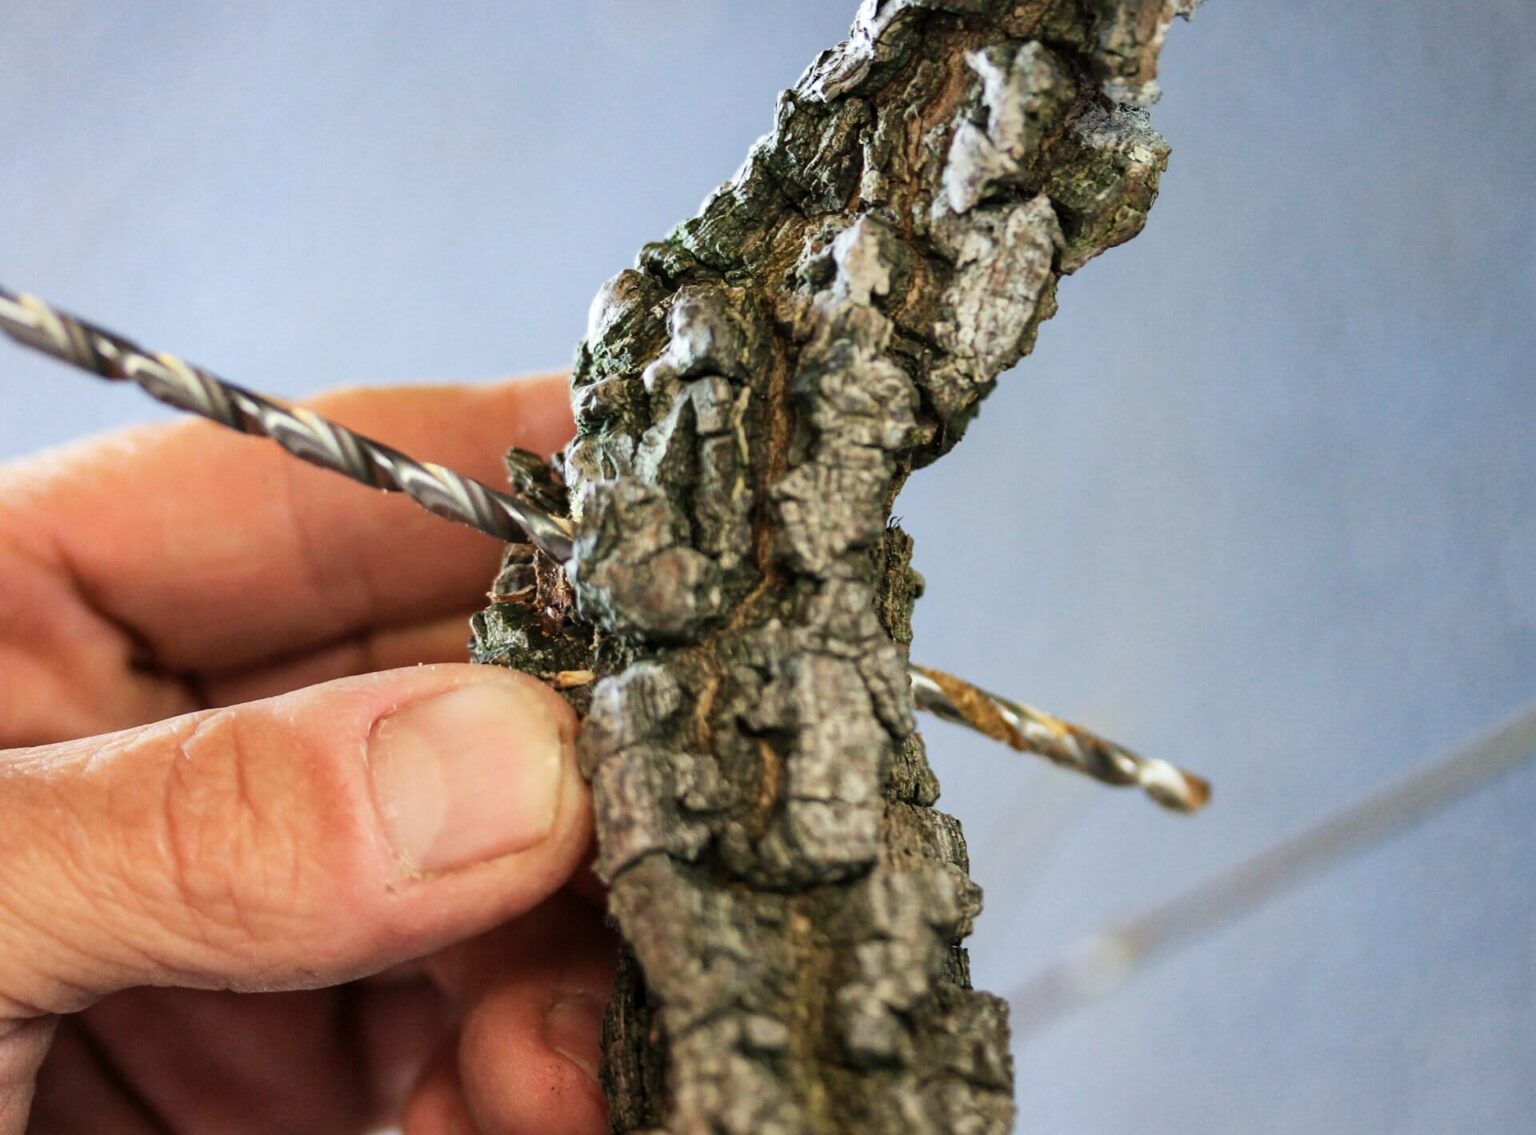
The technique starts with drilling. We drill through the branch with a thickness of around four to five millimetres.

Step 2
2

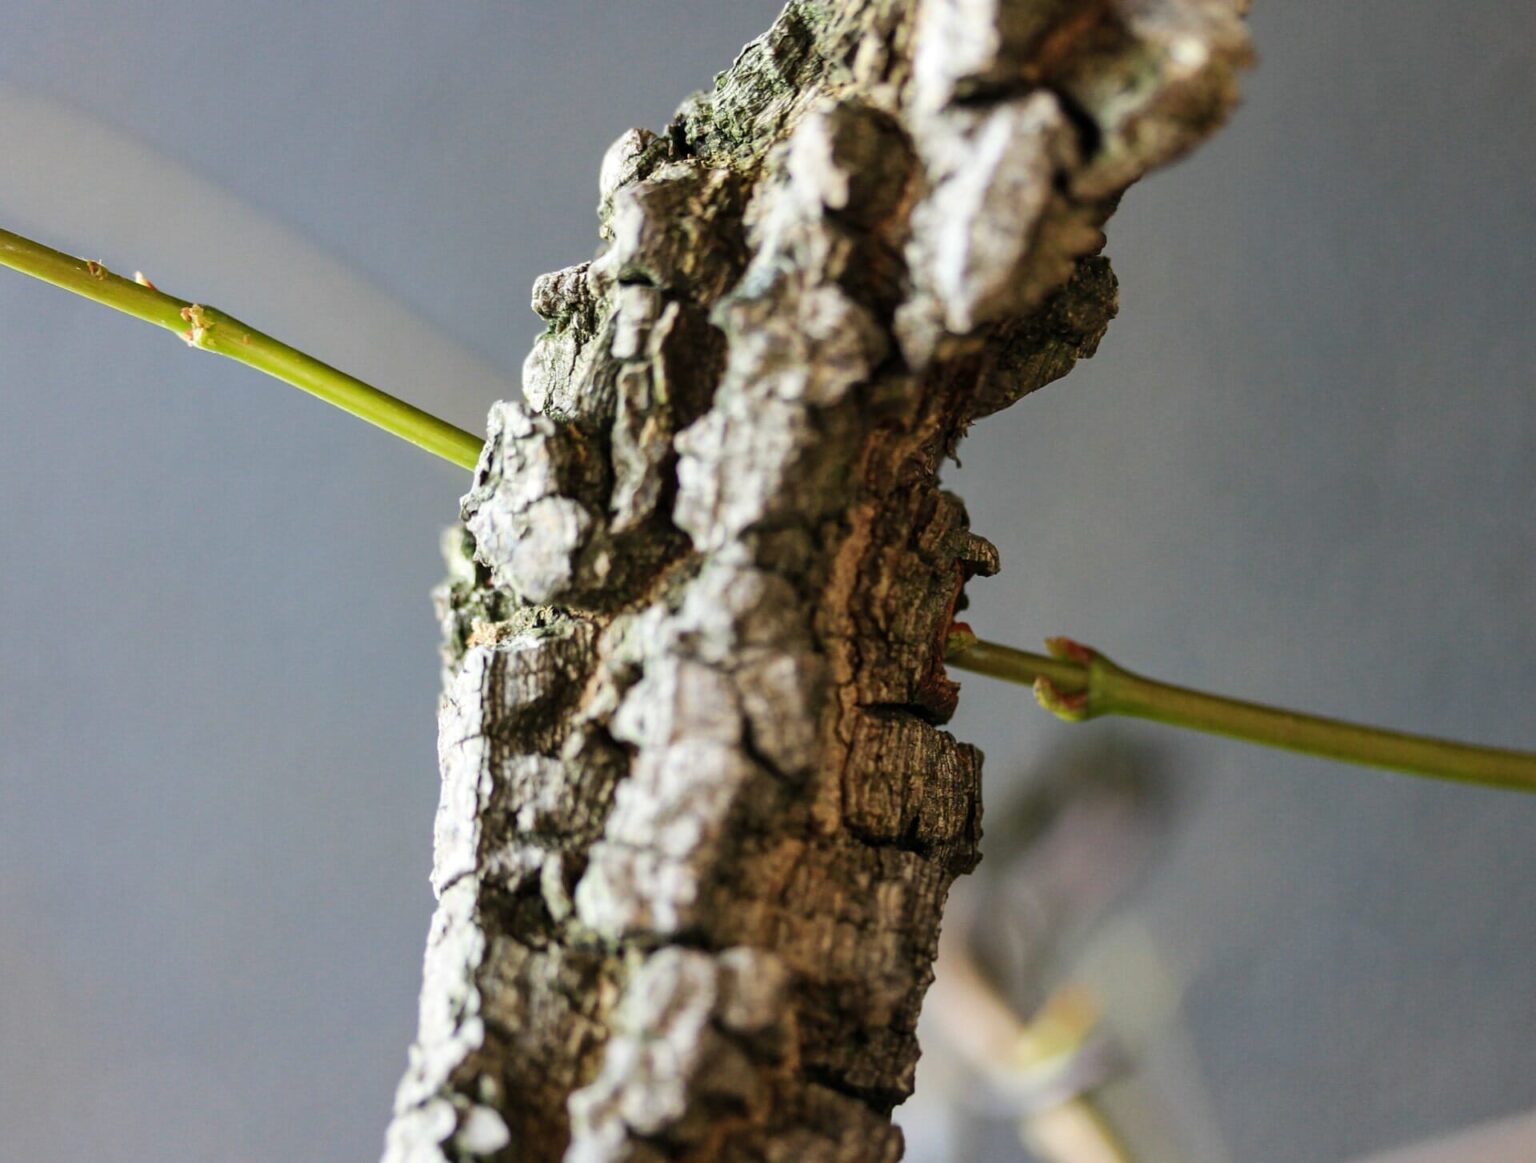
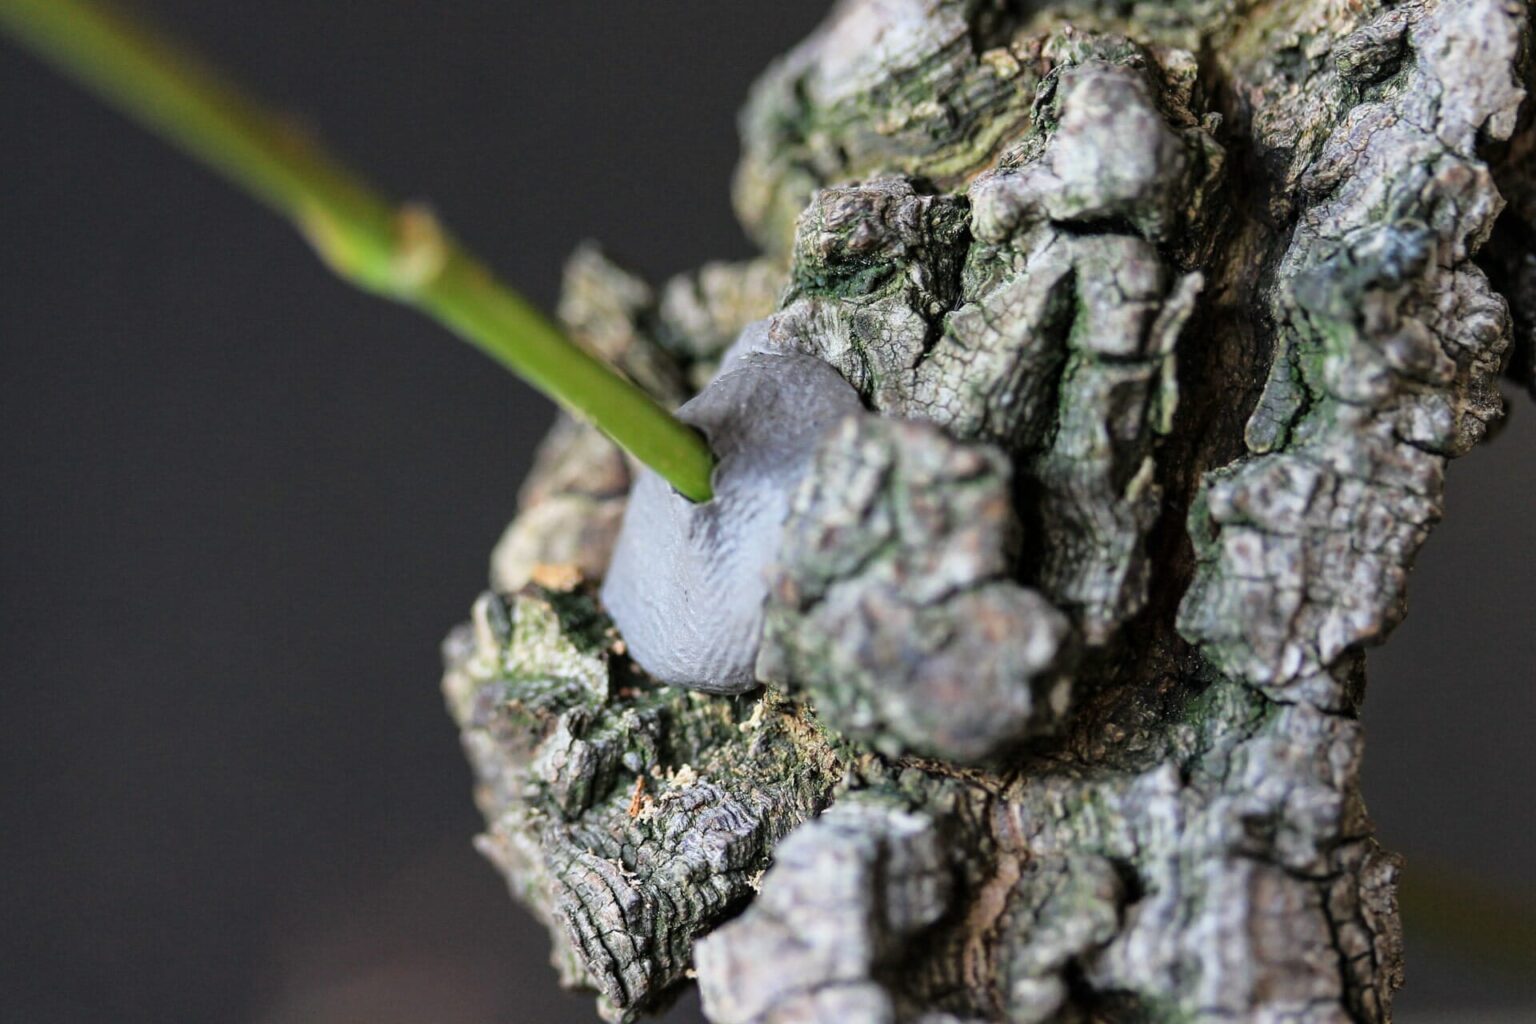
Now simply insert the young twig through the hole and cover the open areas of the drilled hole.

Step 3
3

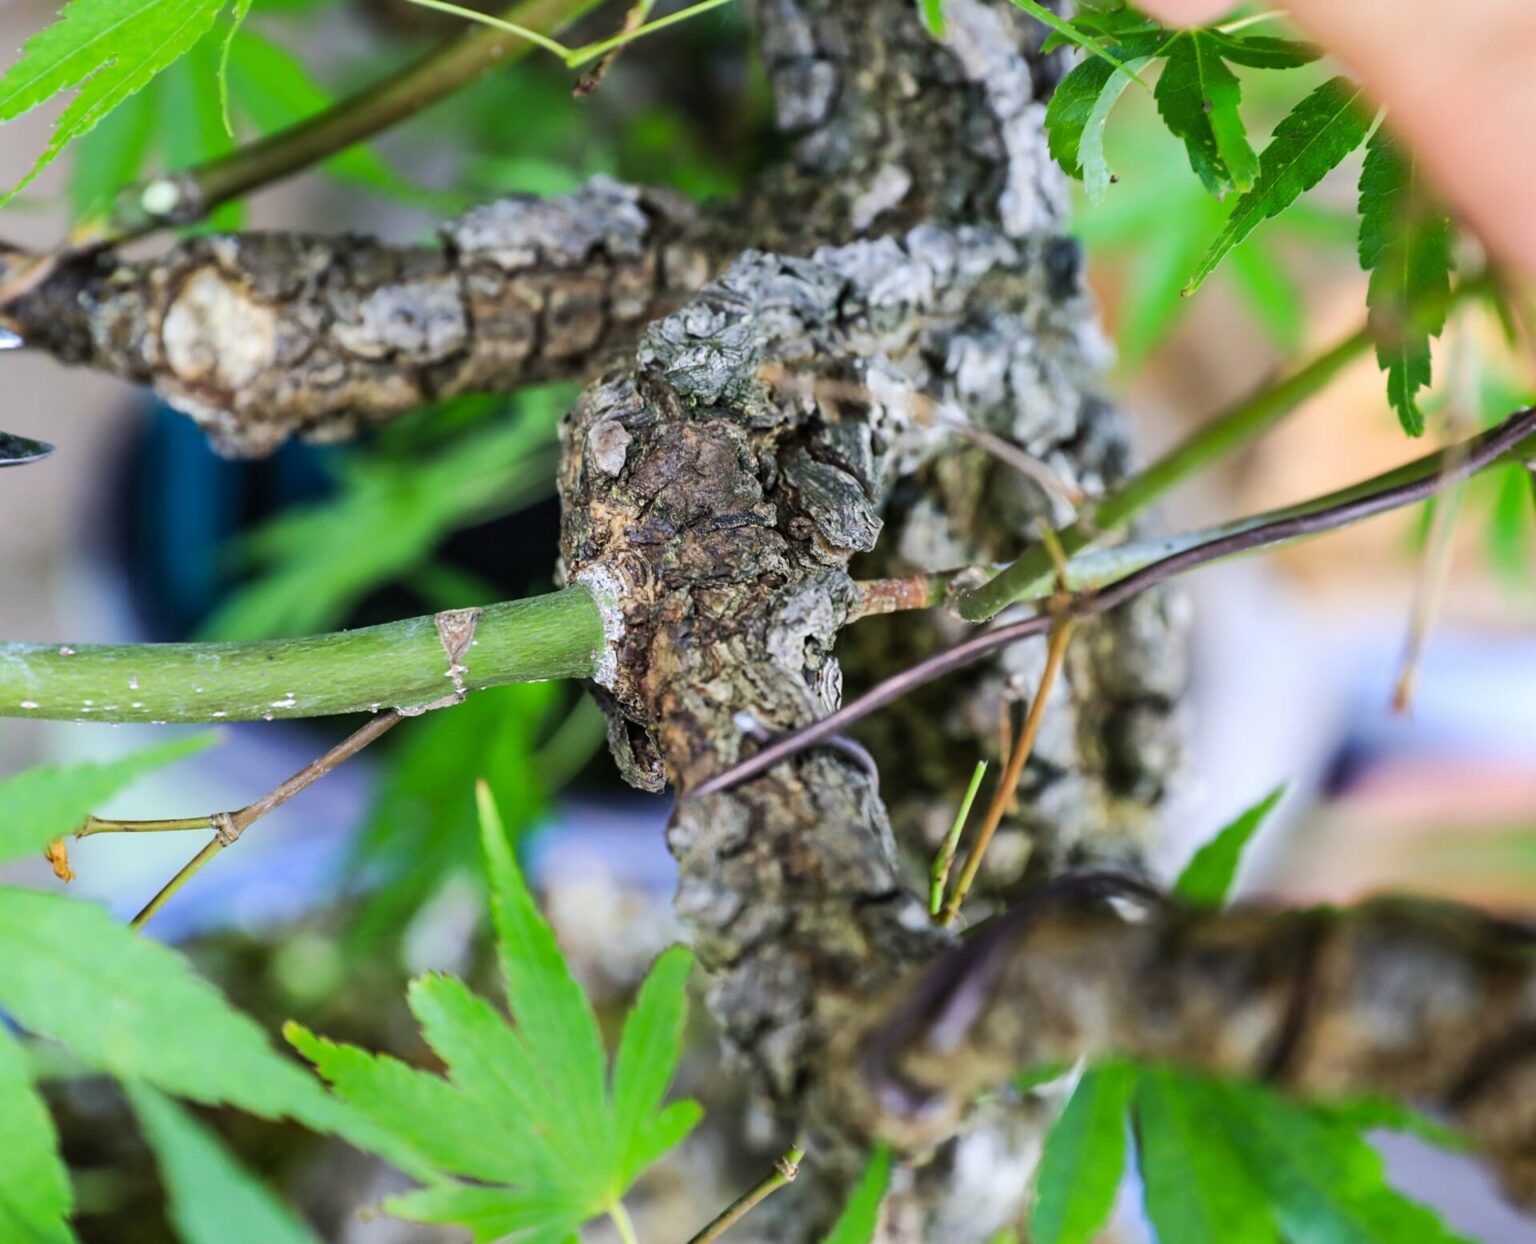
This result is shown after two years. If the "outgrowing" branch is significantly more pronounced than the "ingrowing" branch, this is a sure sign that the branch has grown in safely.

Drill grafting on a field maple (Acer campestre)

We used a seedling for this drill graft as the tree's own branches were not long enough for our technique.

Result

Here you can see the successfully ingrown shoot.

See also: