Instructions
With a duration of five to 20 years, the build-up process can take a very long time and requires regular good care. This includes targeted watering, hoeing and spraying.
The roots have to be pruned again and again, just like the branches, and repotting is necessary every third year. The aim when setting up a bonsai is to achieve a broad and shallow root base, which is the basis for achieving harmonious rejuvenation.
The branches do not have to be trimmed immediately; they can also be processed and defined later in the tray. As the procedures for the numerous different types of bonsai differ greatly, we can only provide a few basic aspects here. We will gradually publish separate and specialized articles on the procedure for individual bonsai trees.
Example of black alder: from the open field to the seed tray.
Using a black alder, we will show you how to grow it from the open field to the finished tree in the tray.
Step 1
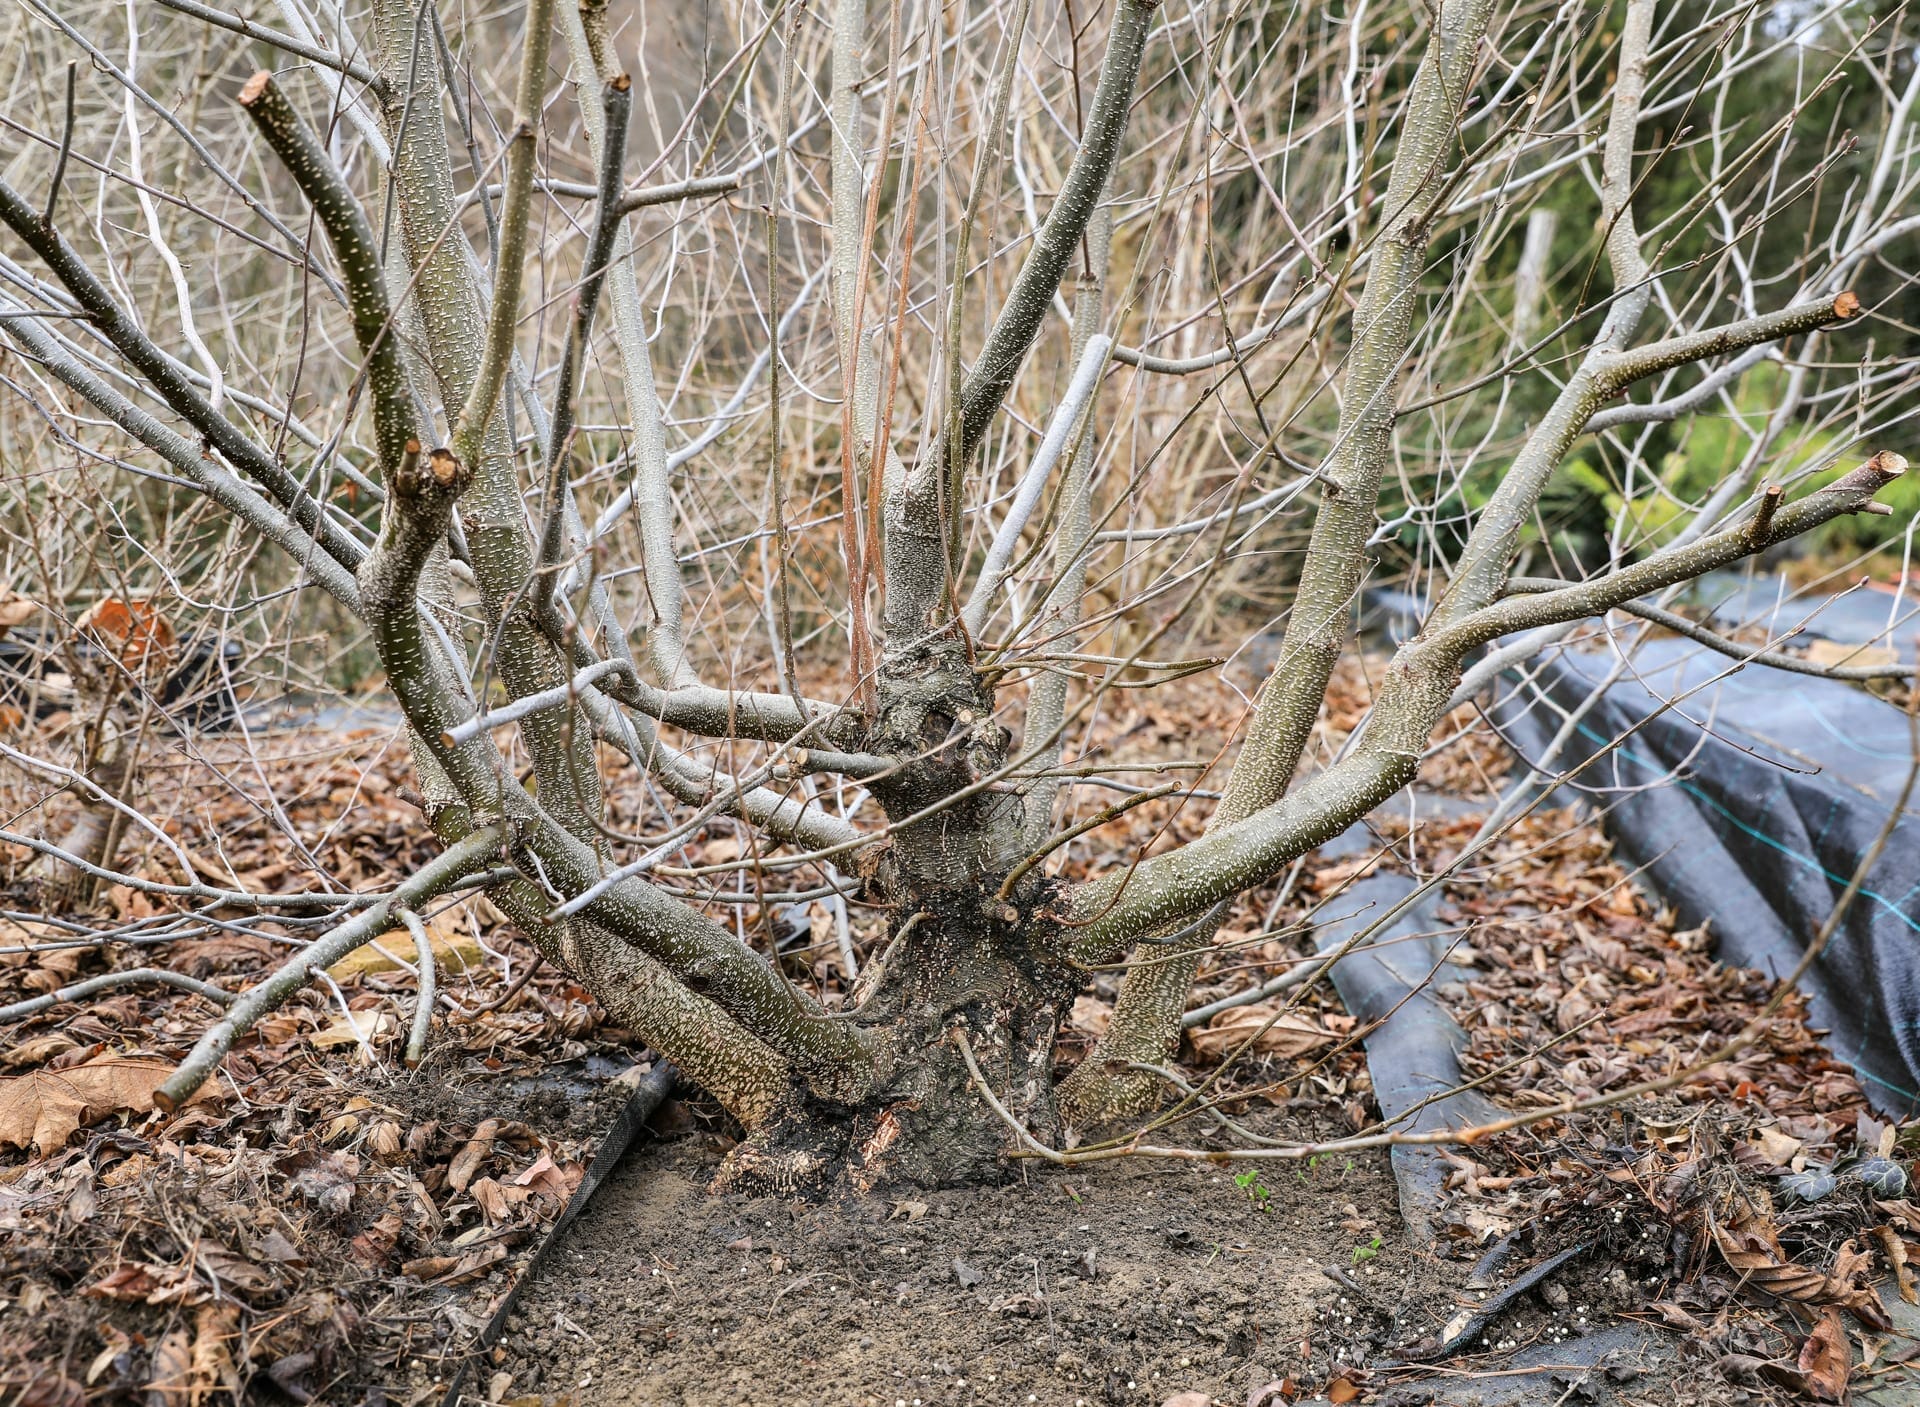
It all starts with the finished blank in the nursery. The blank has developed strong ornamental branches, which are now the ideal prerequisite for a broad base and harmonious rejuvenation
Step 2
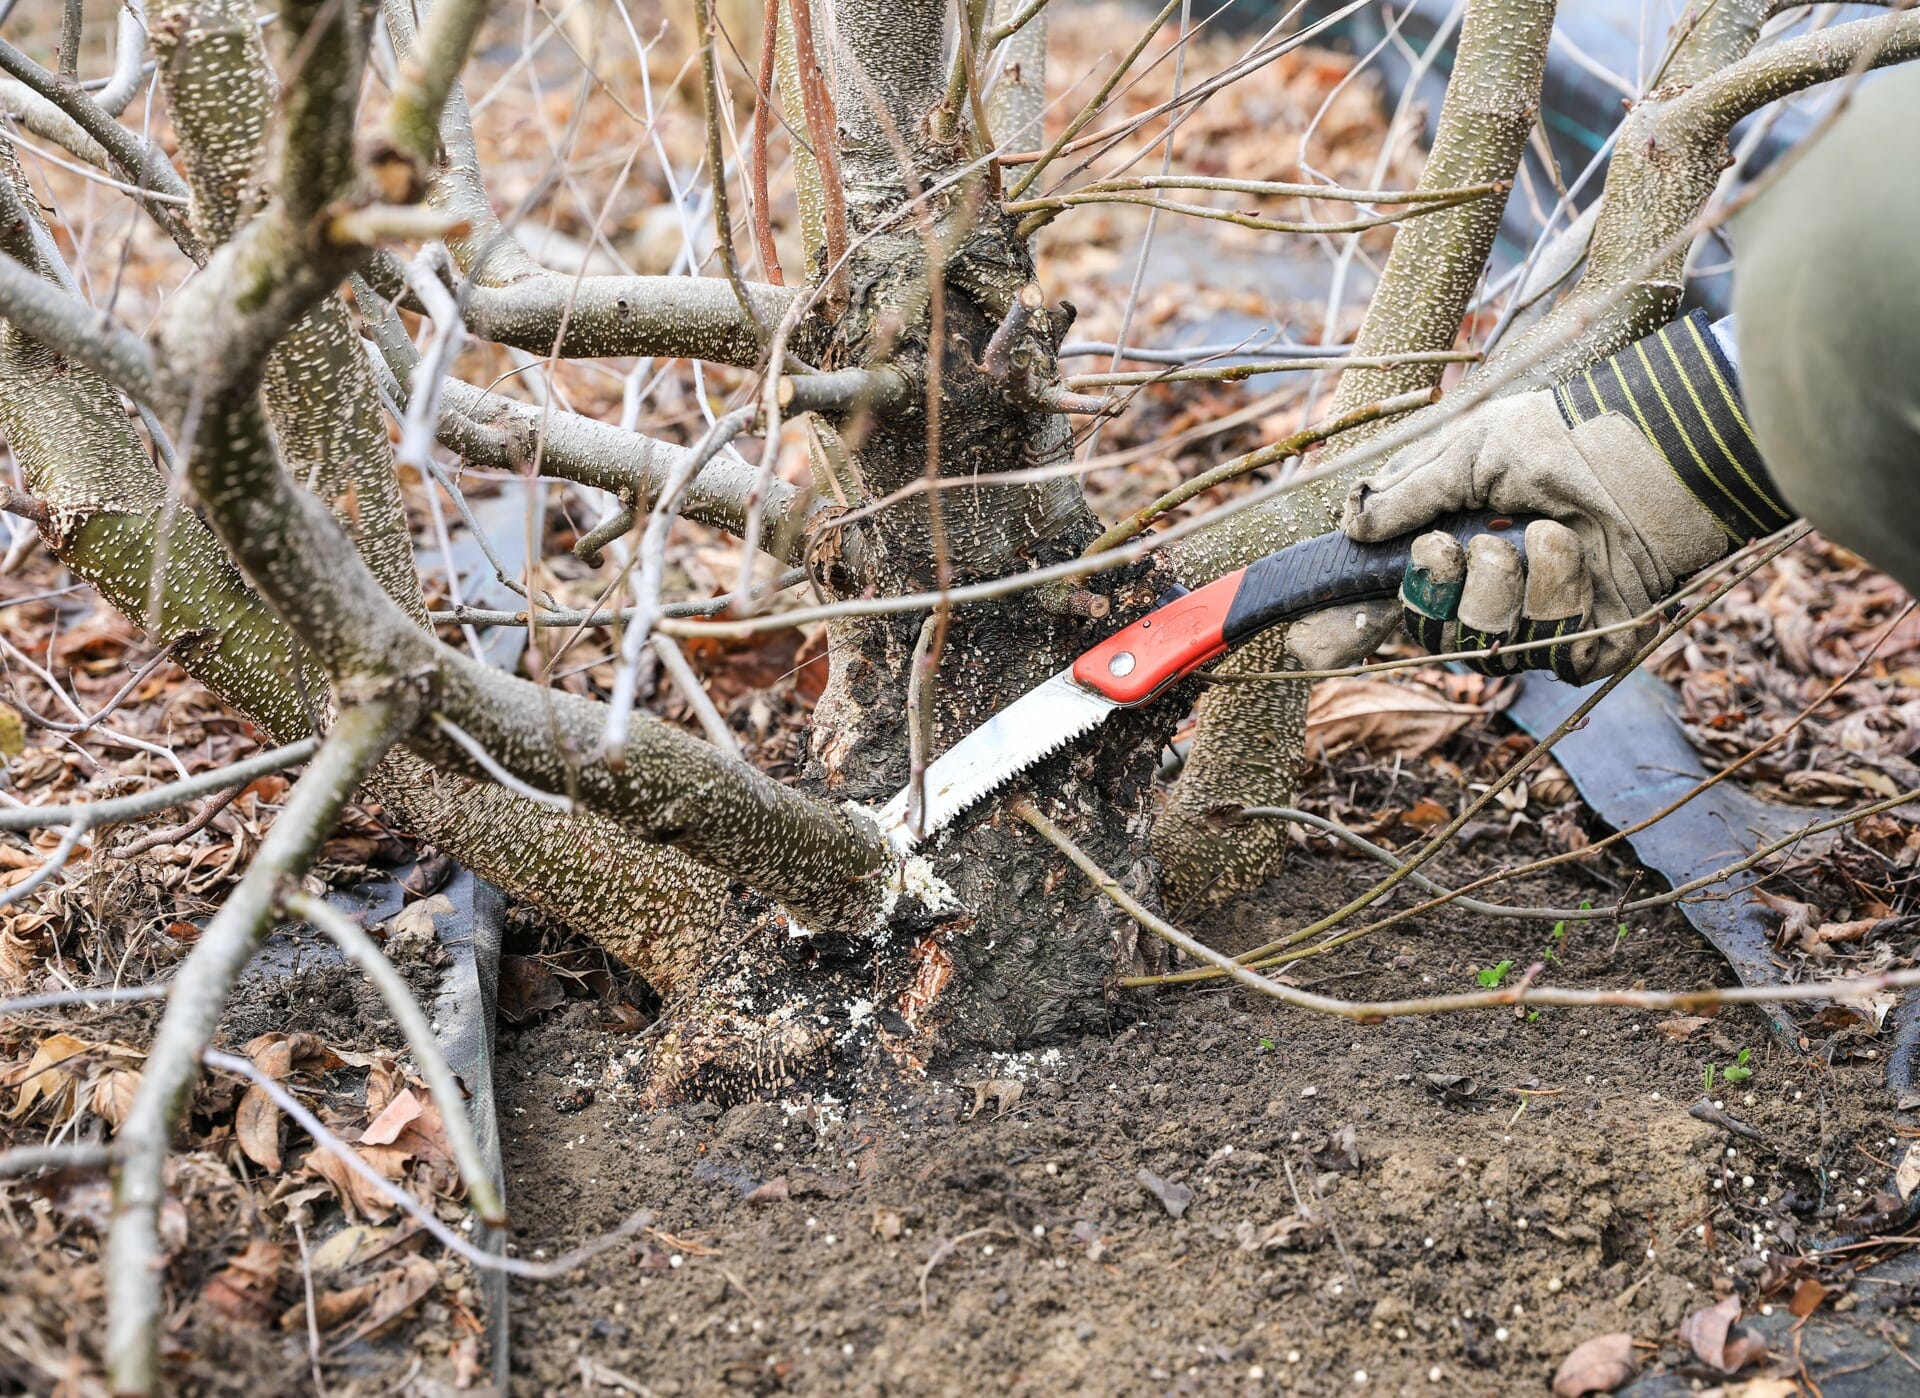
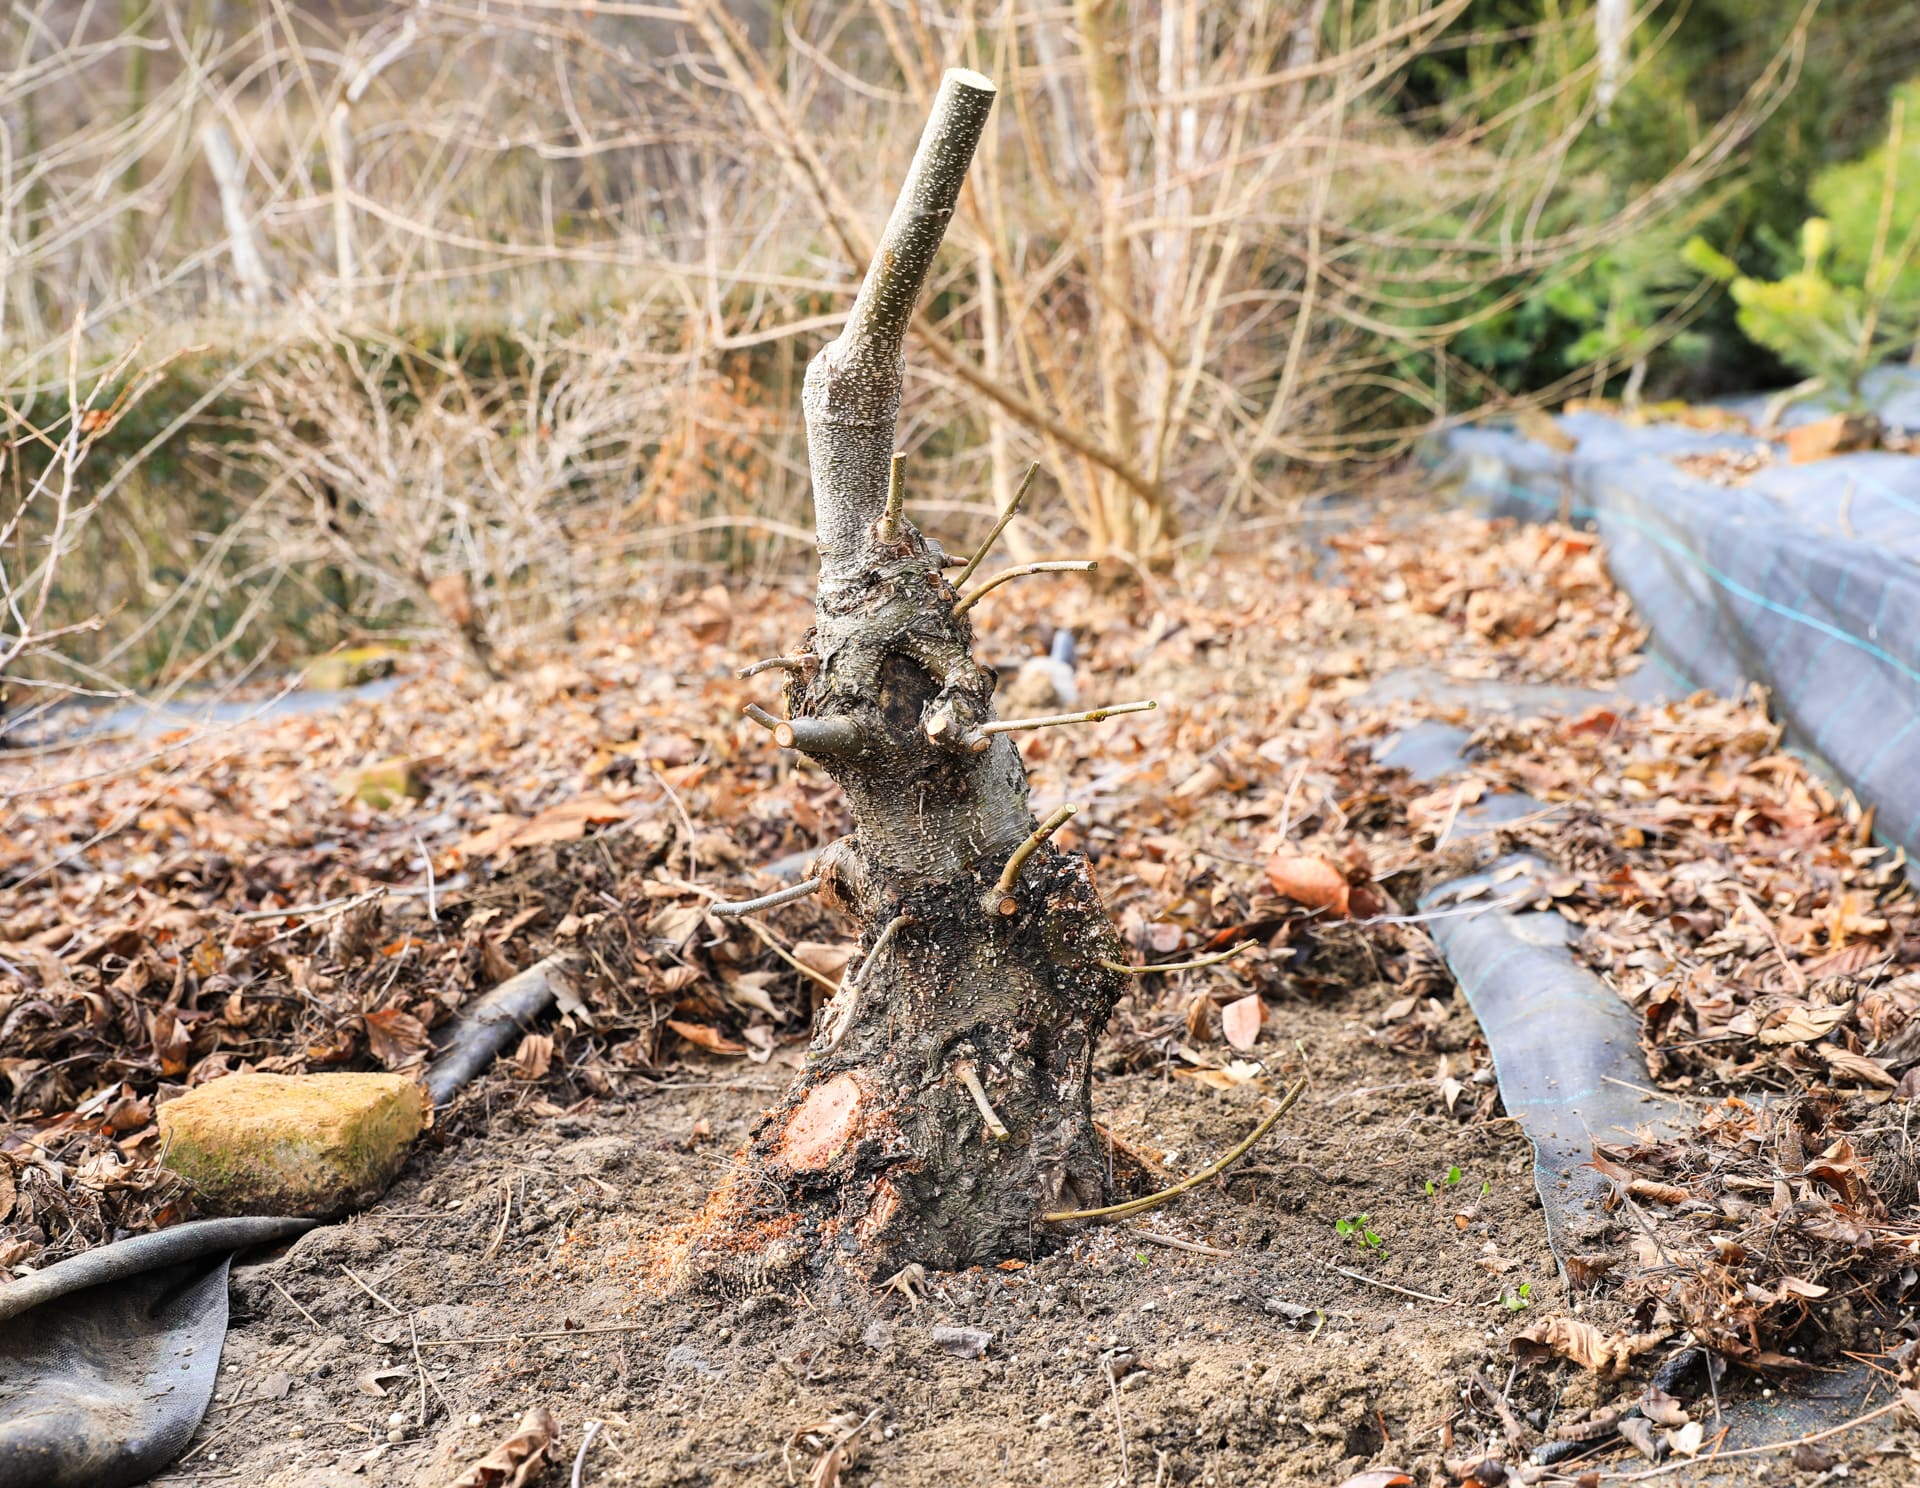
Our tree has survived its first work step when all the branches have been removed.
Step 3
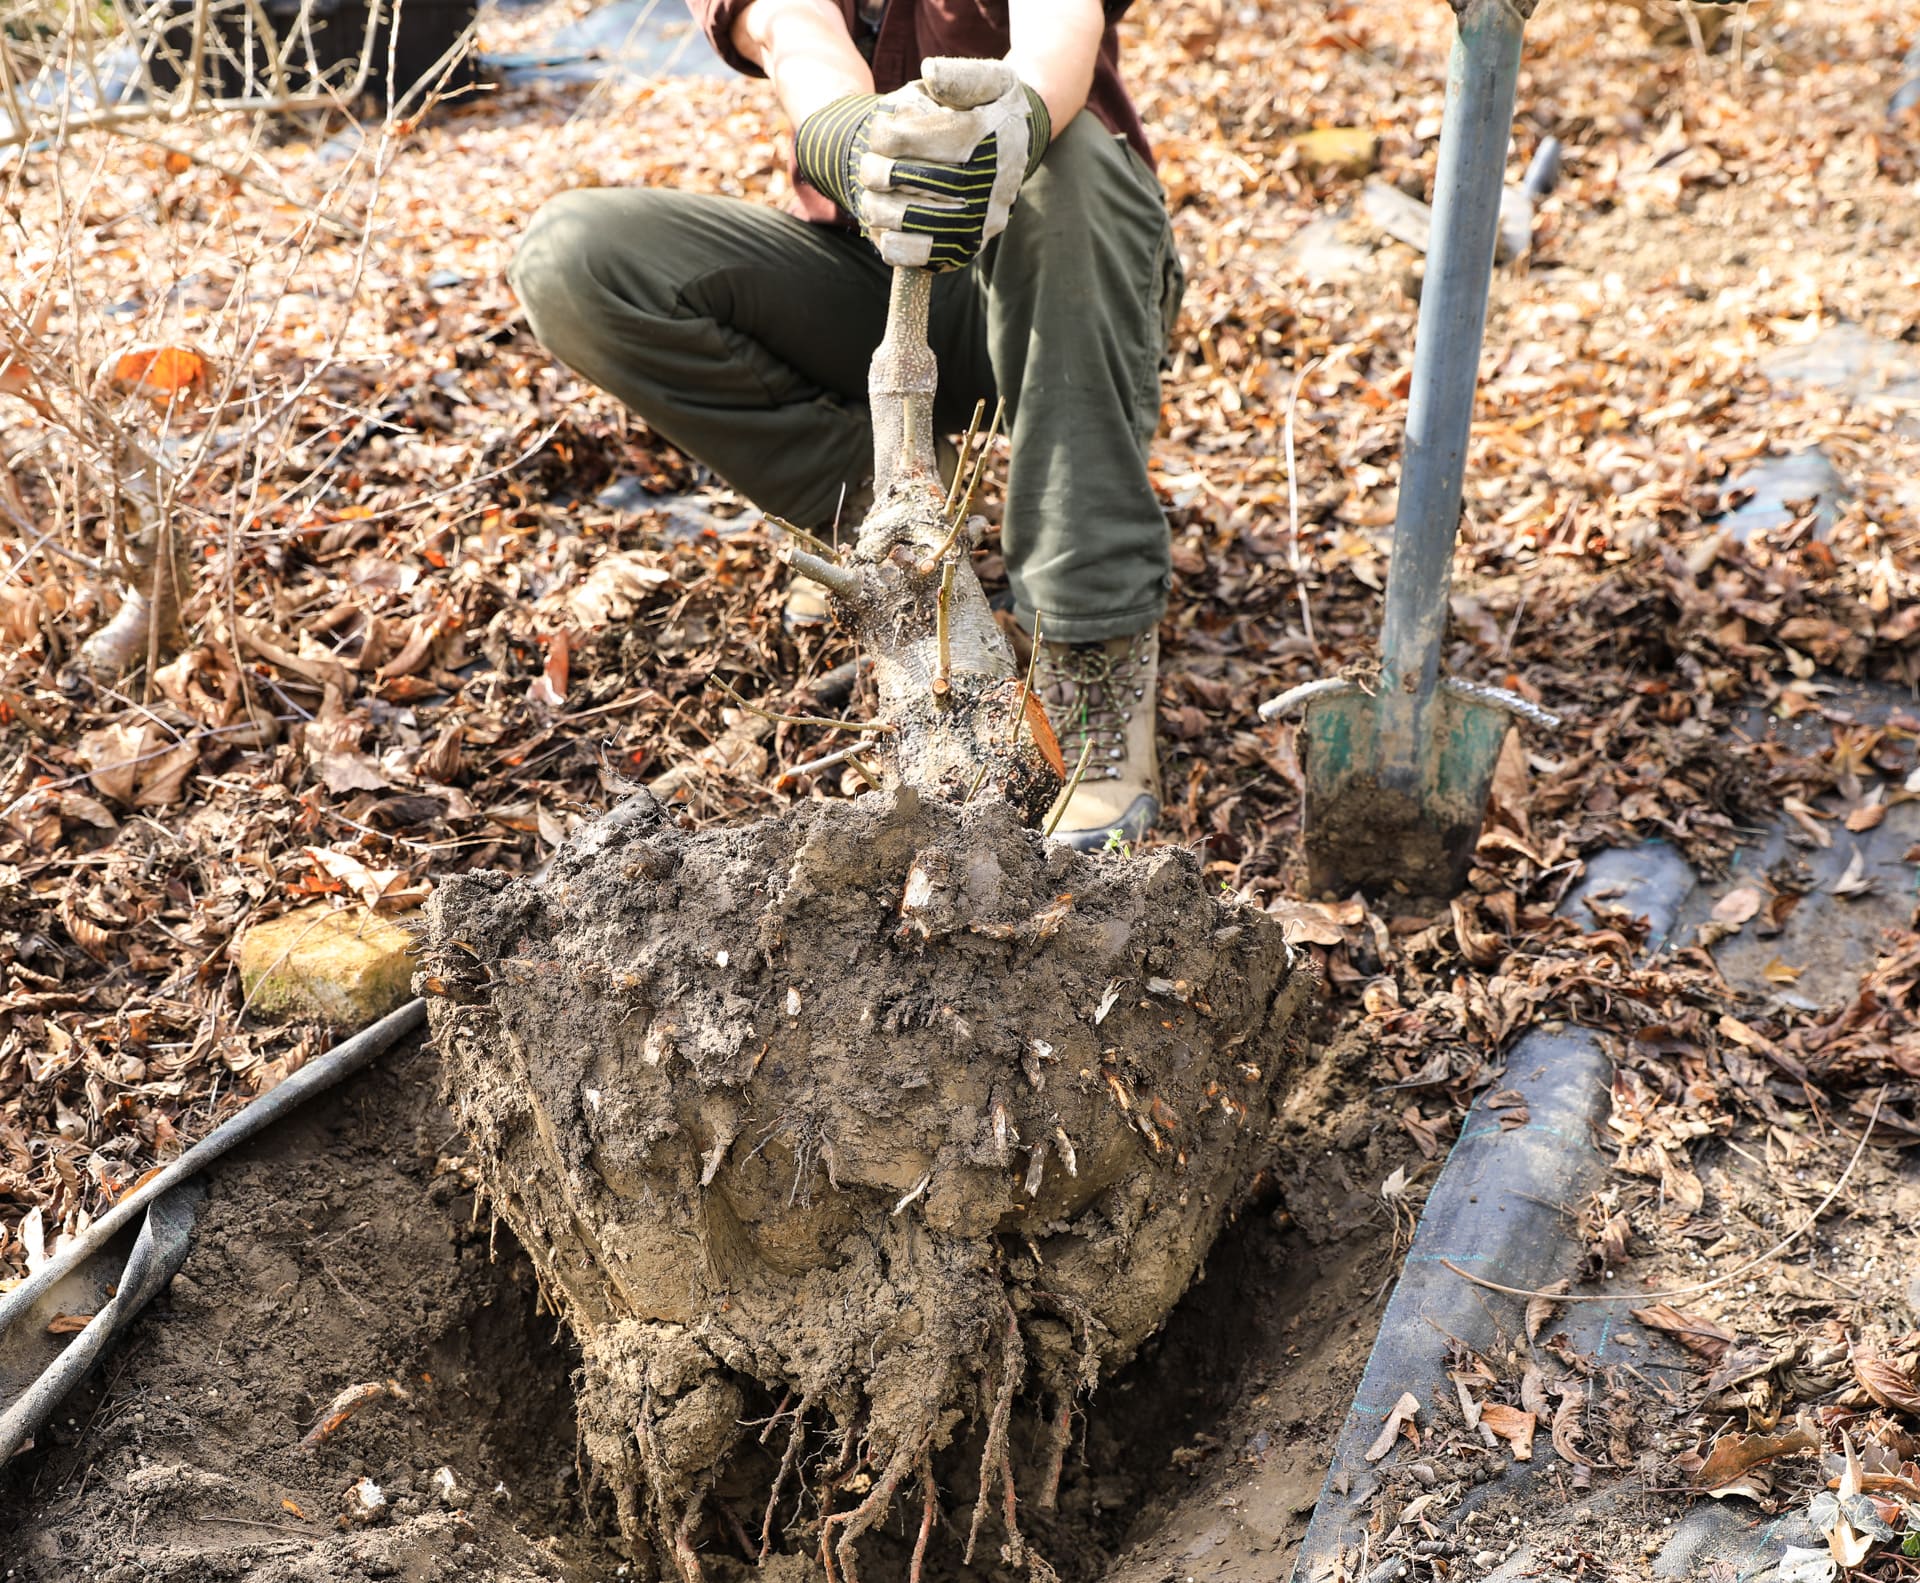
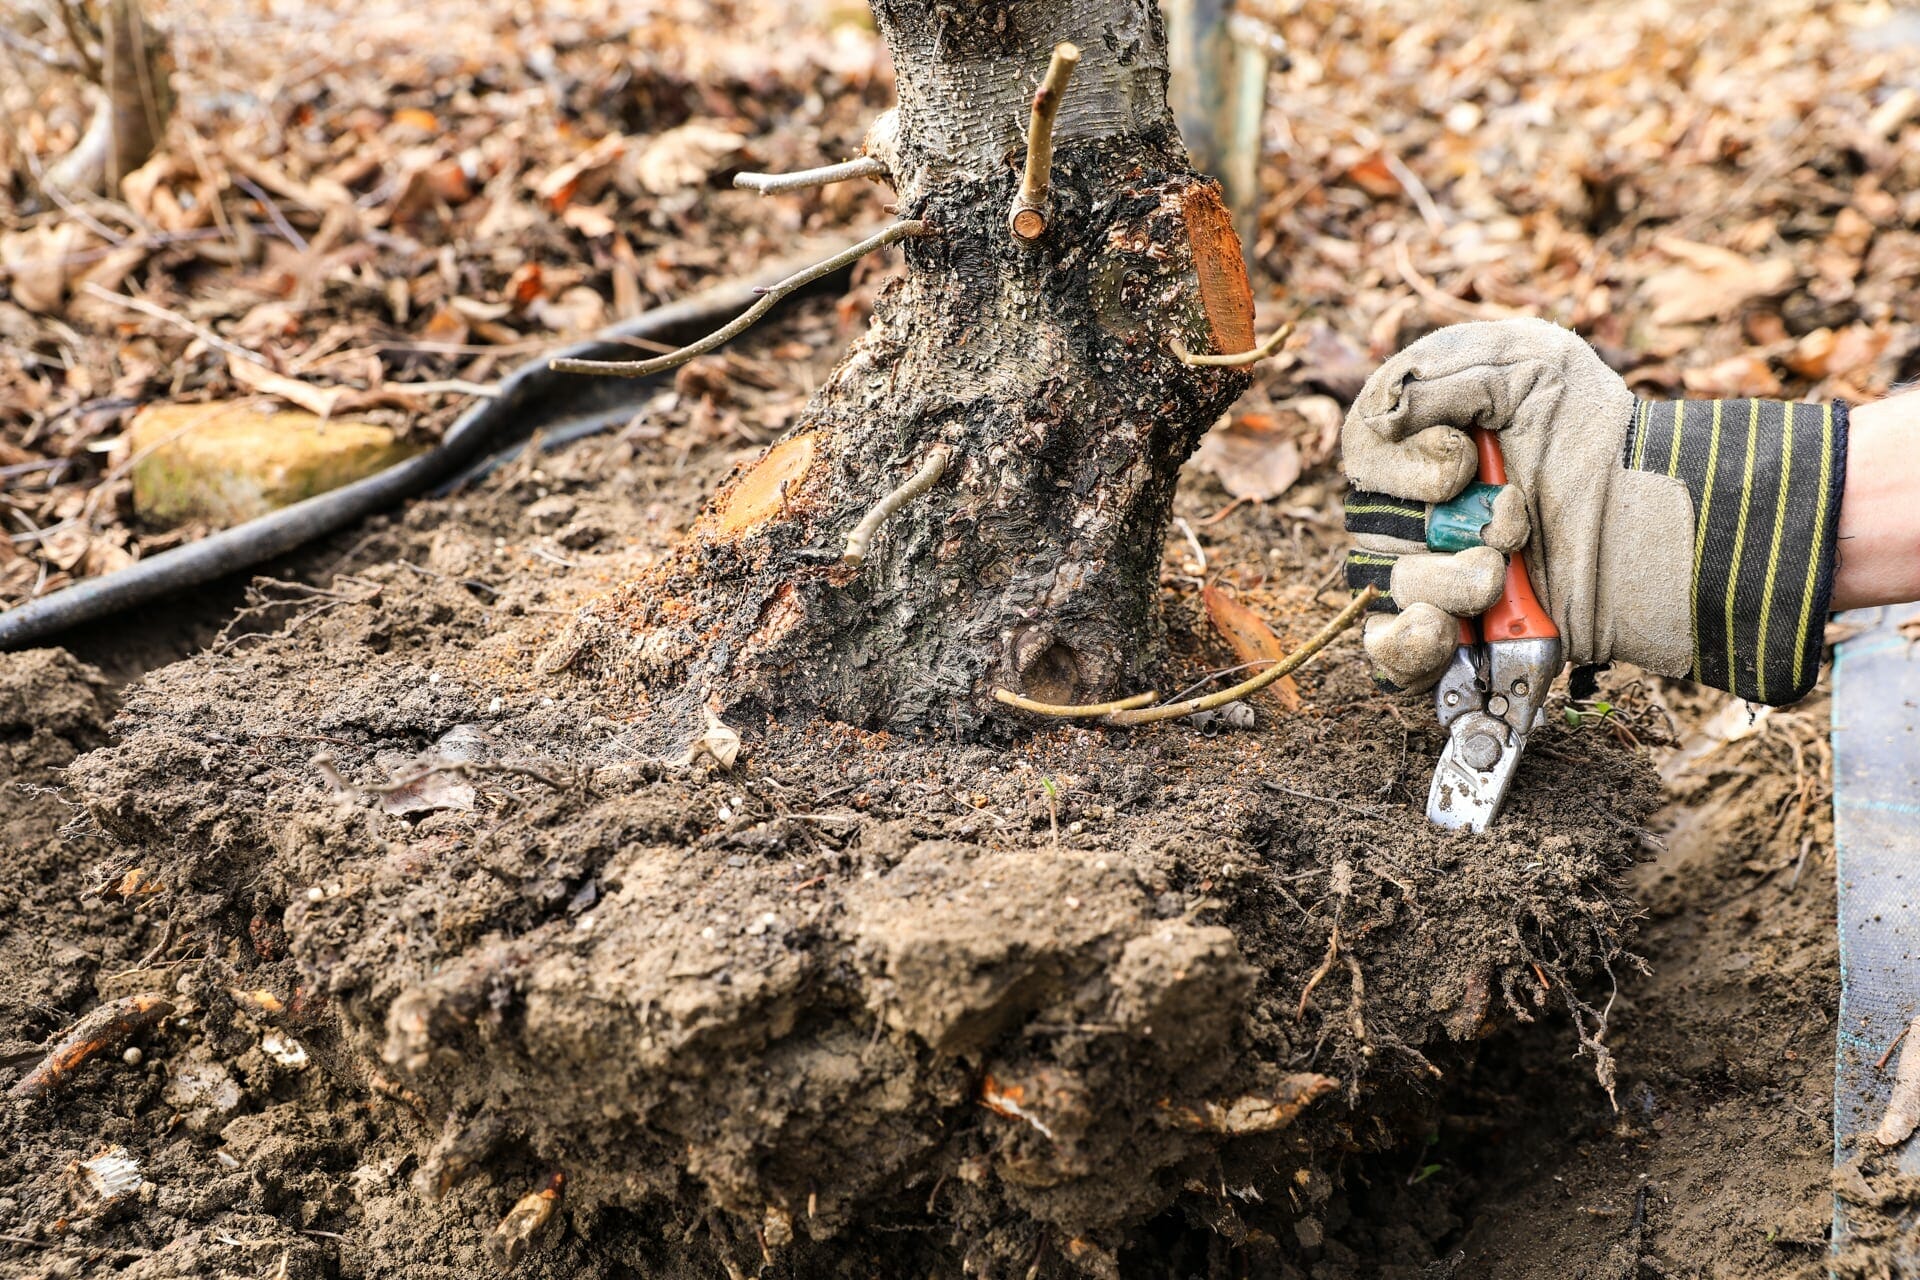
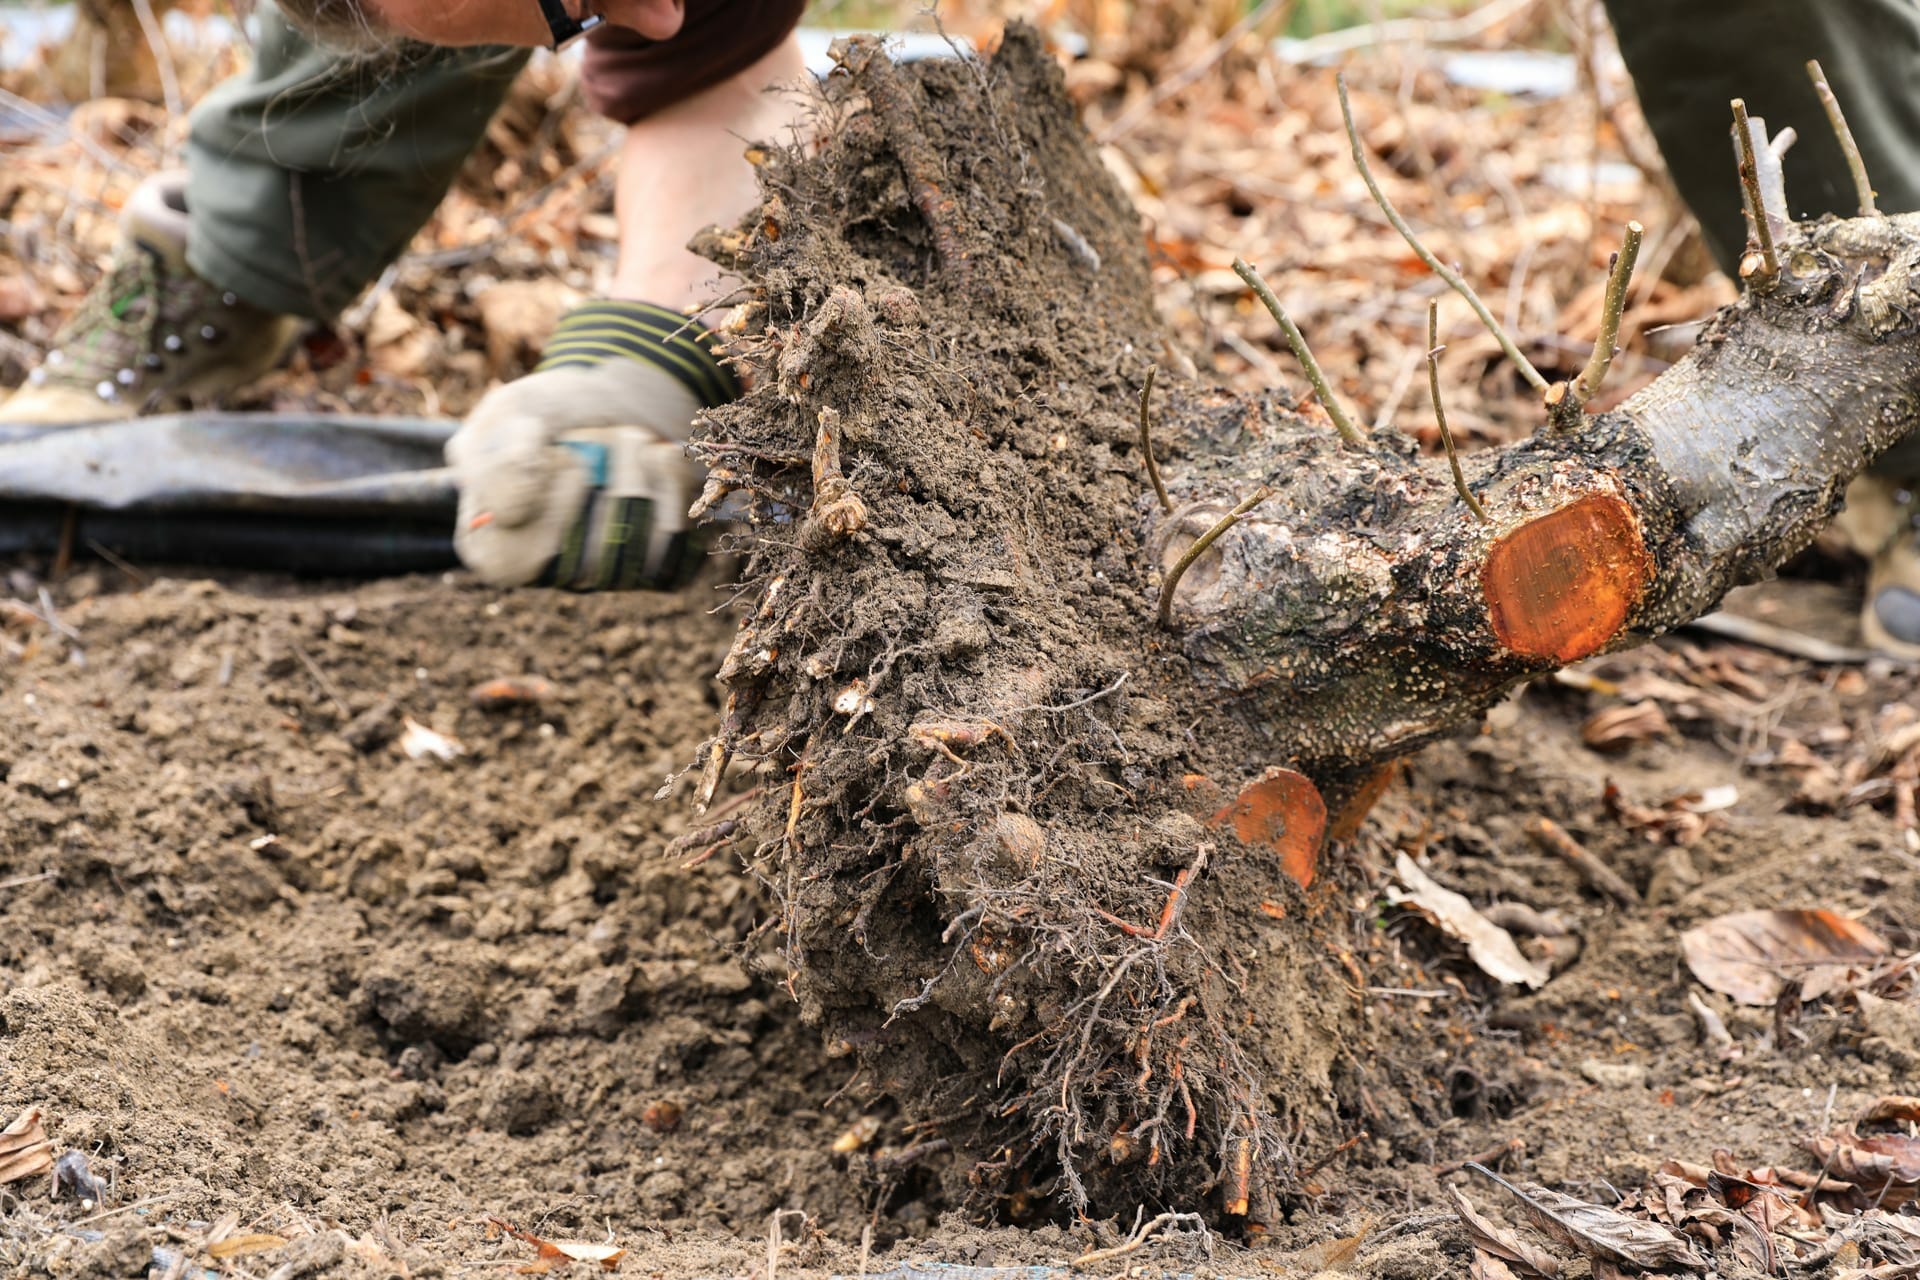
We dig up the pruned tree and remove the remaining soil from the root ball.
Step 4
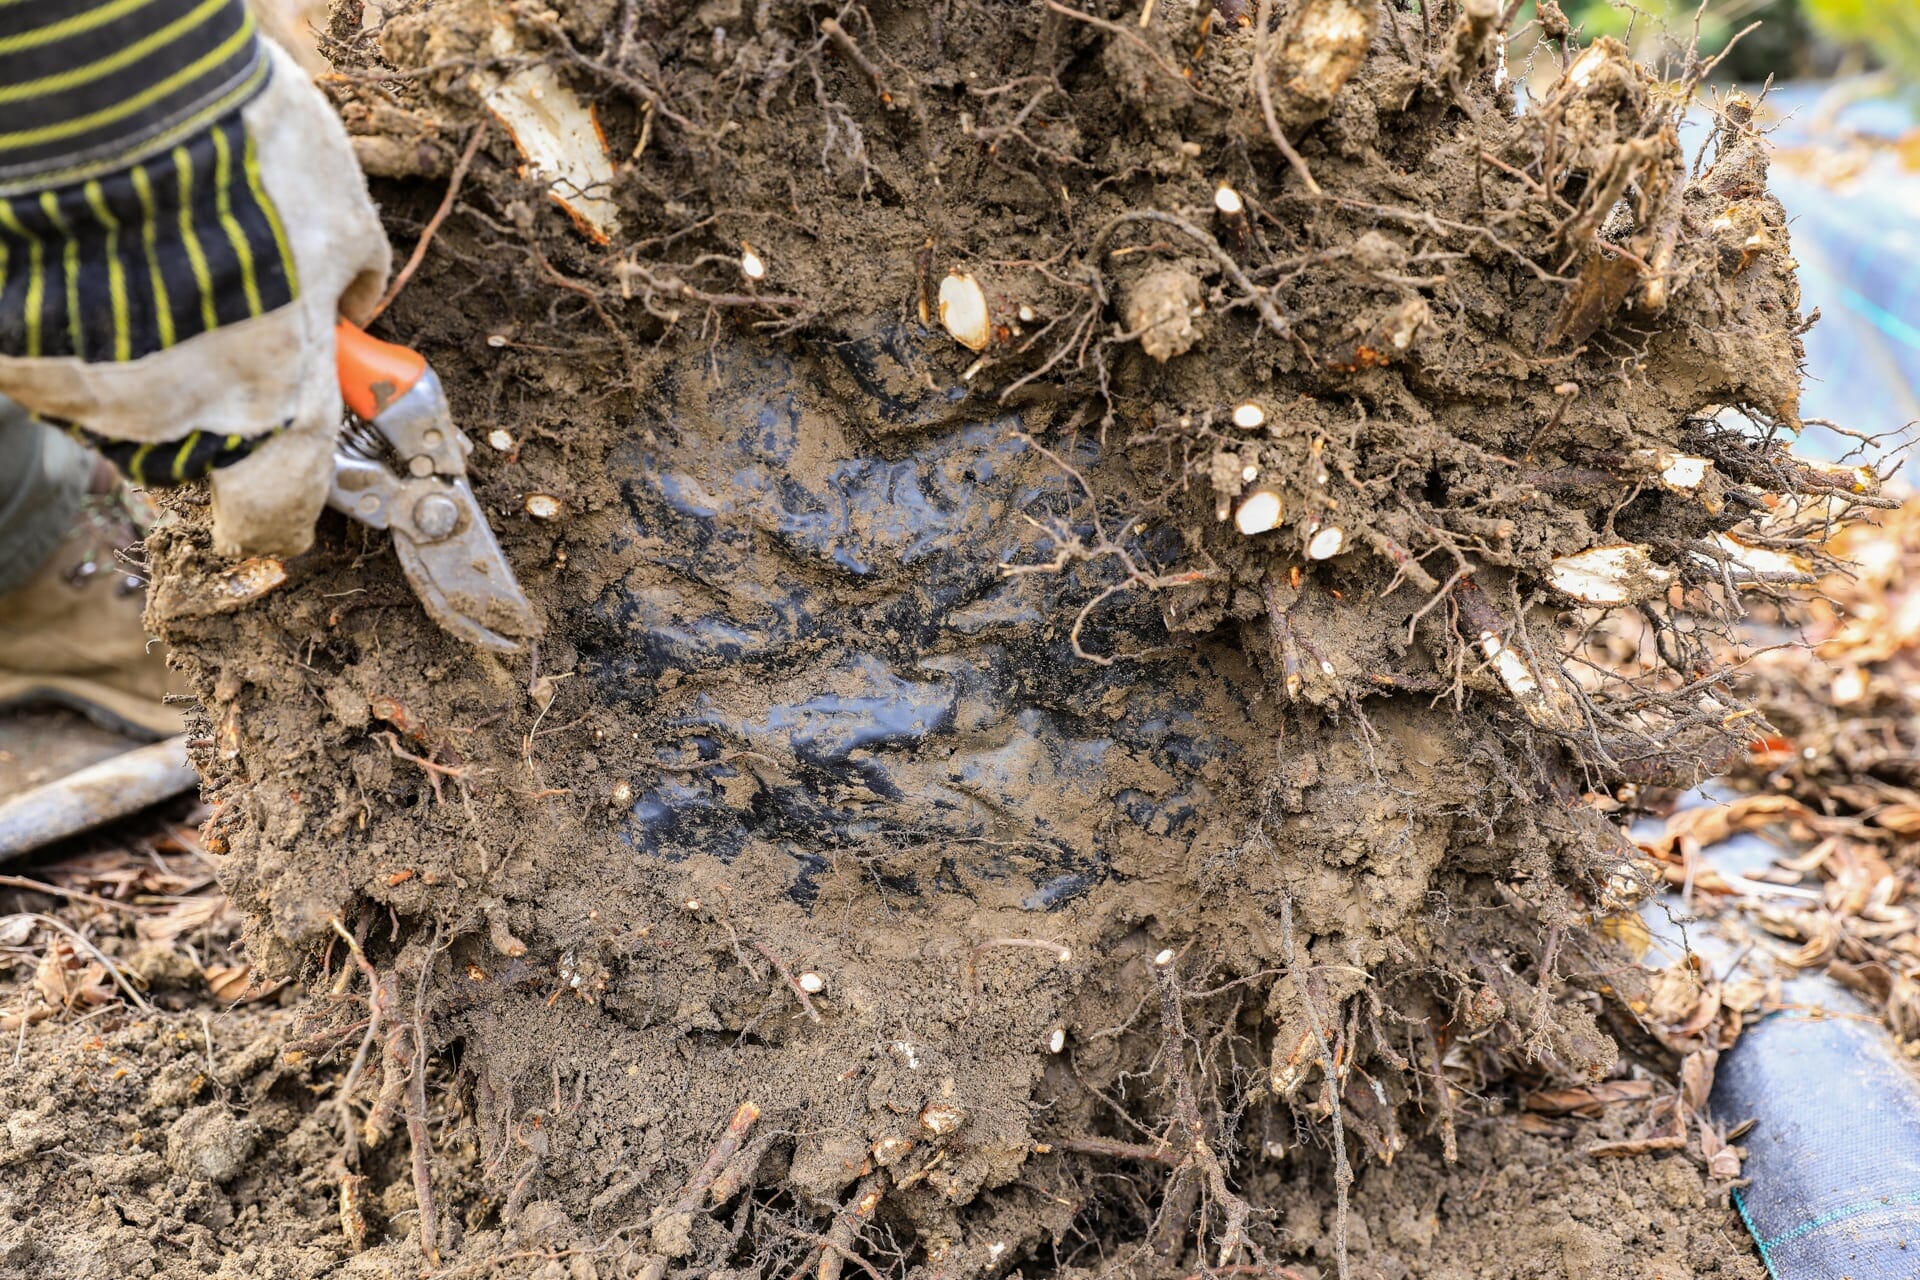
A layer of foil has ensured that the roots of the blank grow particularly shallow. As a result, the tree was unable to develop tap roots and is ideally suited for further shaping as a bonsai.
Step 5
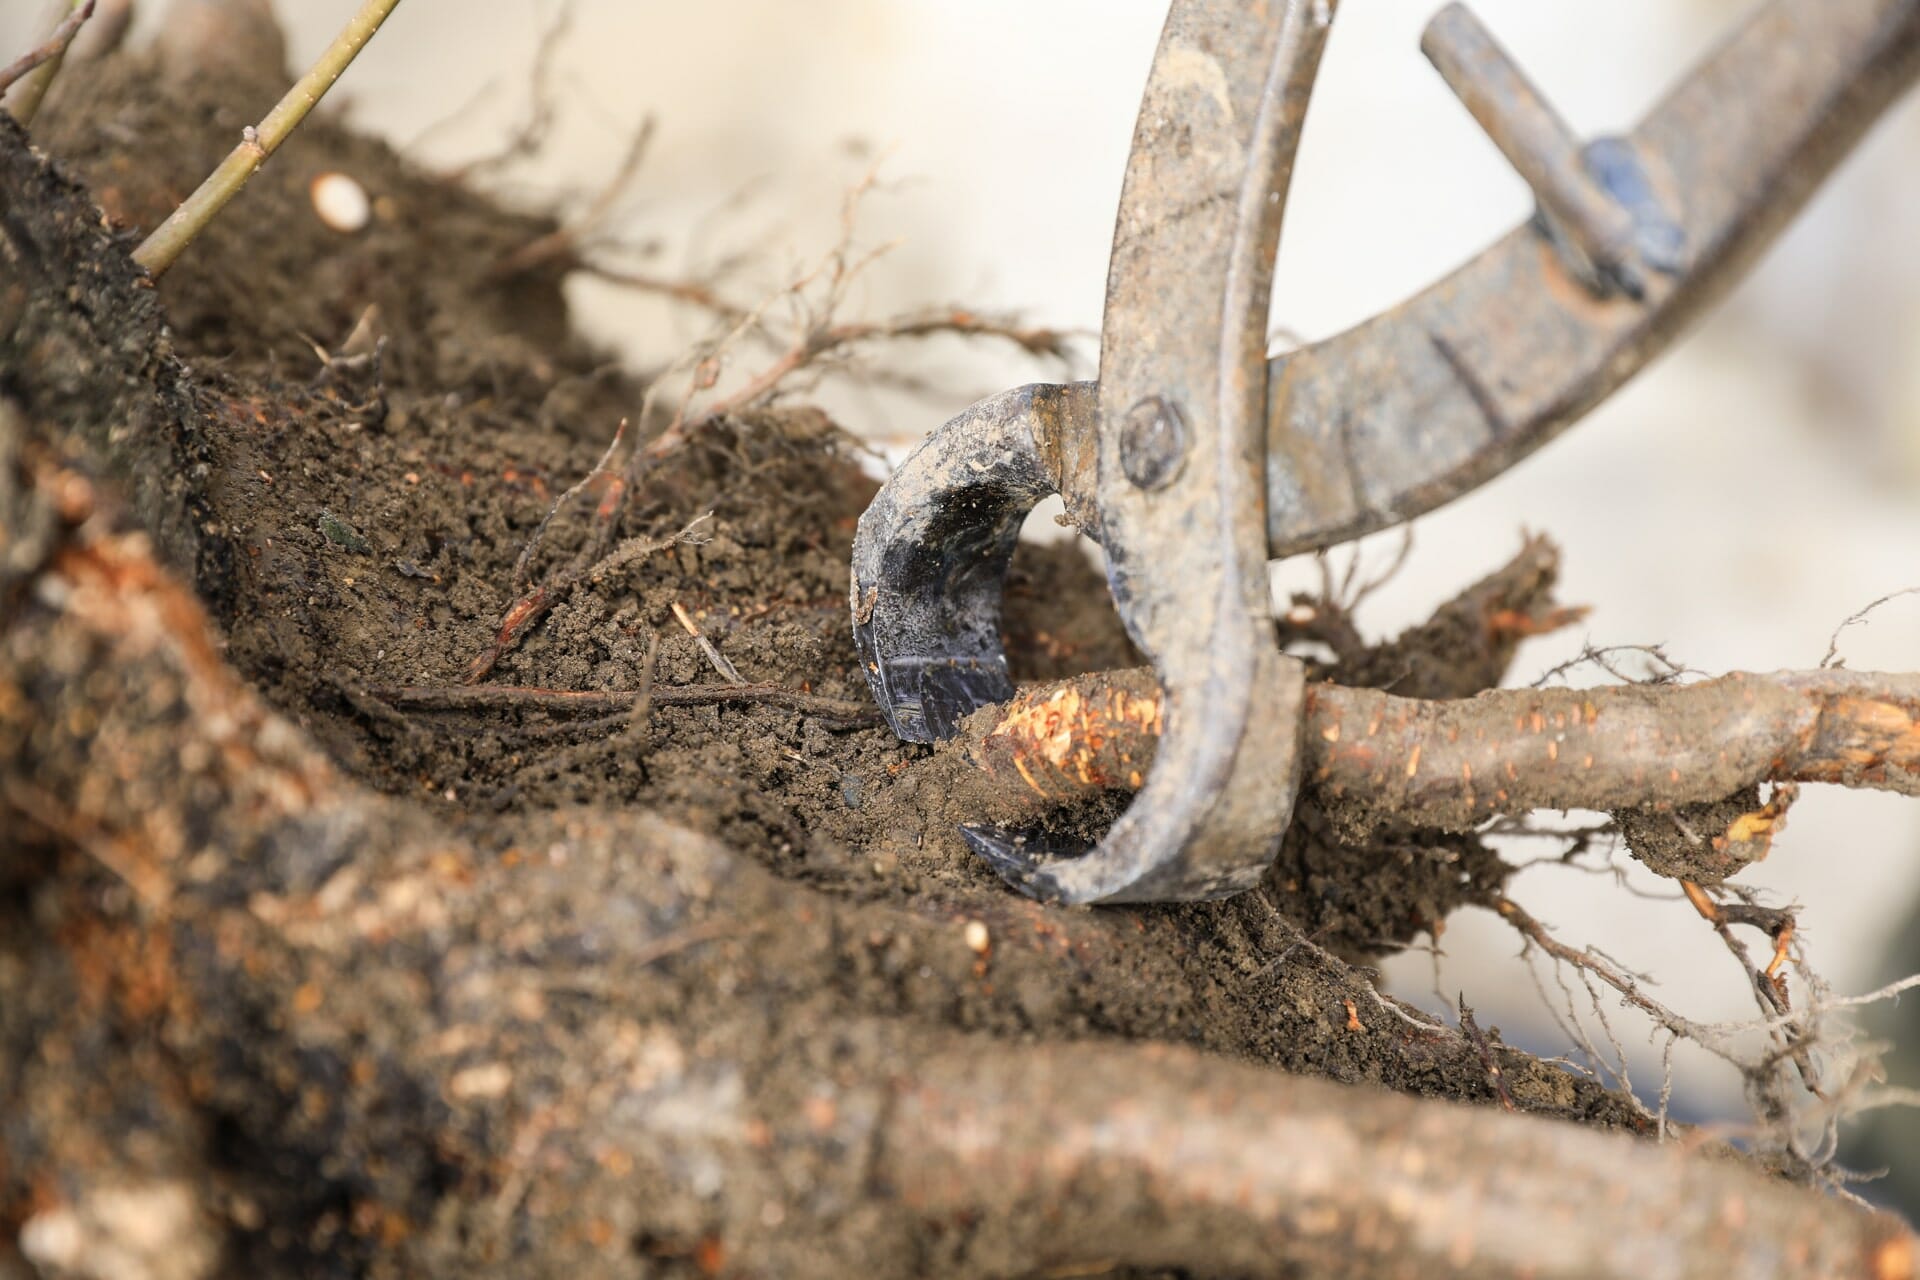
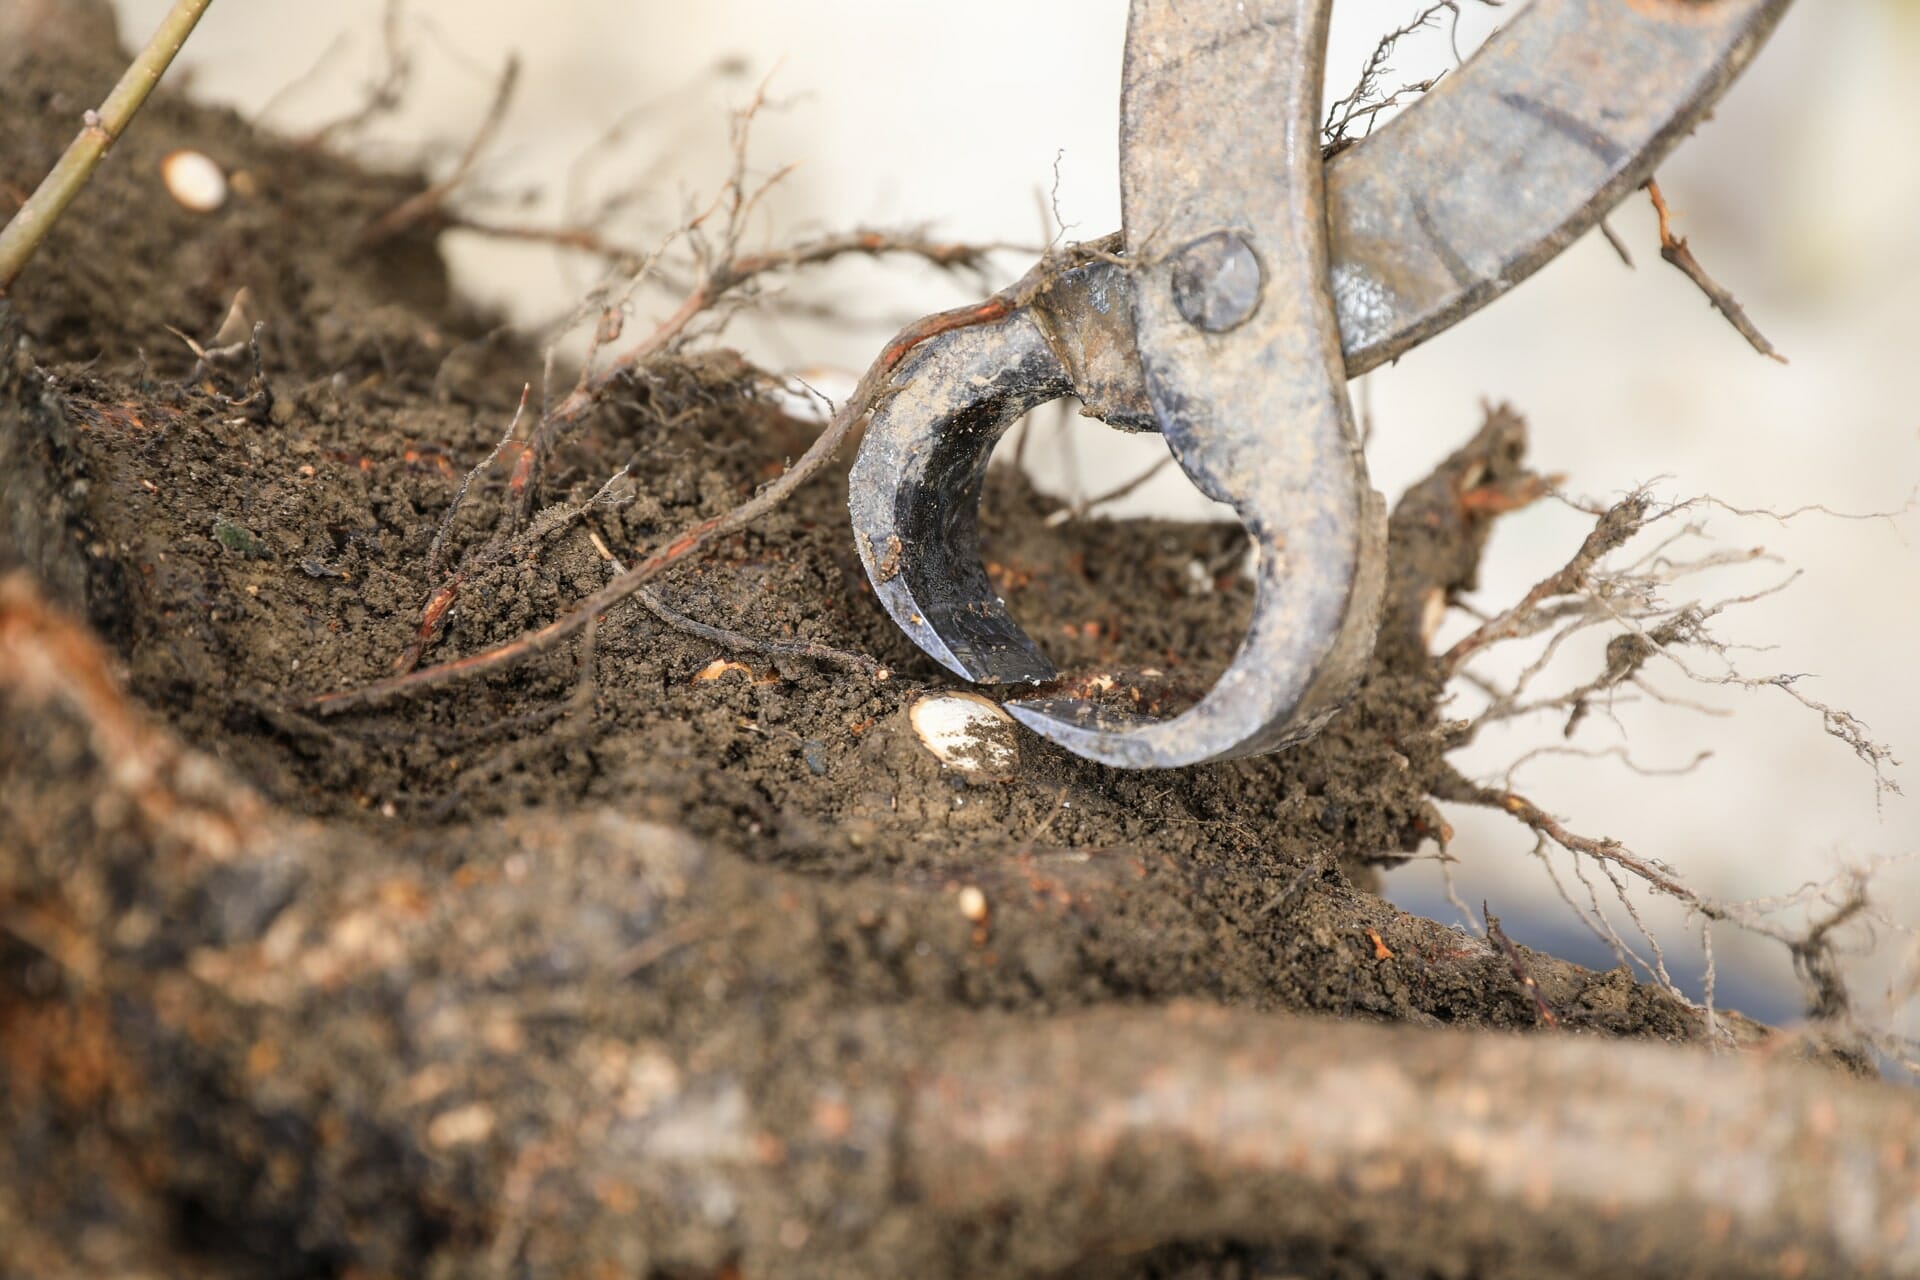
We consistently remove roots that have grown upwards.
Step 6
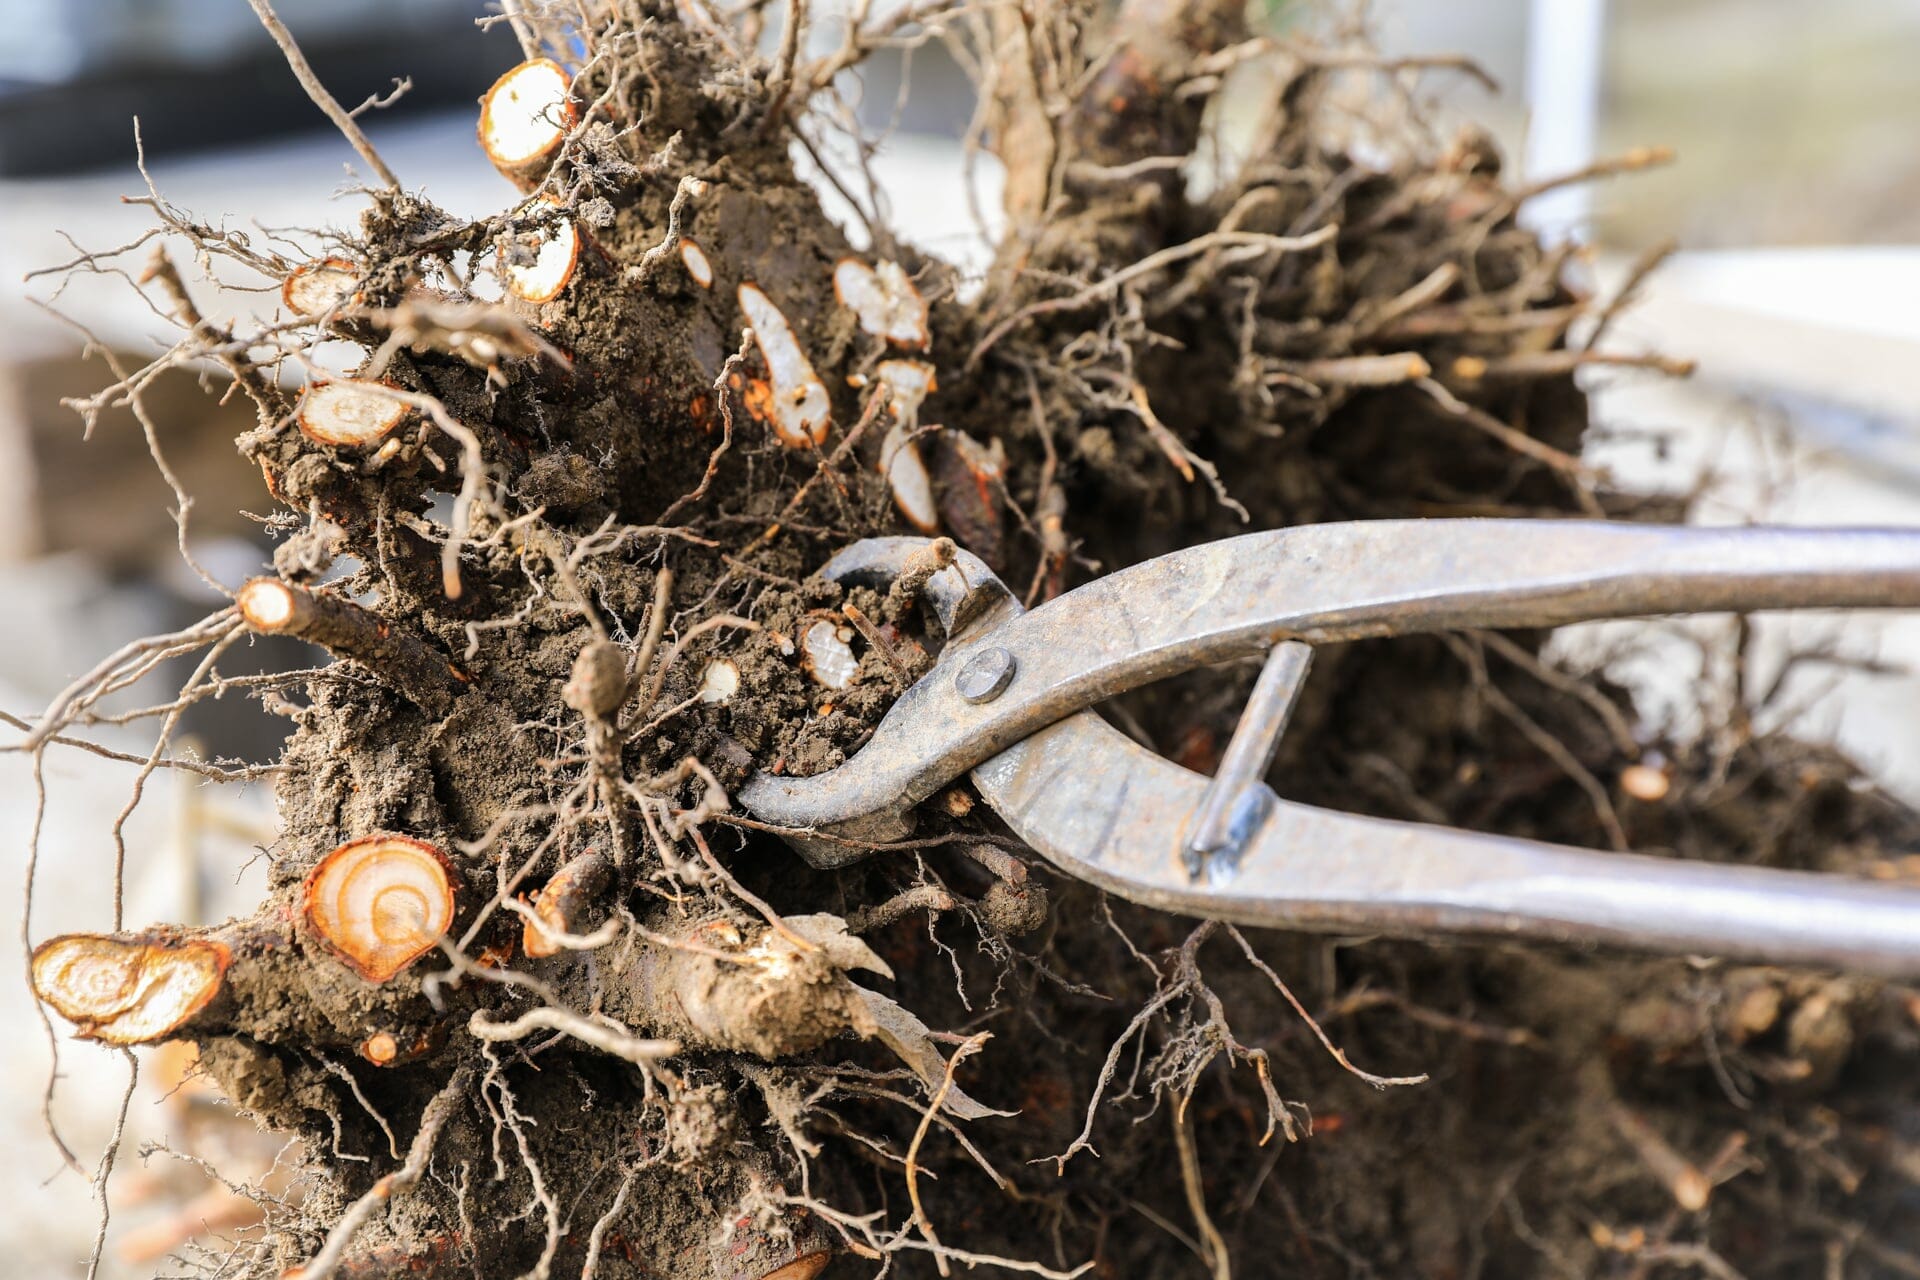
Roots that have grown steeply downwards despite the foil must also be removed. A completely flat root plateau is always a prerequisite for successful establishment.
Step 7
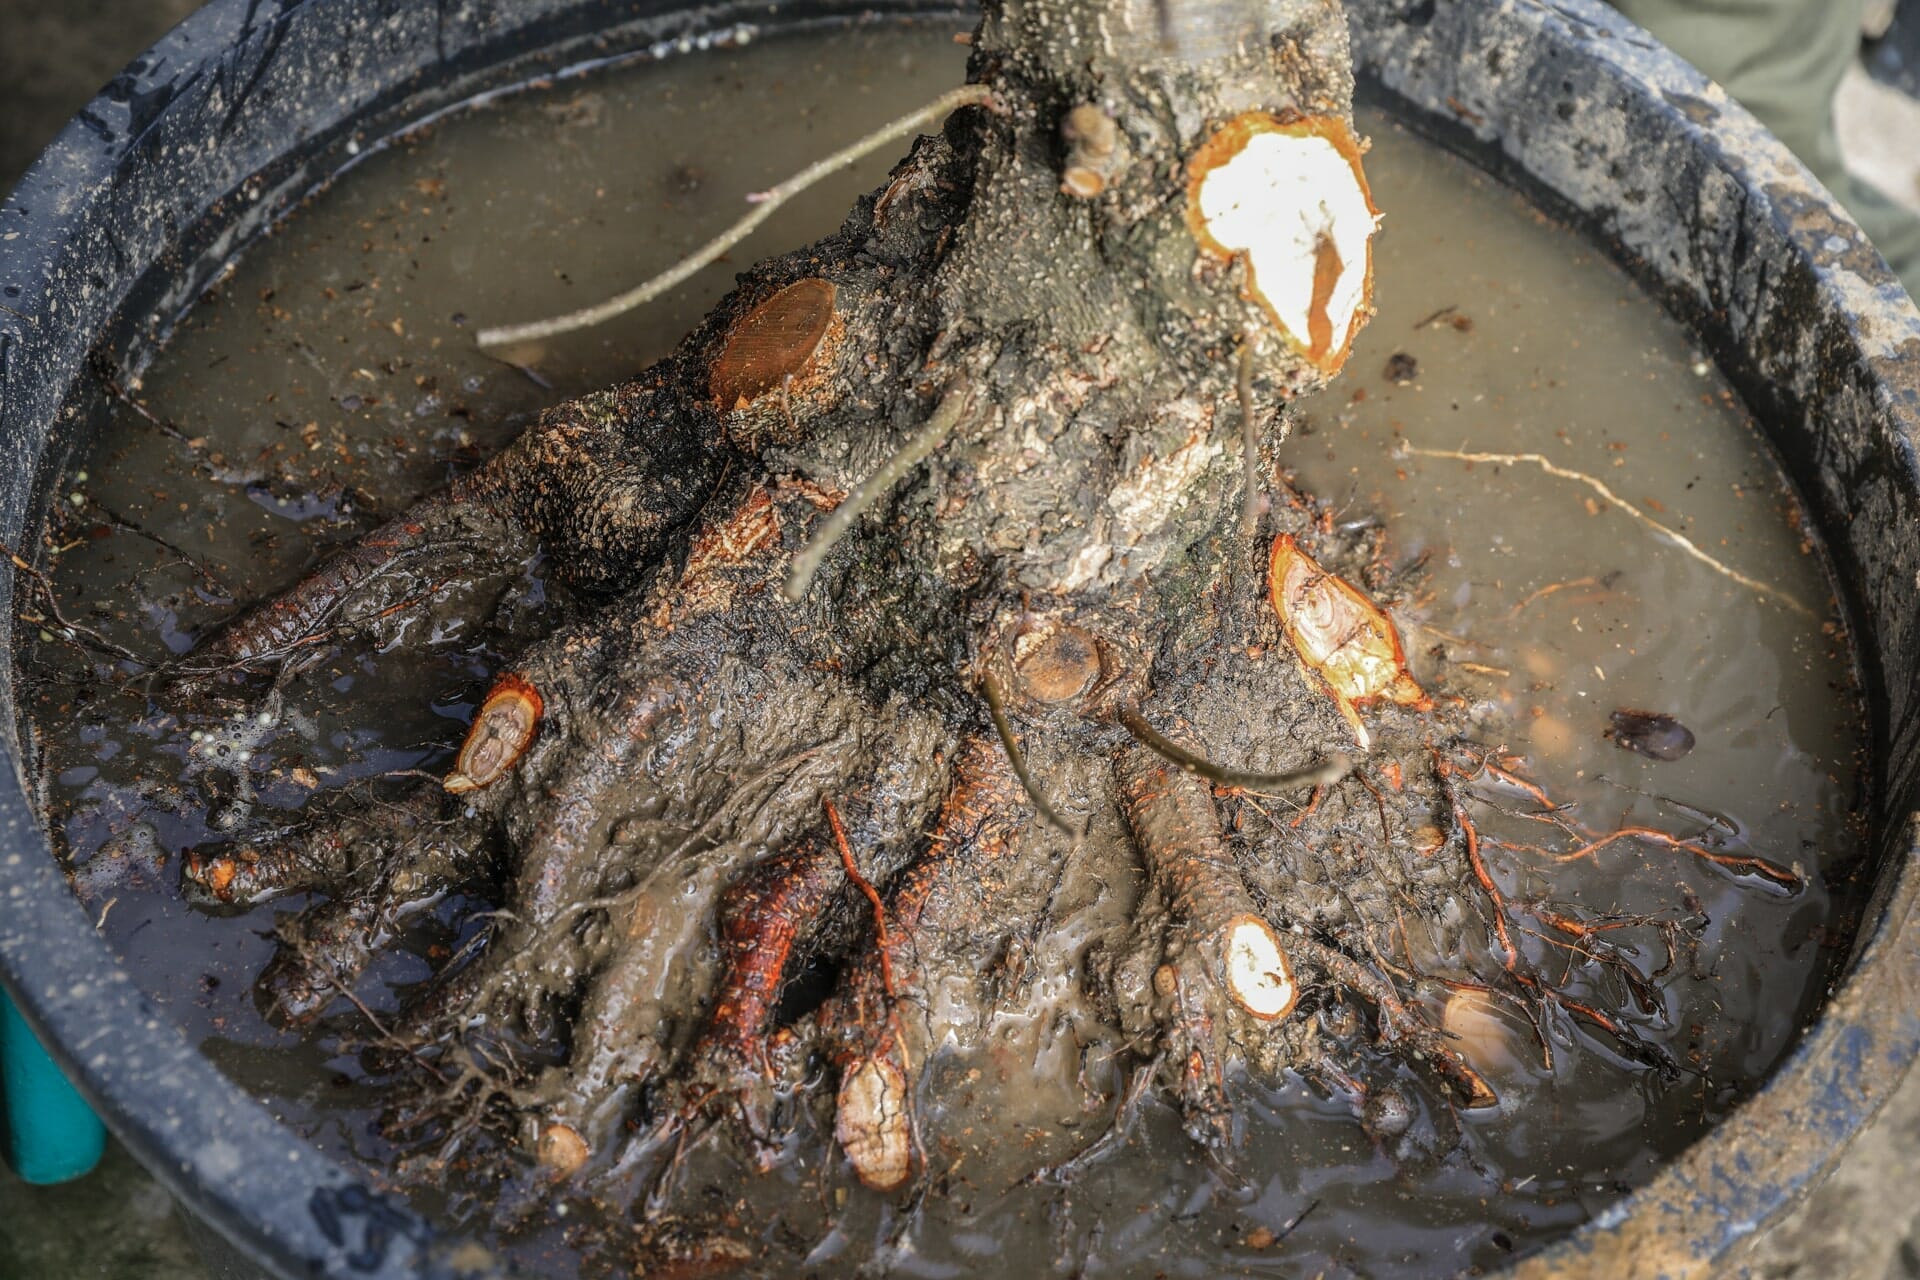
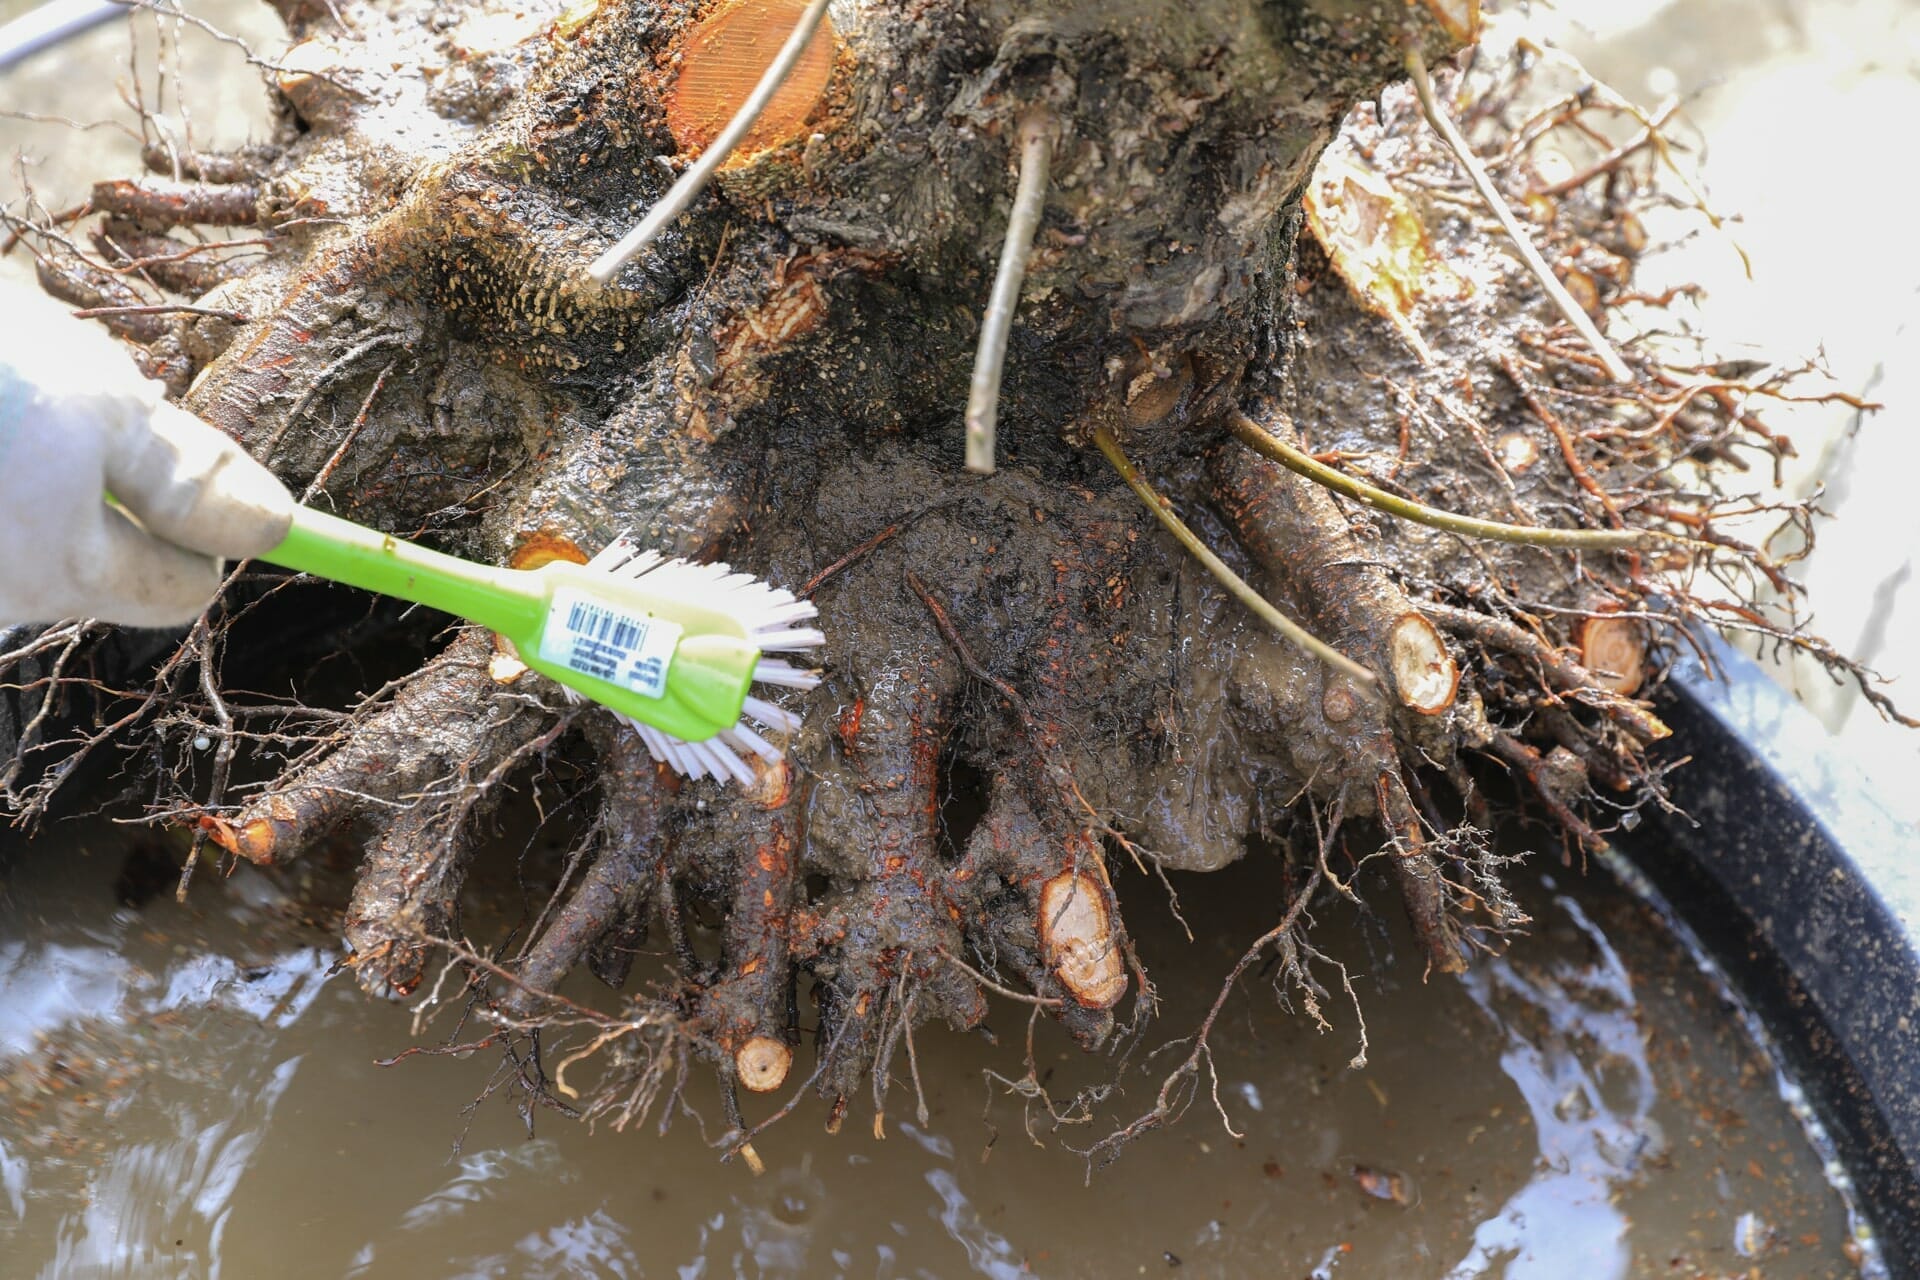
To remove the last remnants of the nursery soil, wash the root ball thoroughly with a brush.
Step 8
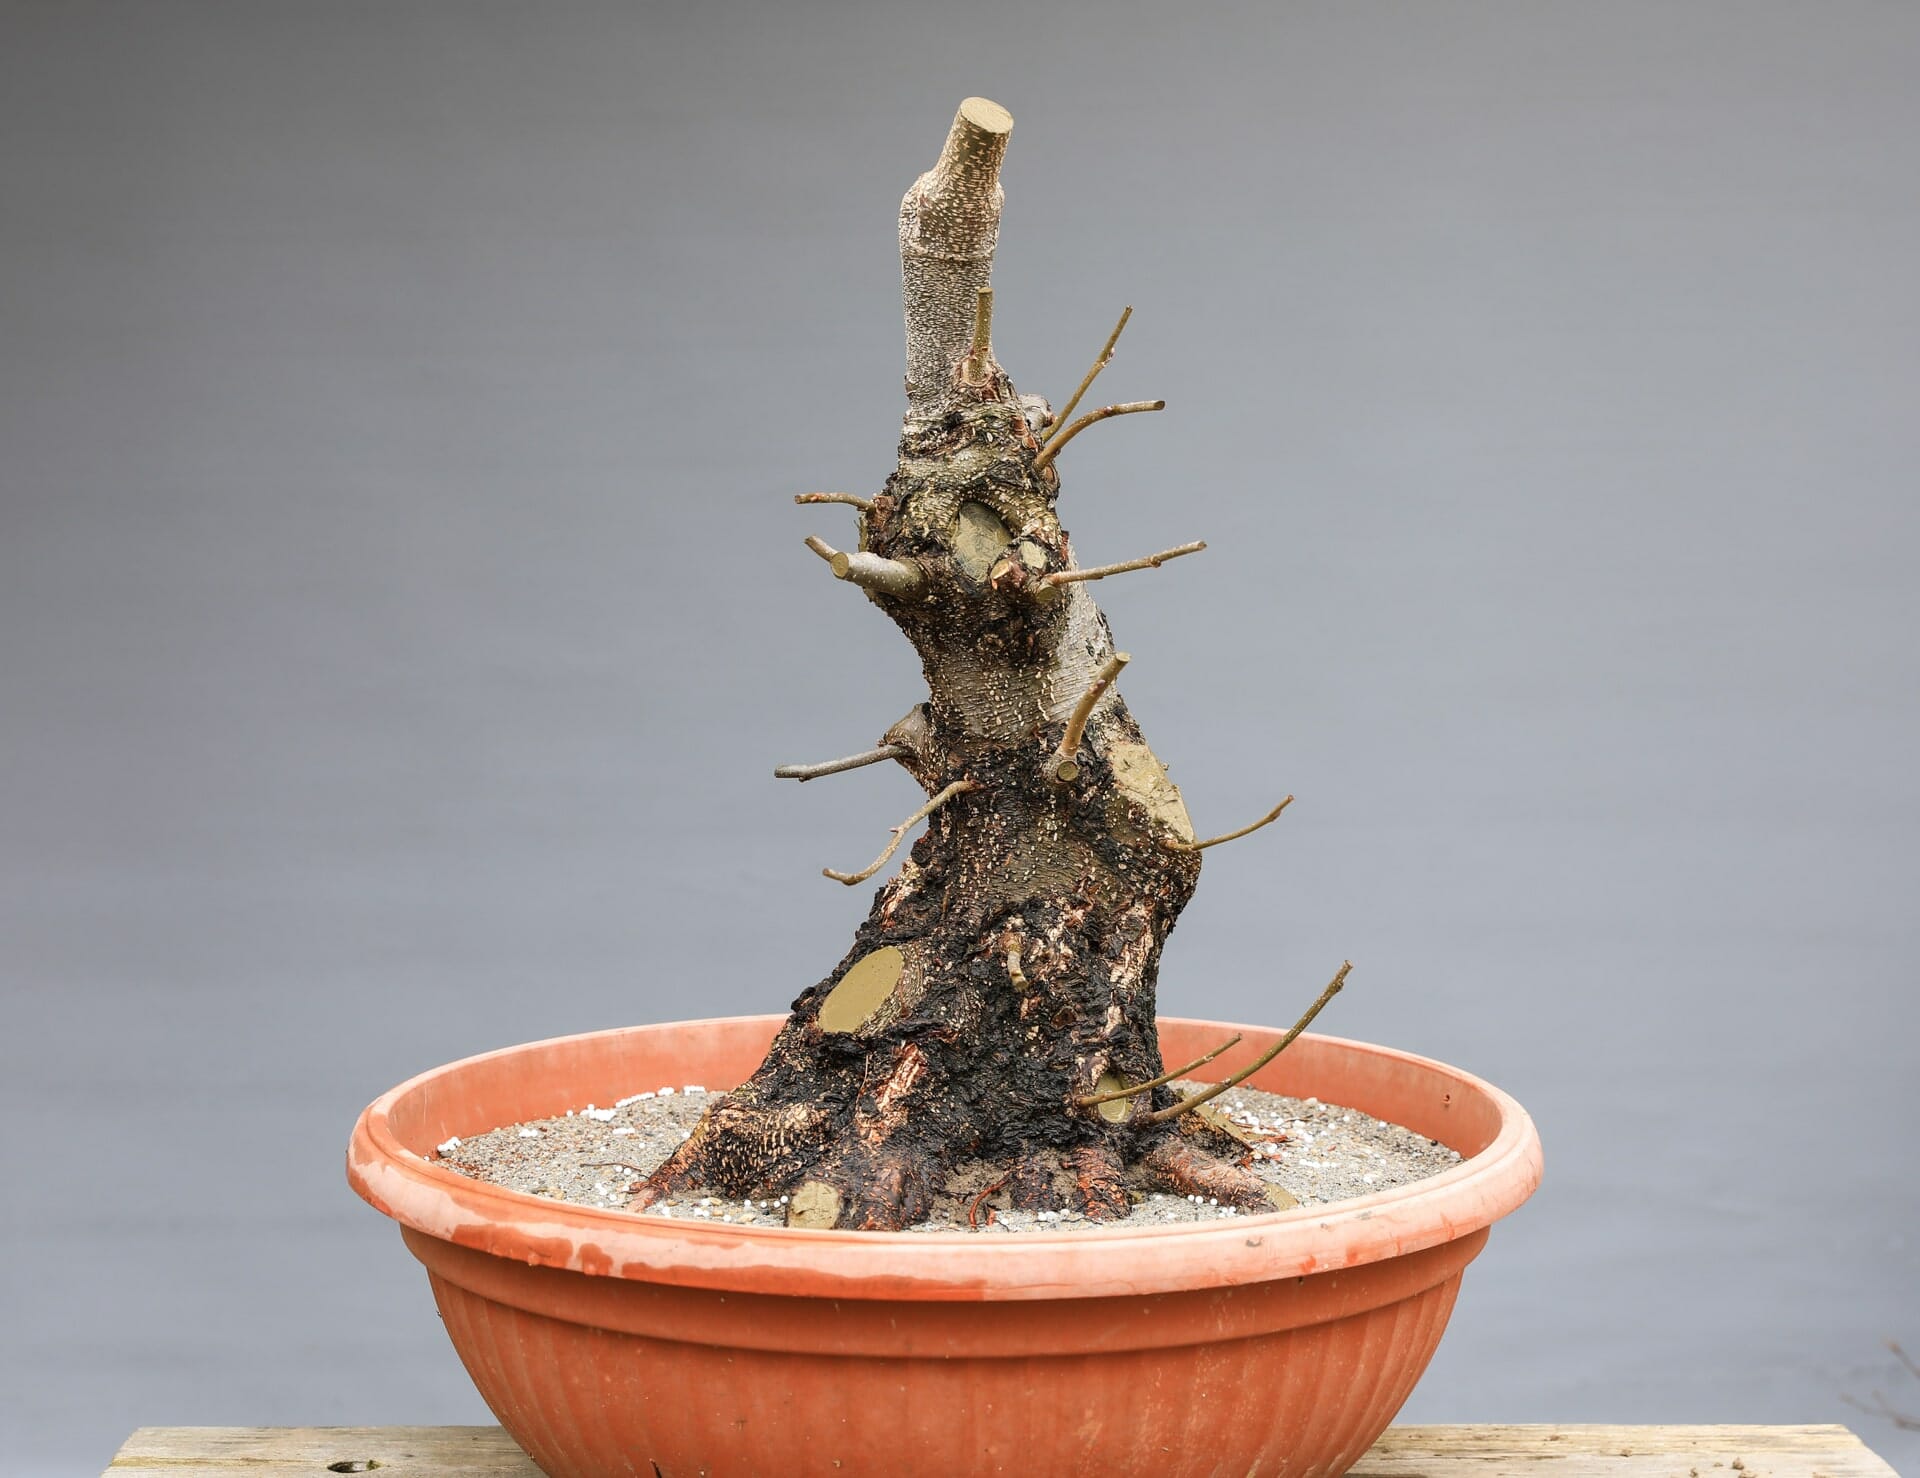
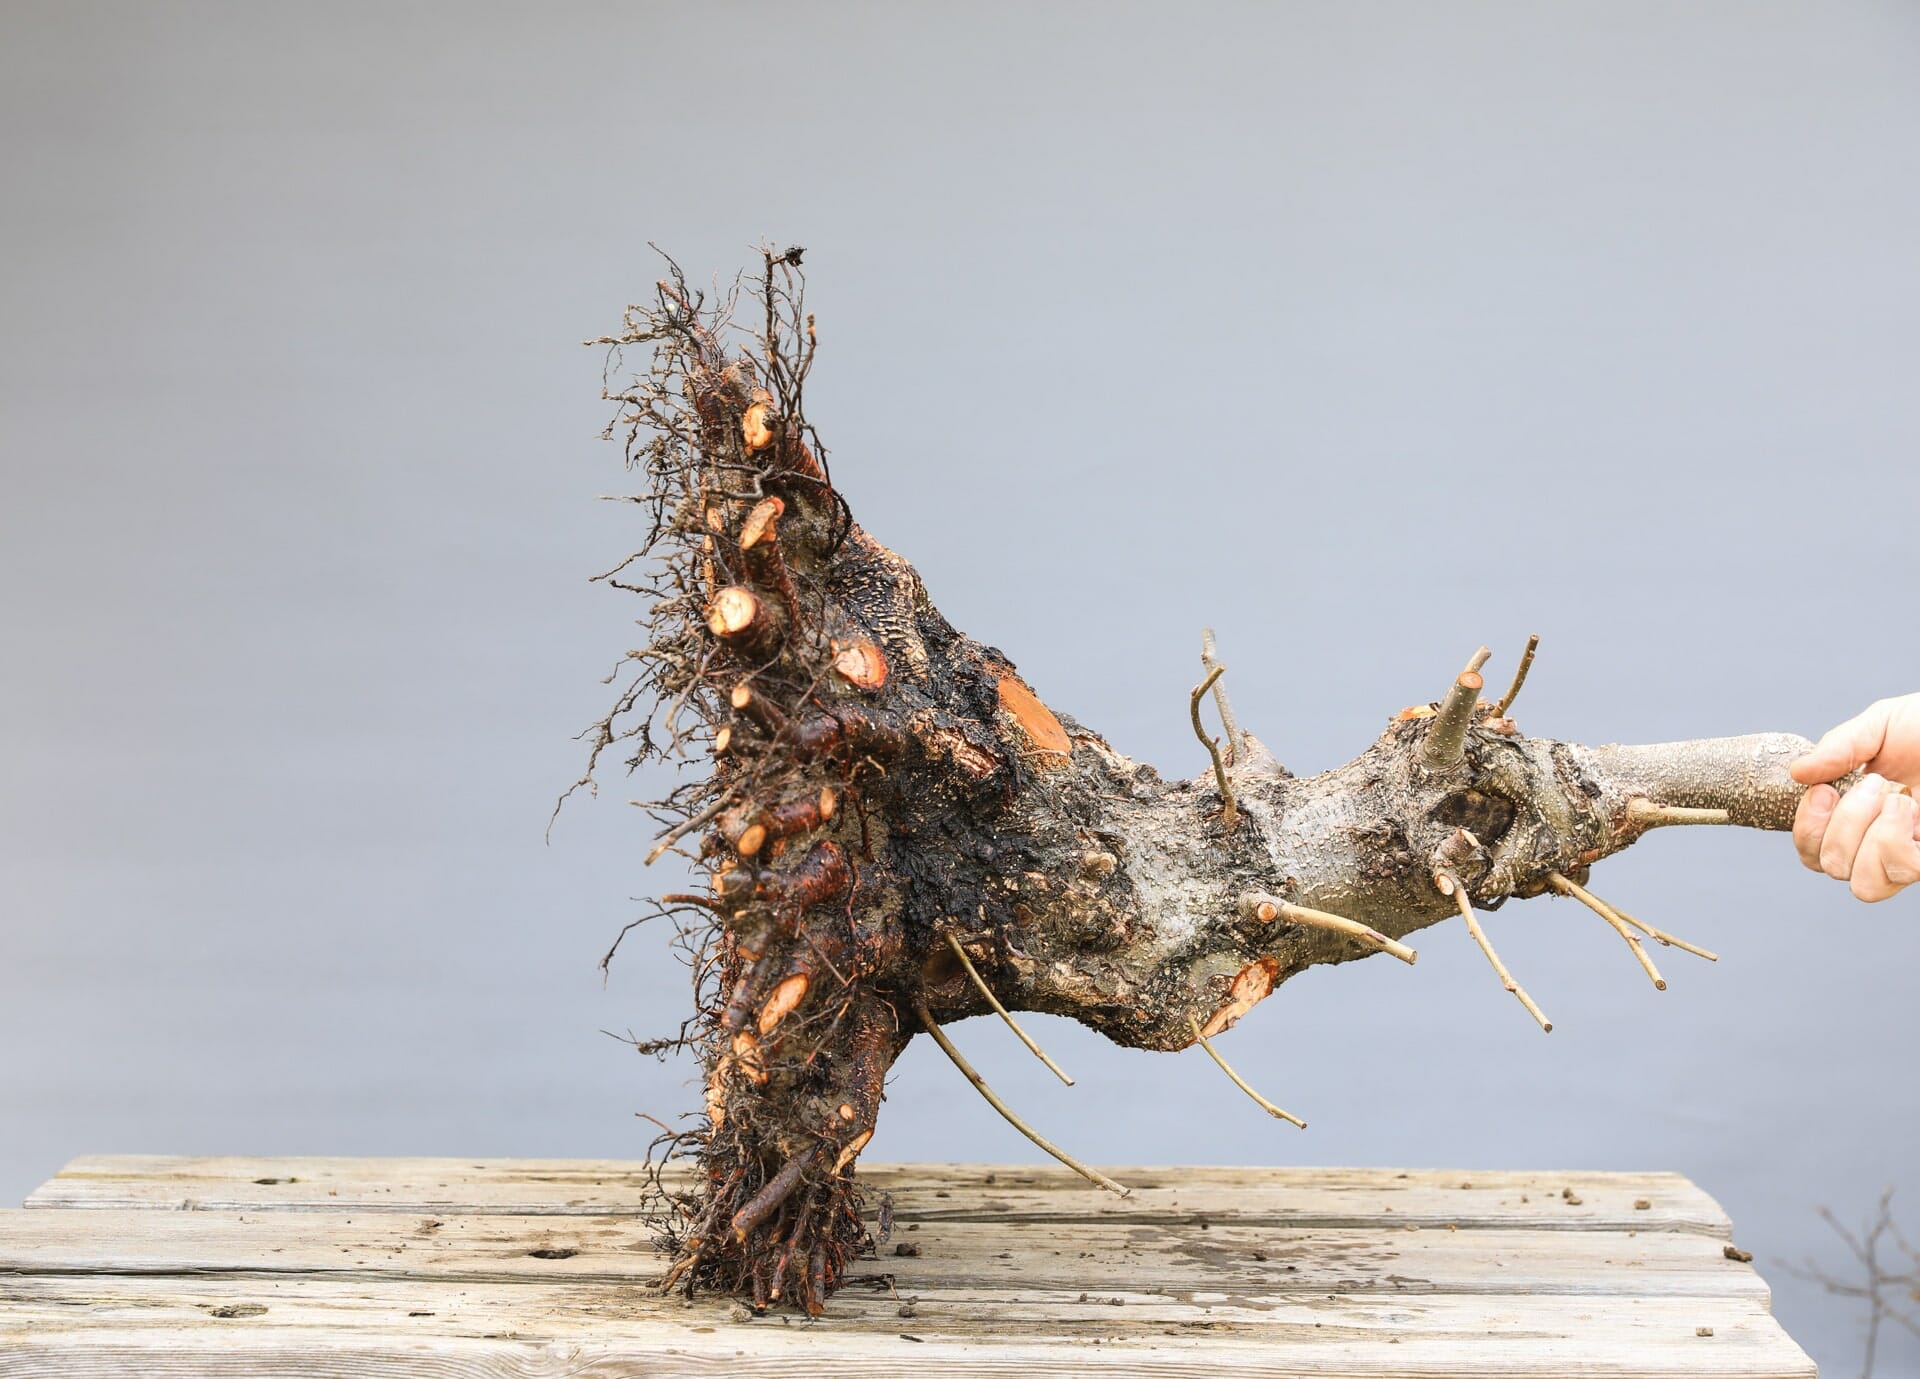
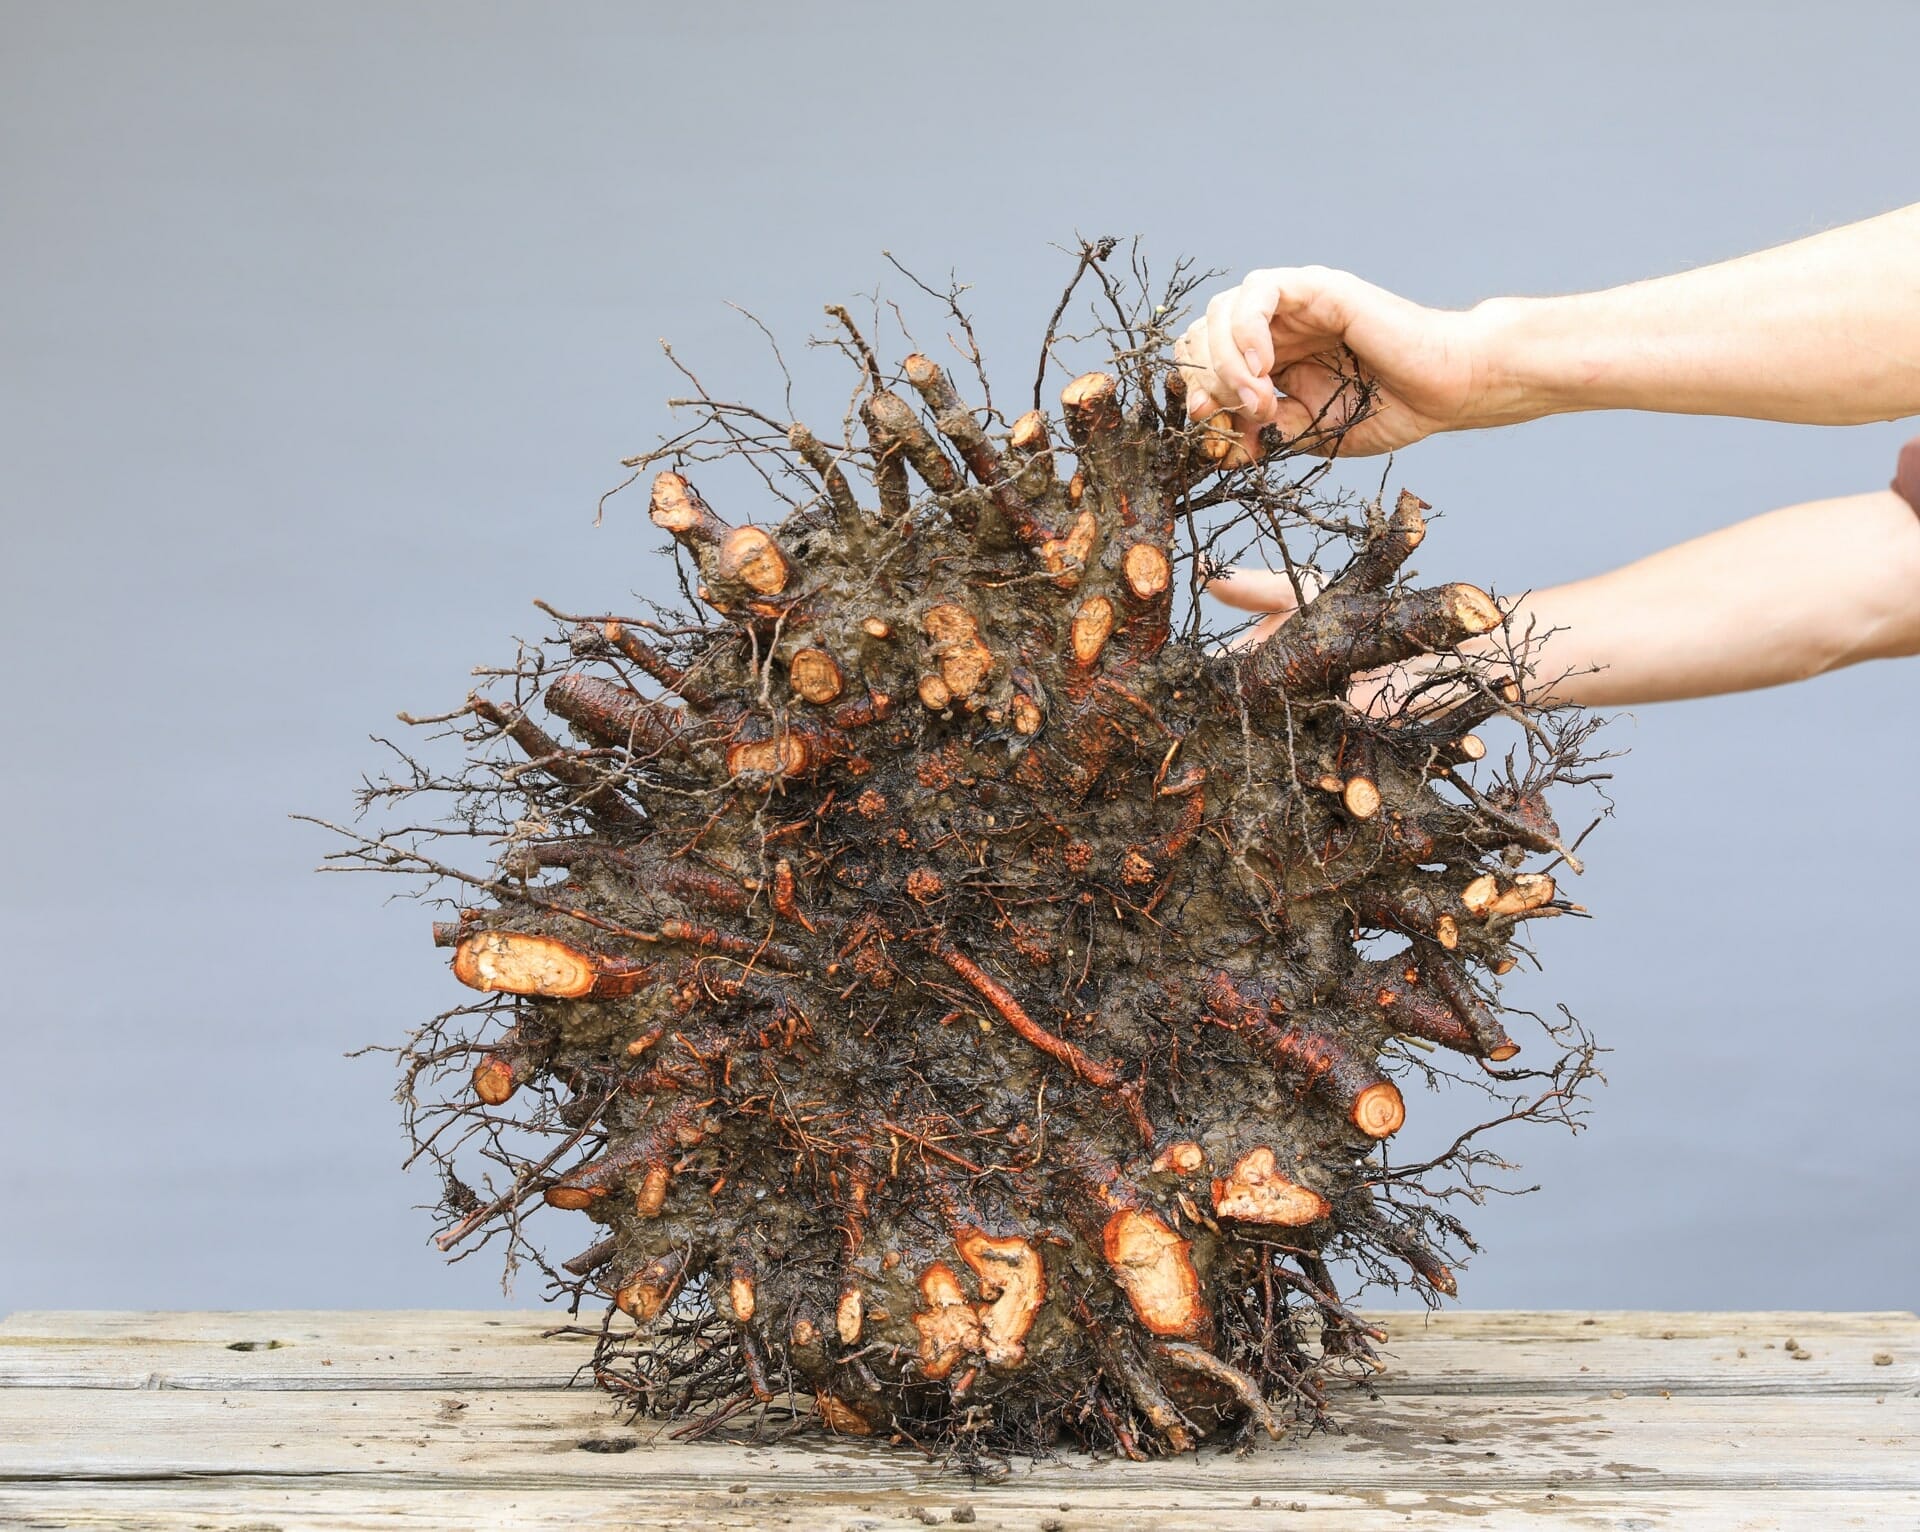
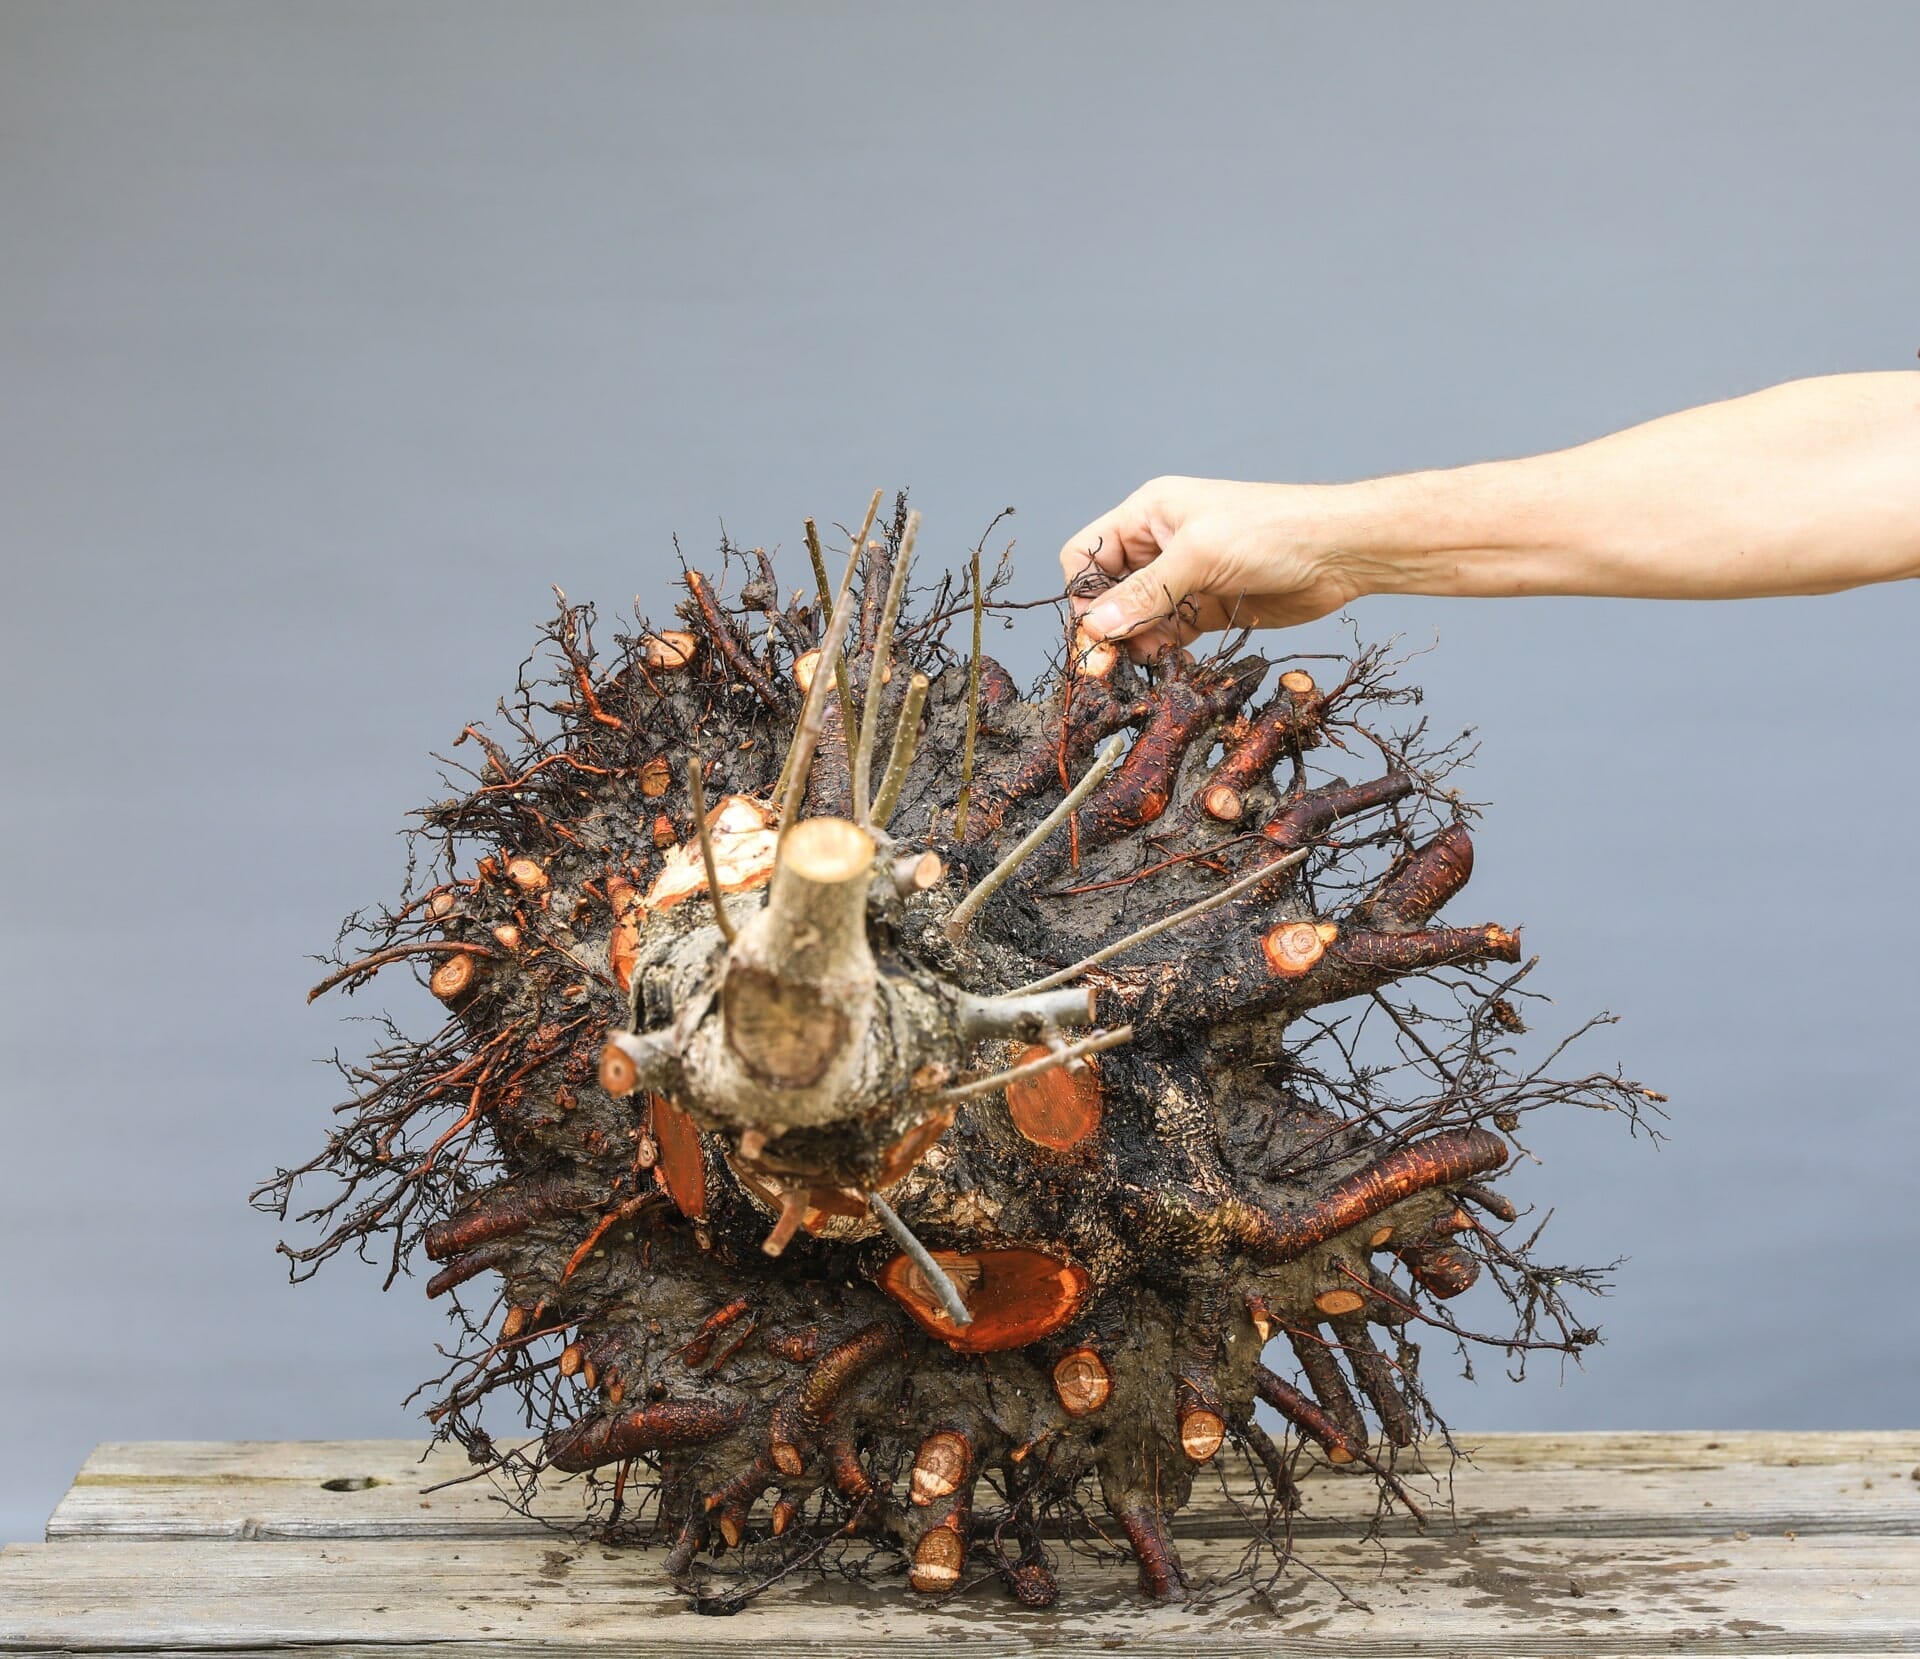
This is how the black alder looks after our work. The processed root ball now has a diameter of around 50 centimetres, the current height of the tree is around 60 centimetres.
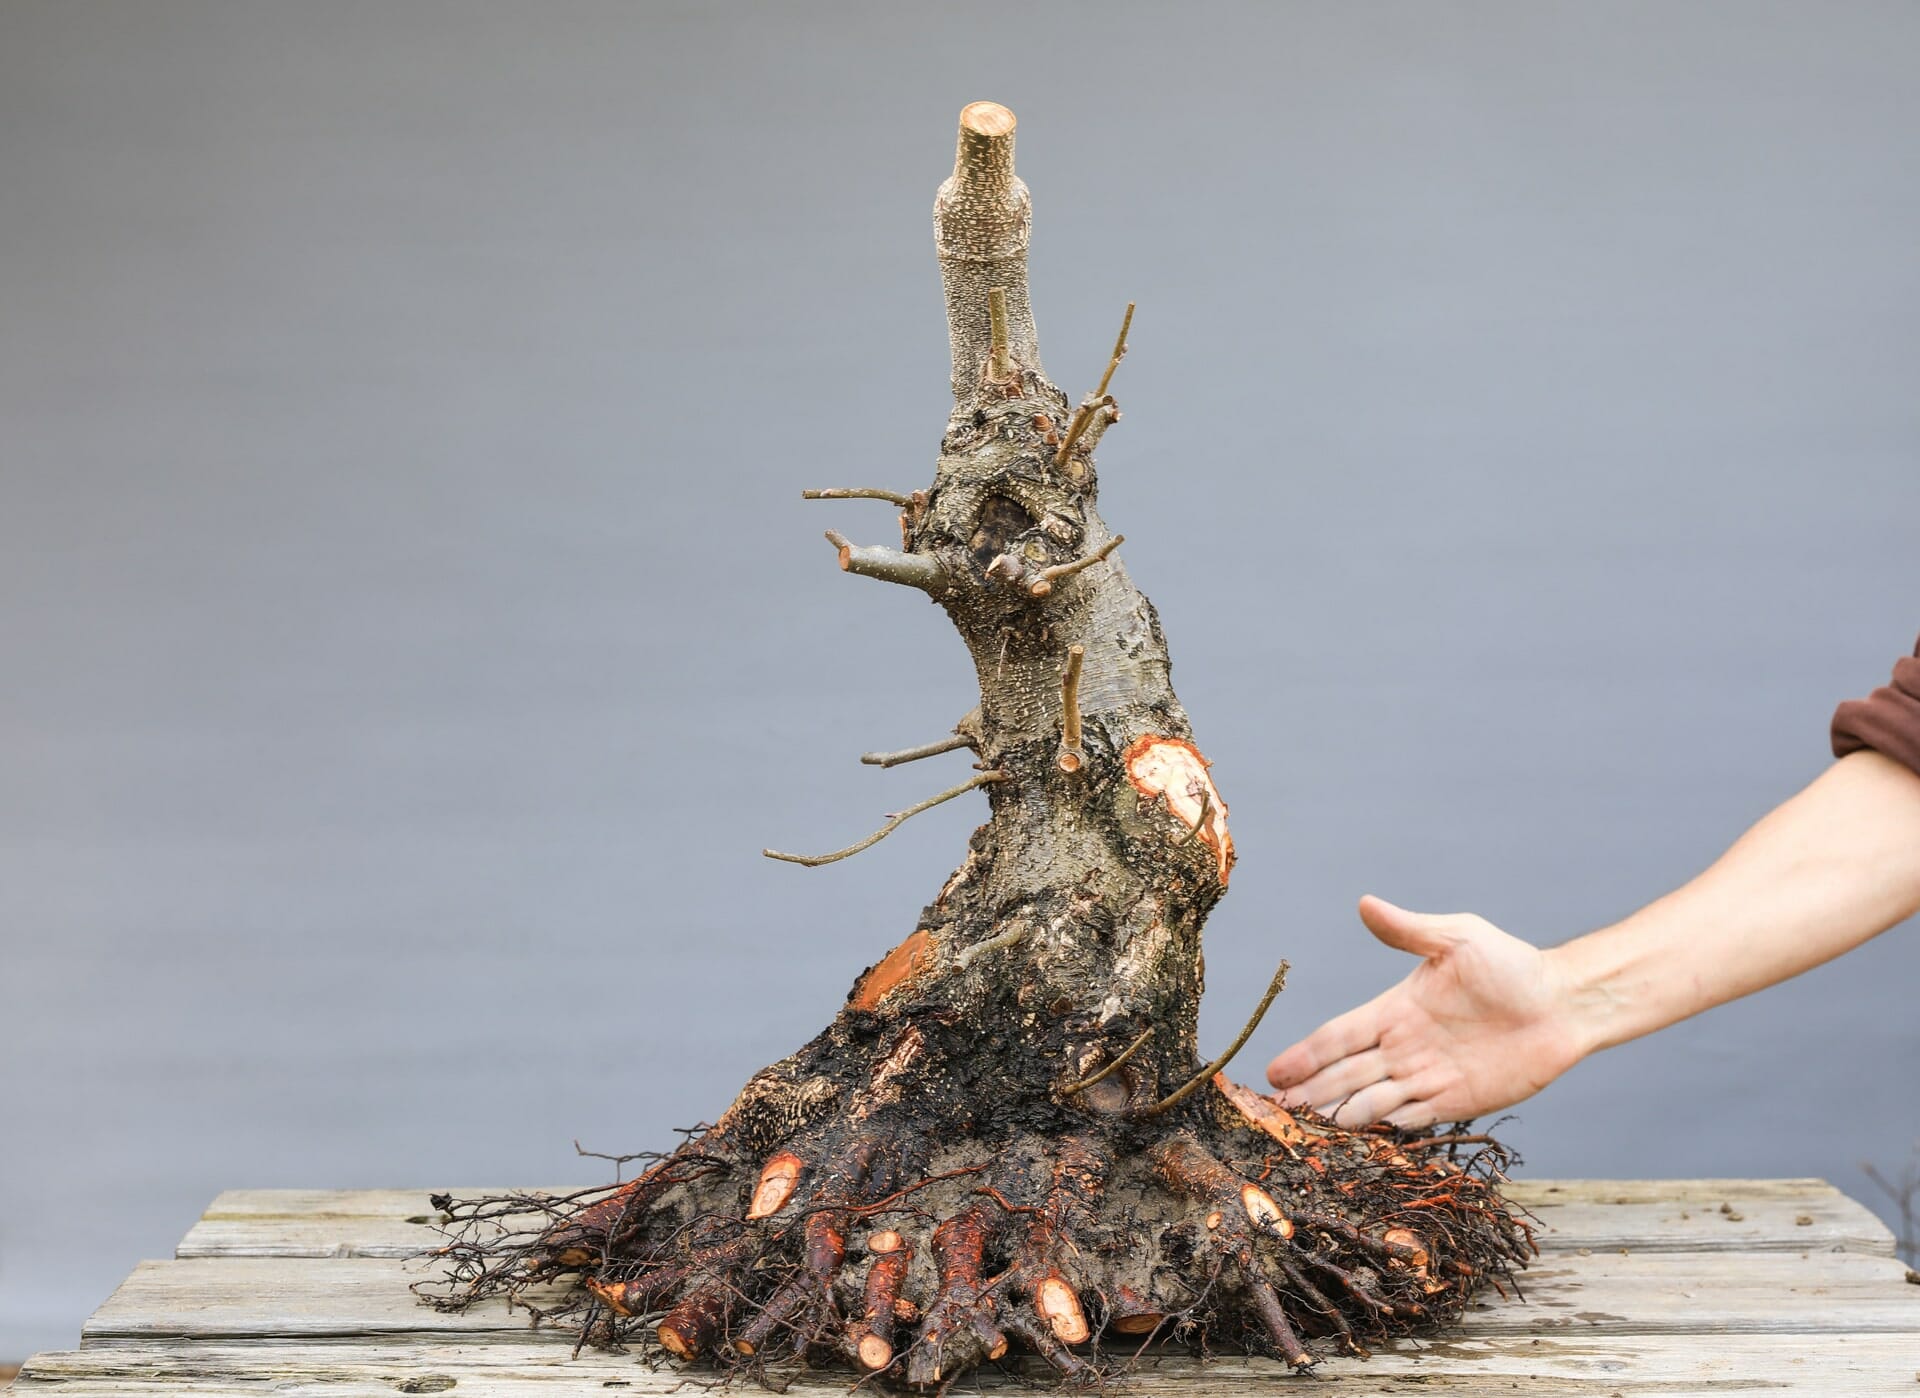
Step 9
We have now planted the processed blank in its growing tray for its future "bonsai life".