Instructions
If we want to grow an attractive bonsai, we naturally expect the roots to be as broad and homogeneous as possible, which is actually typical for every bonsai. A fairly simple and safe method to achieve this goal is seedling supplementation, which we would like to present here step by step.
Seedling supplementation, step by step.
Step 1
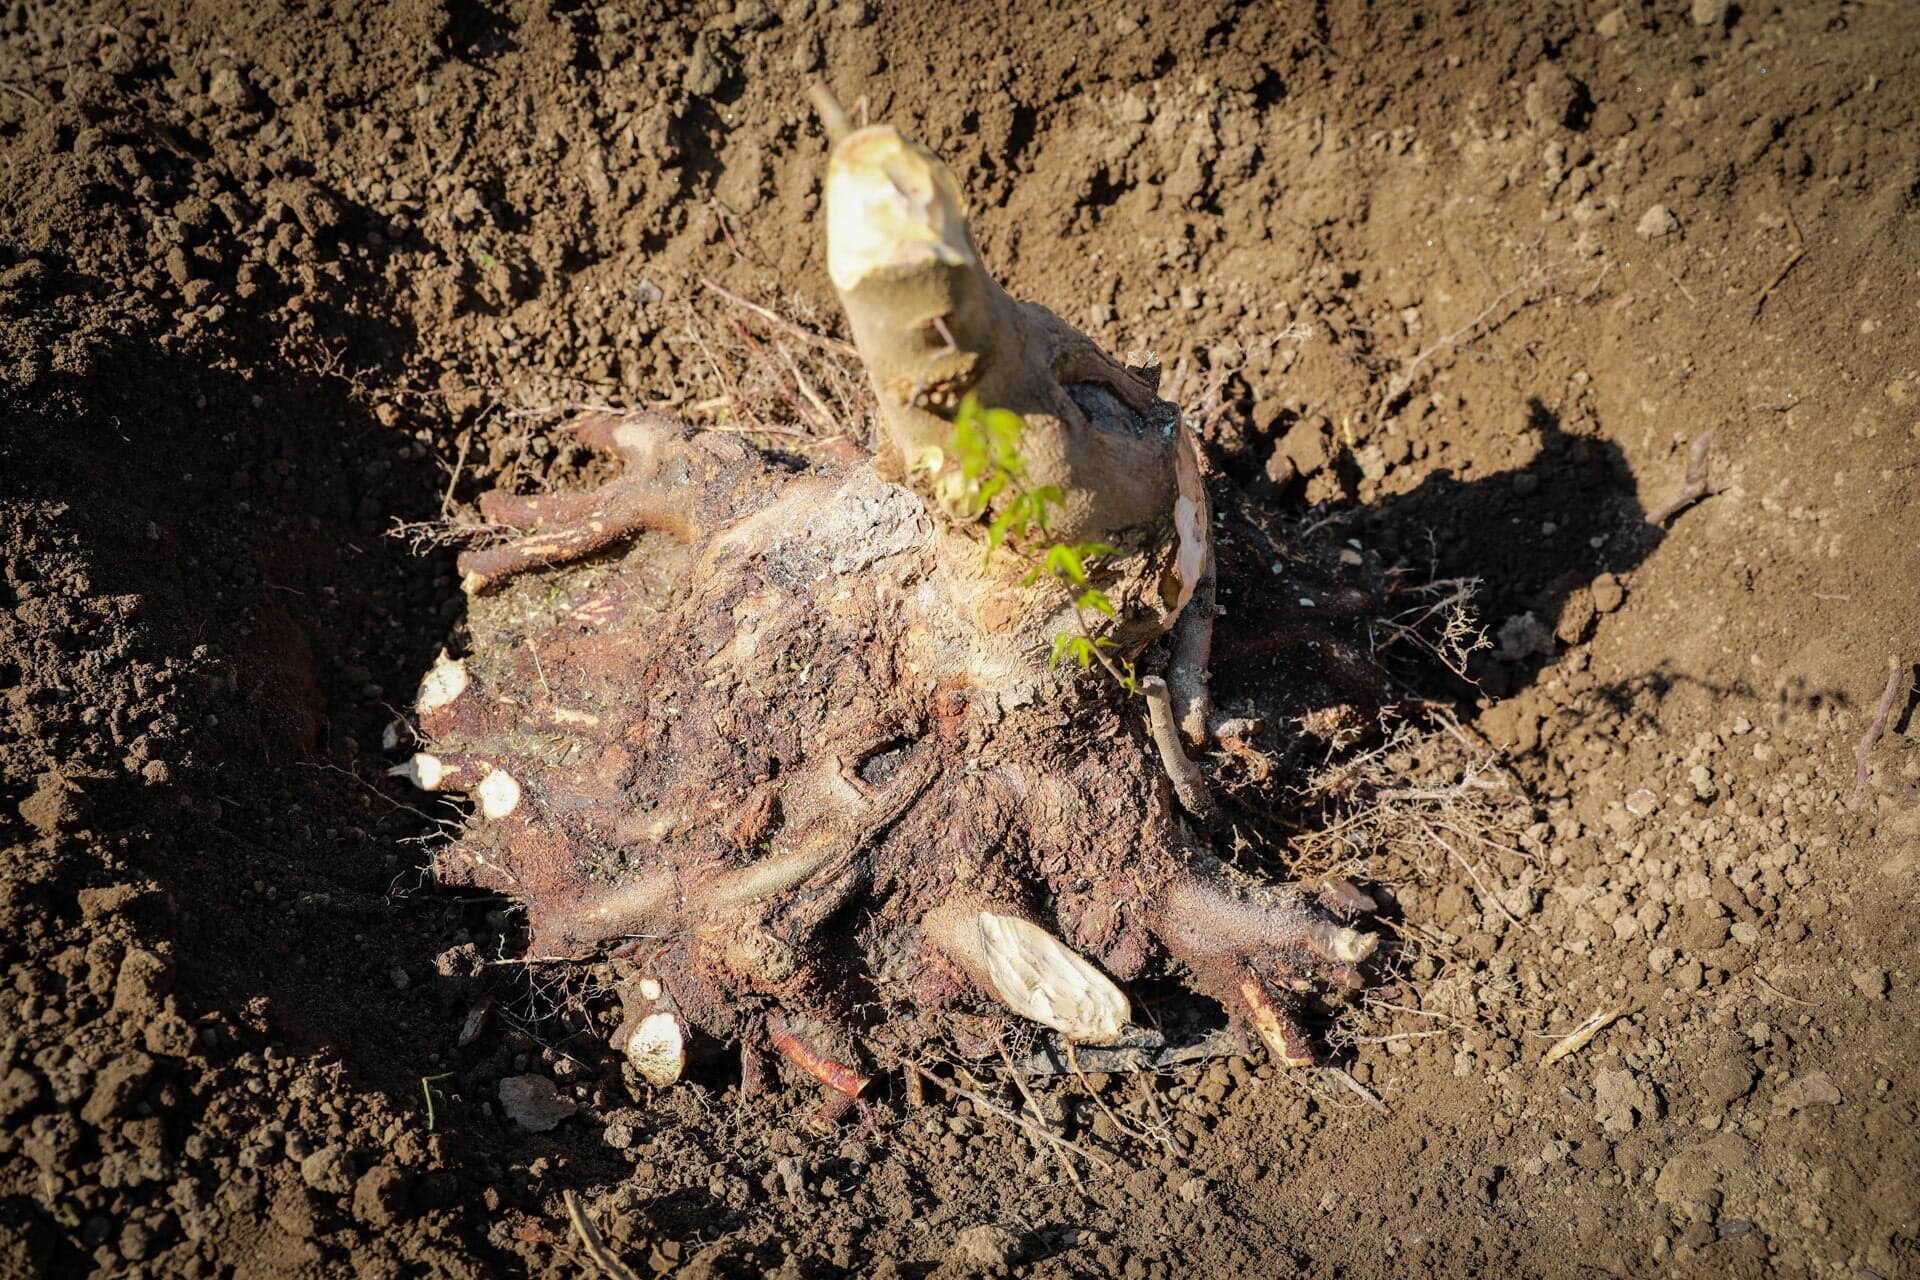
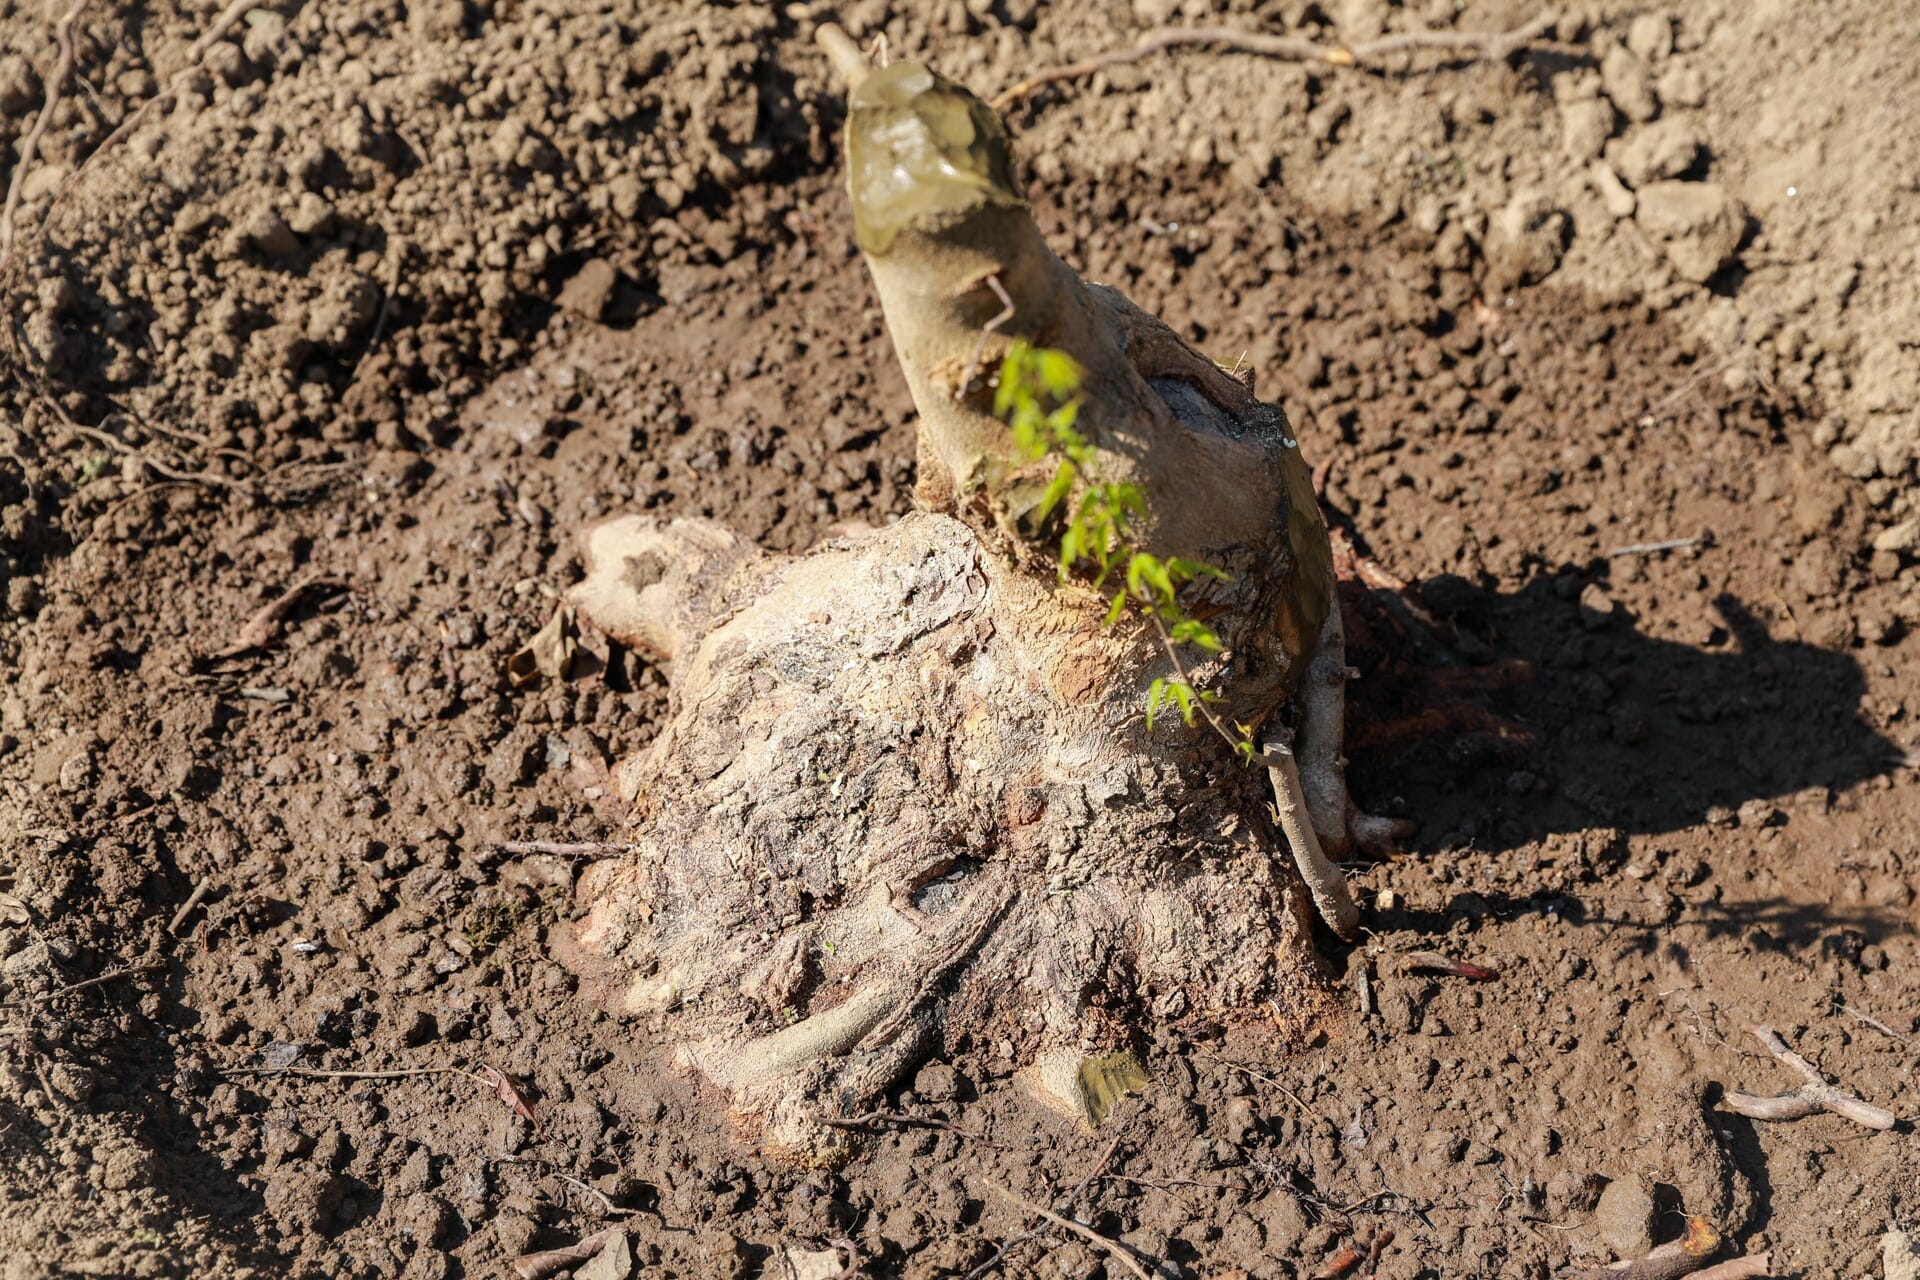
This three-pointed maple (Acer burergerianum) serves as our base. It was raised from a seedling and has now reached an age of 20 years.
Step 2
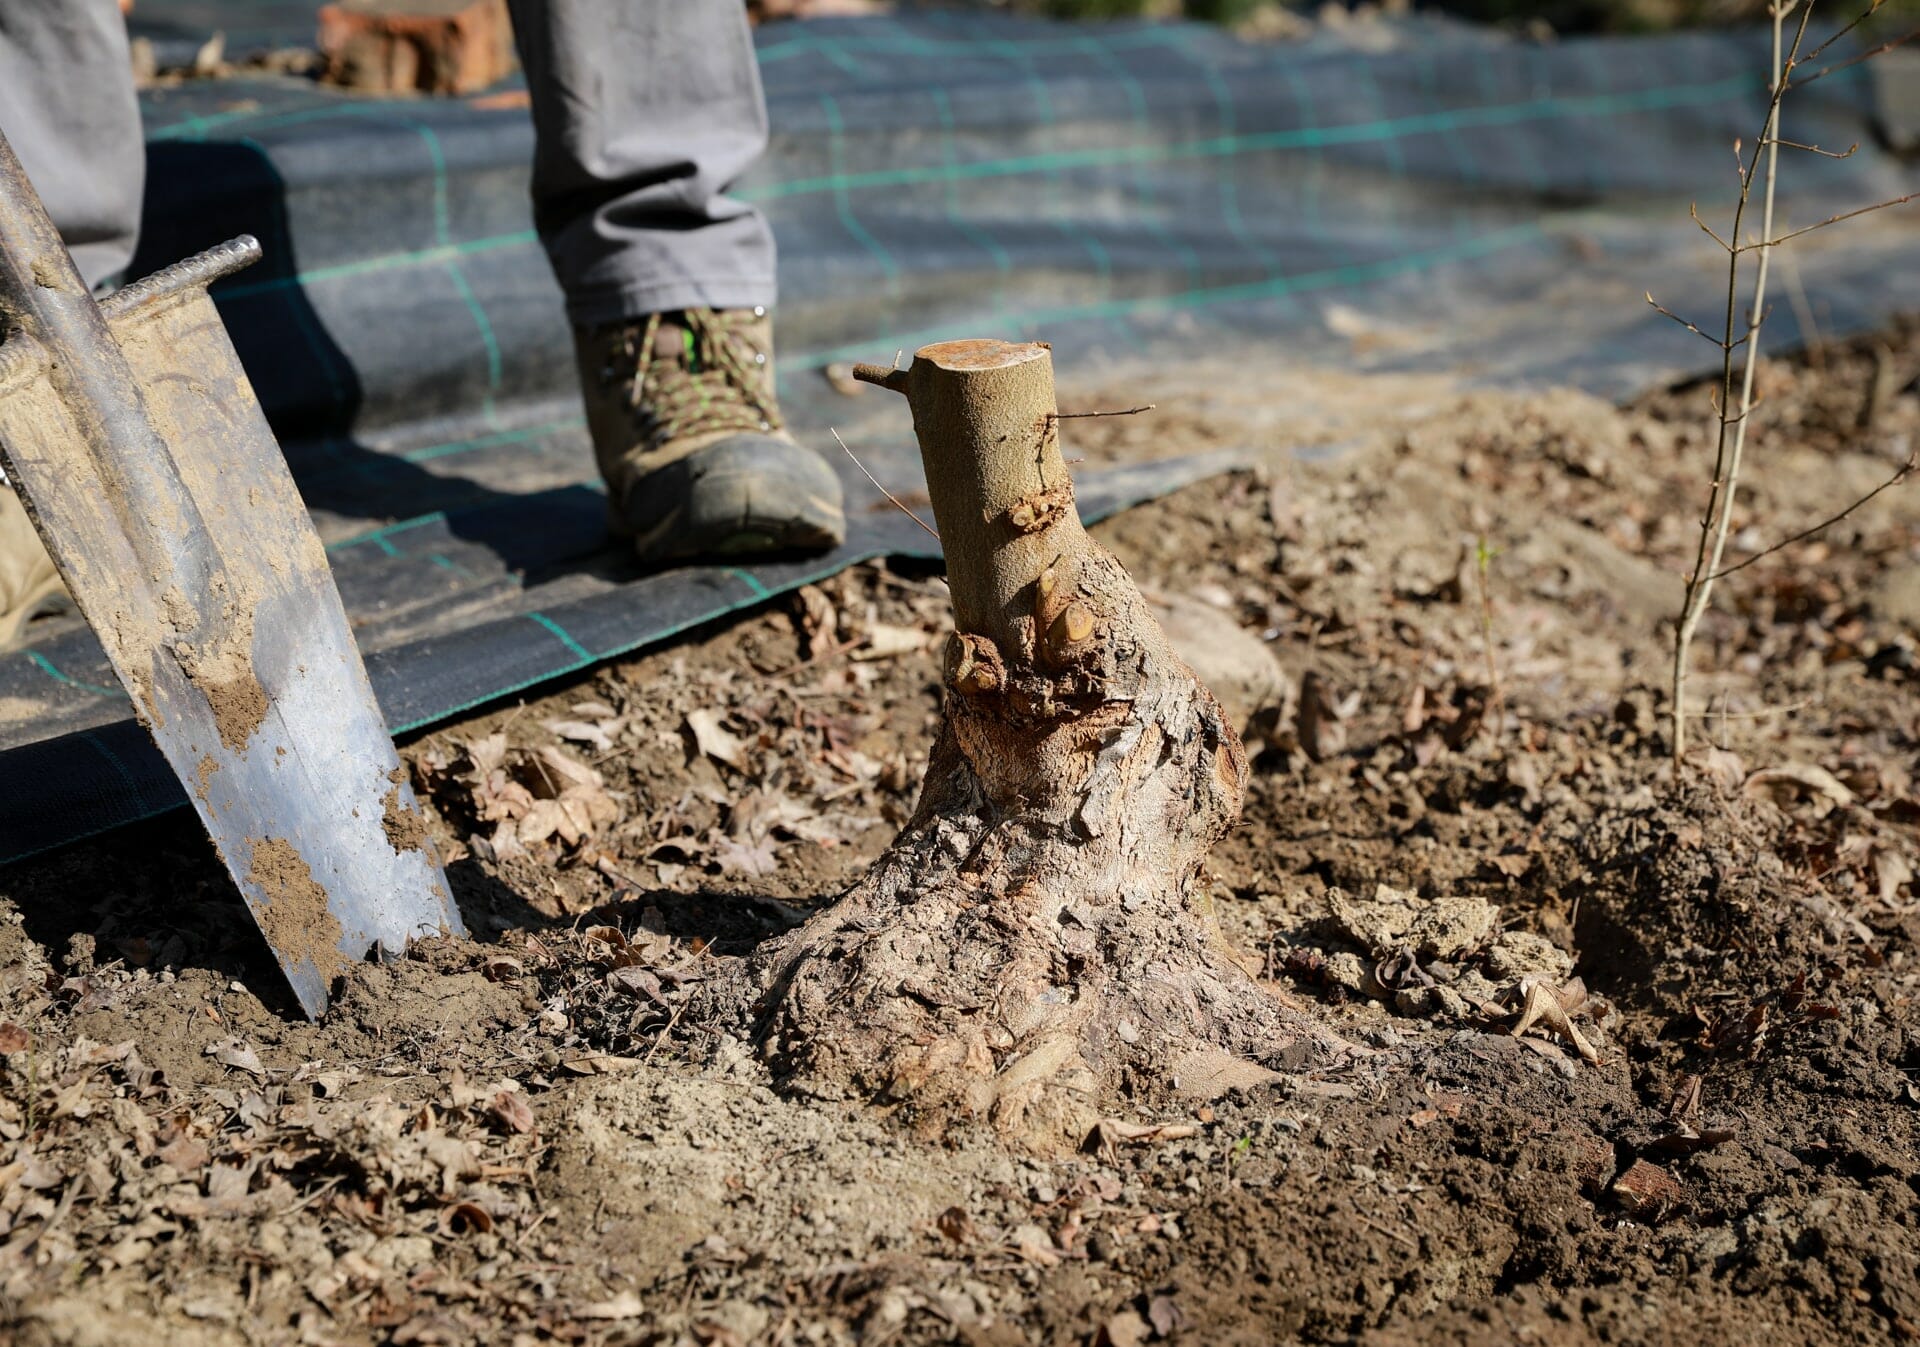
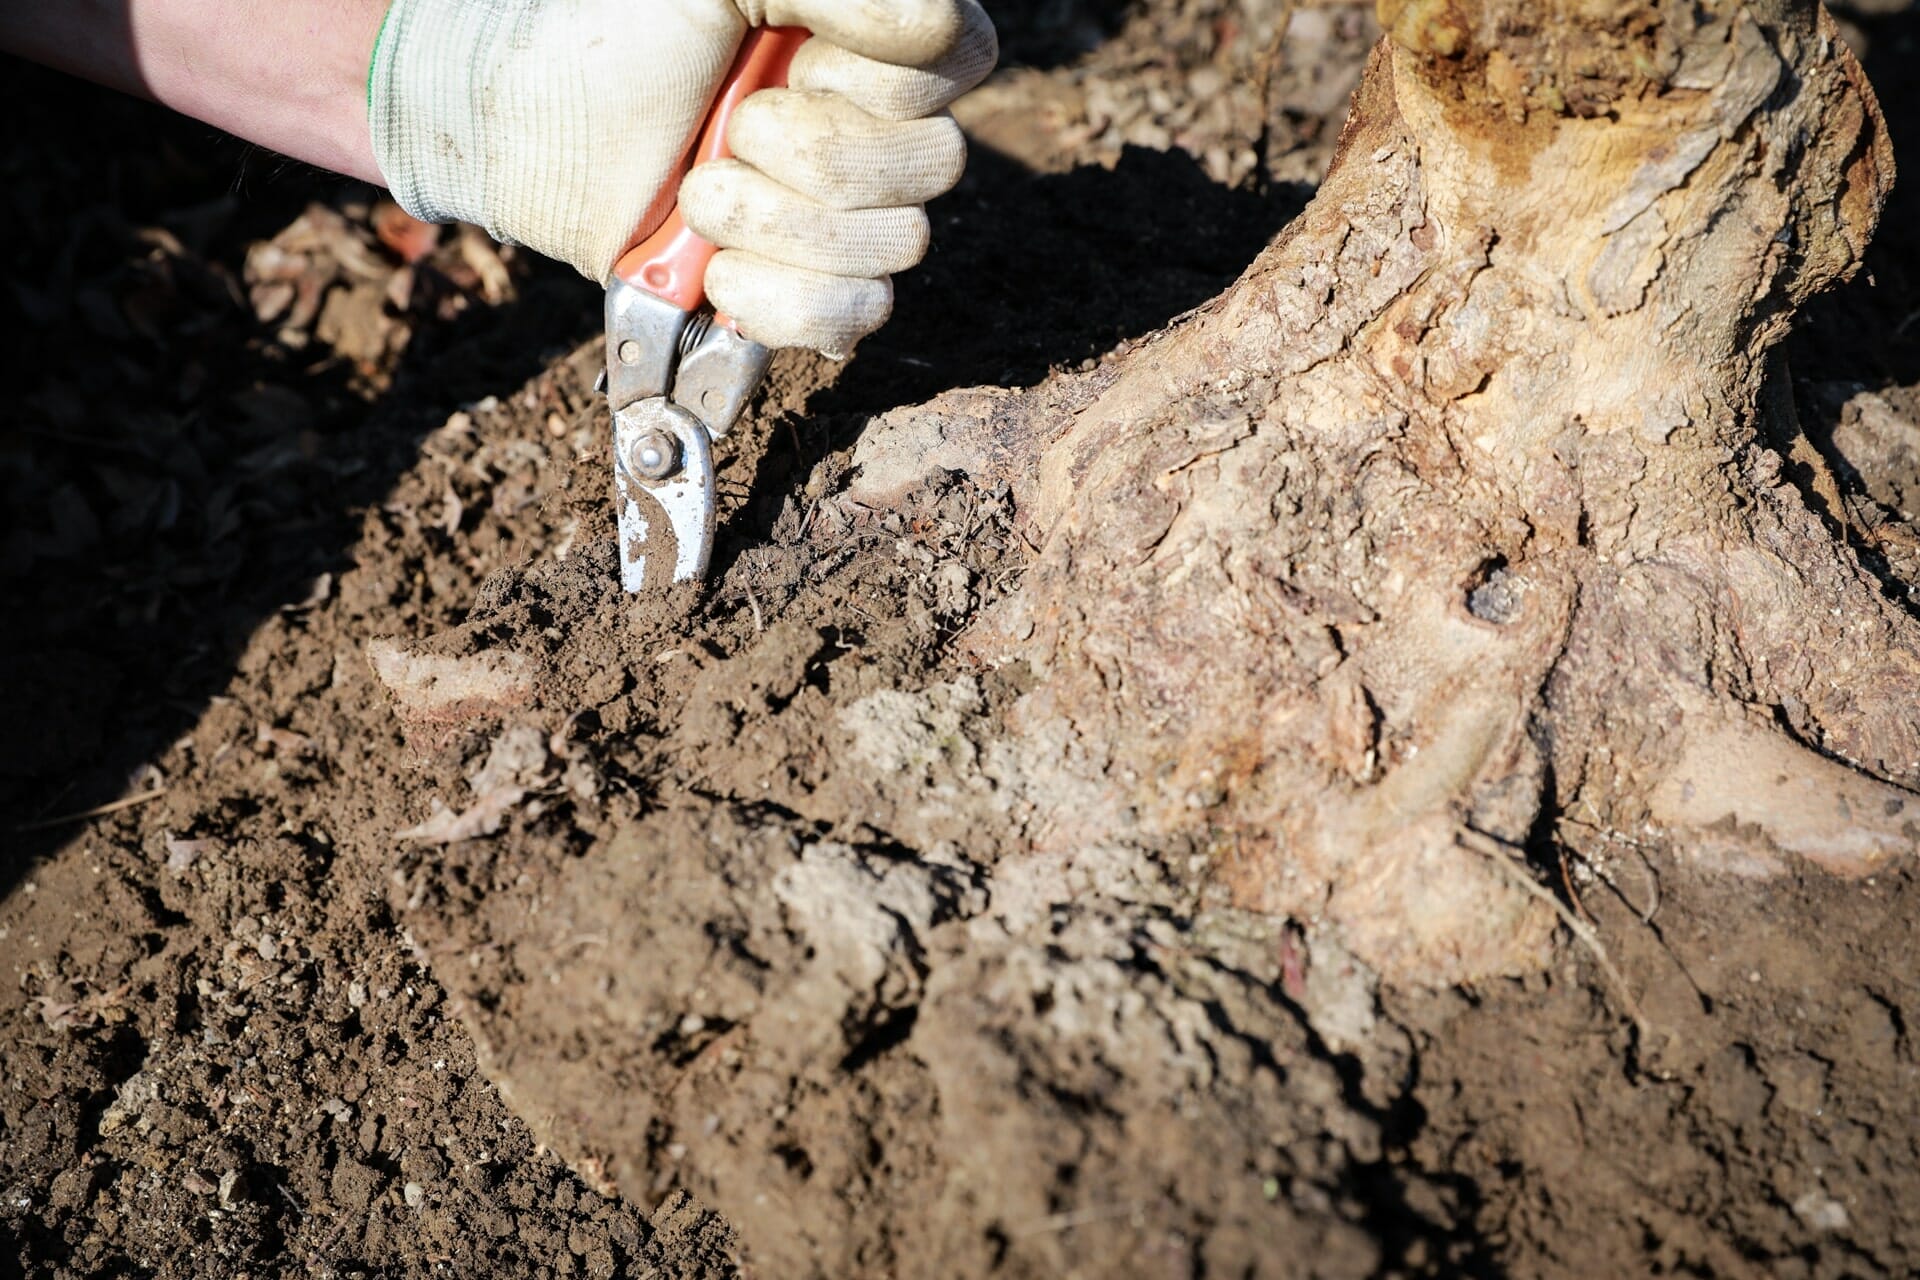
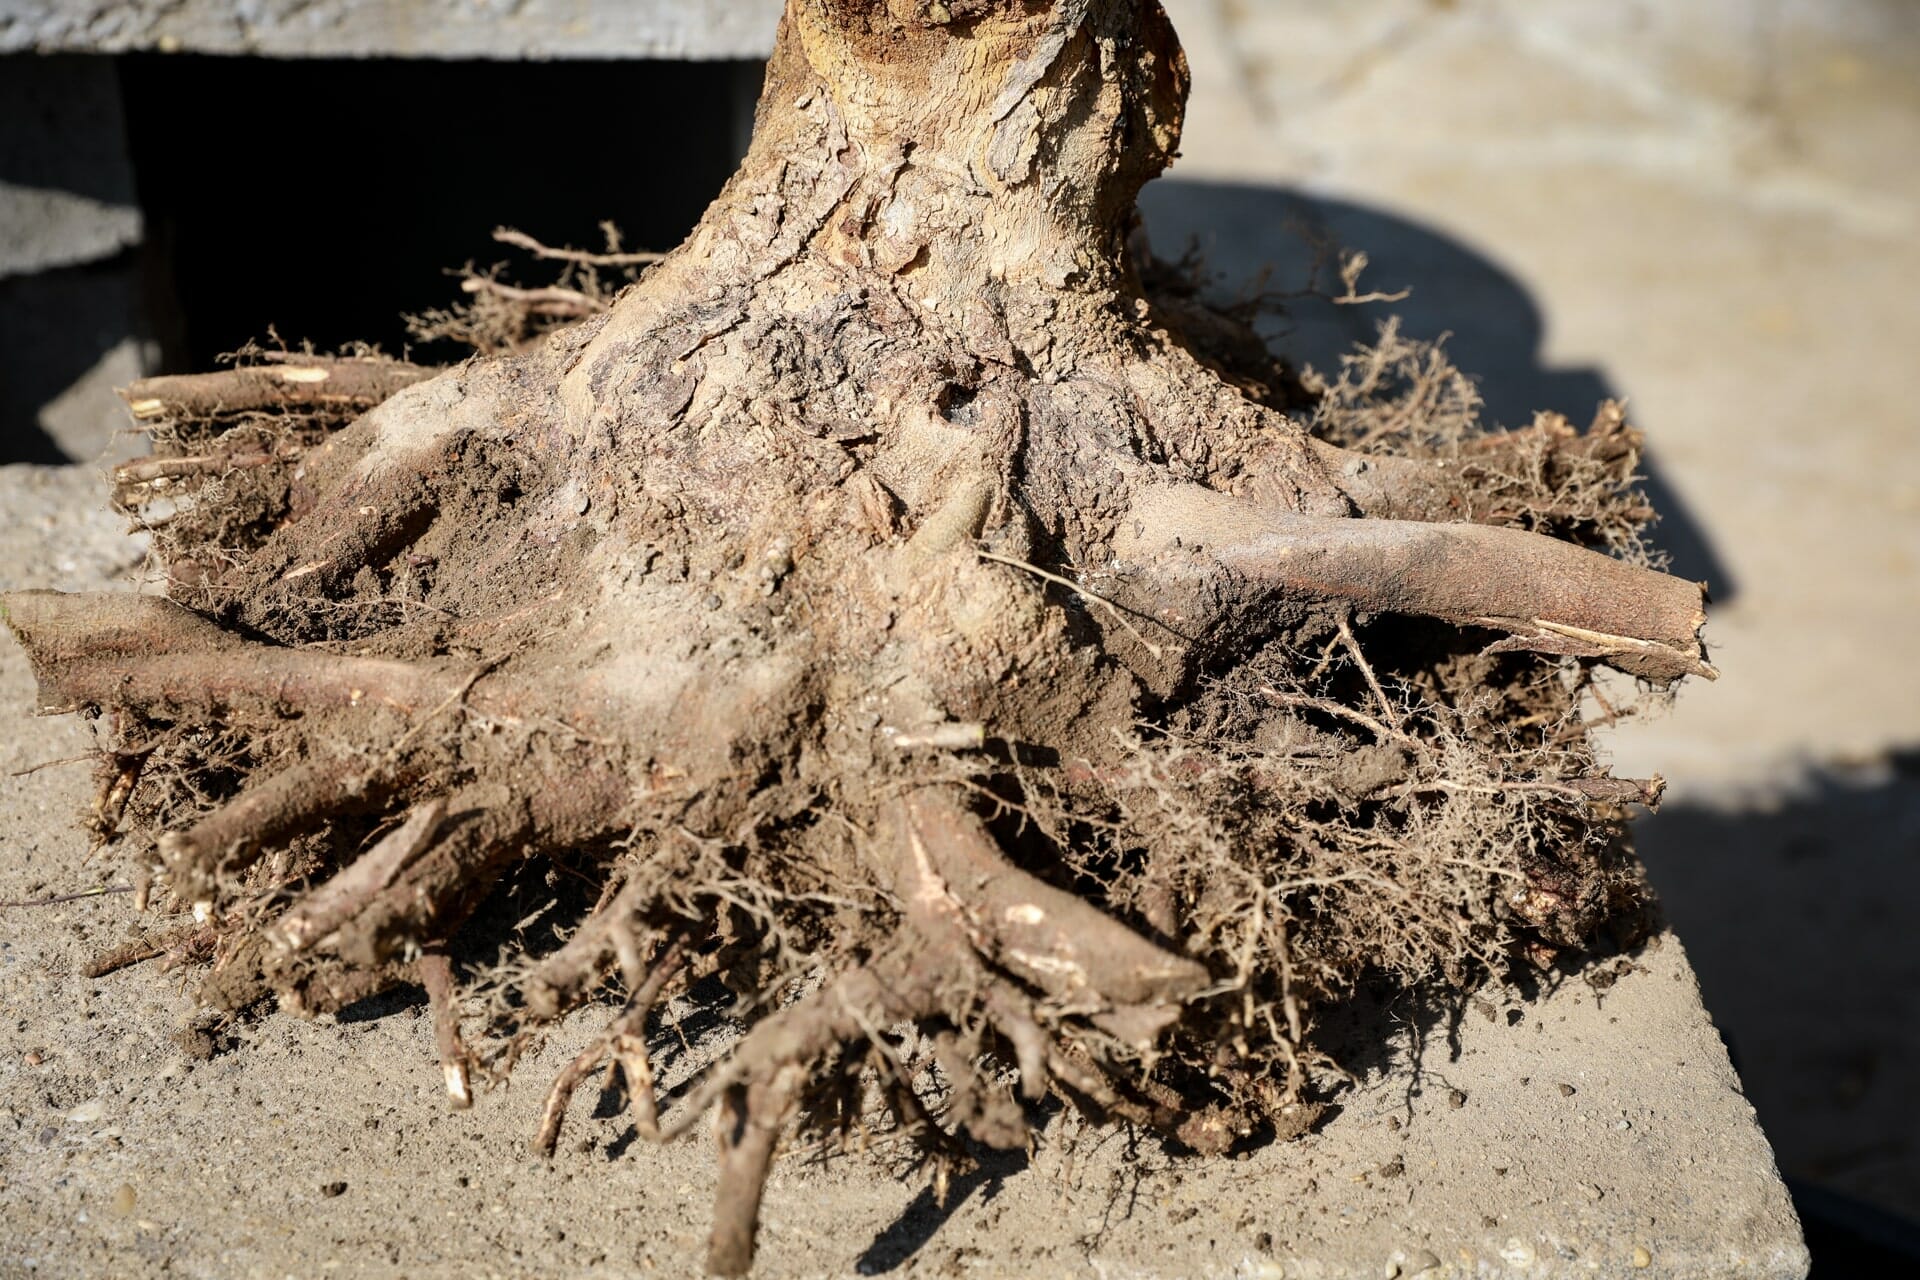
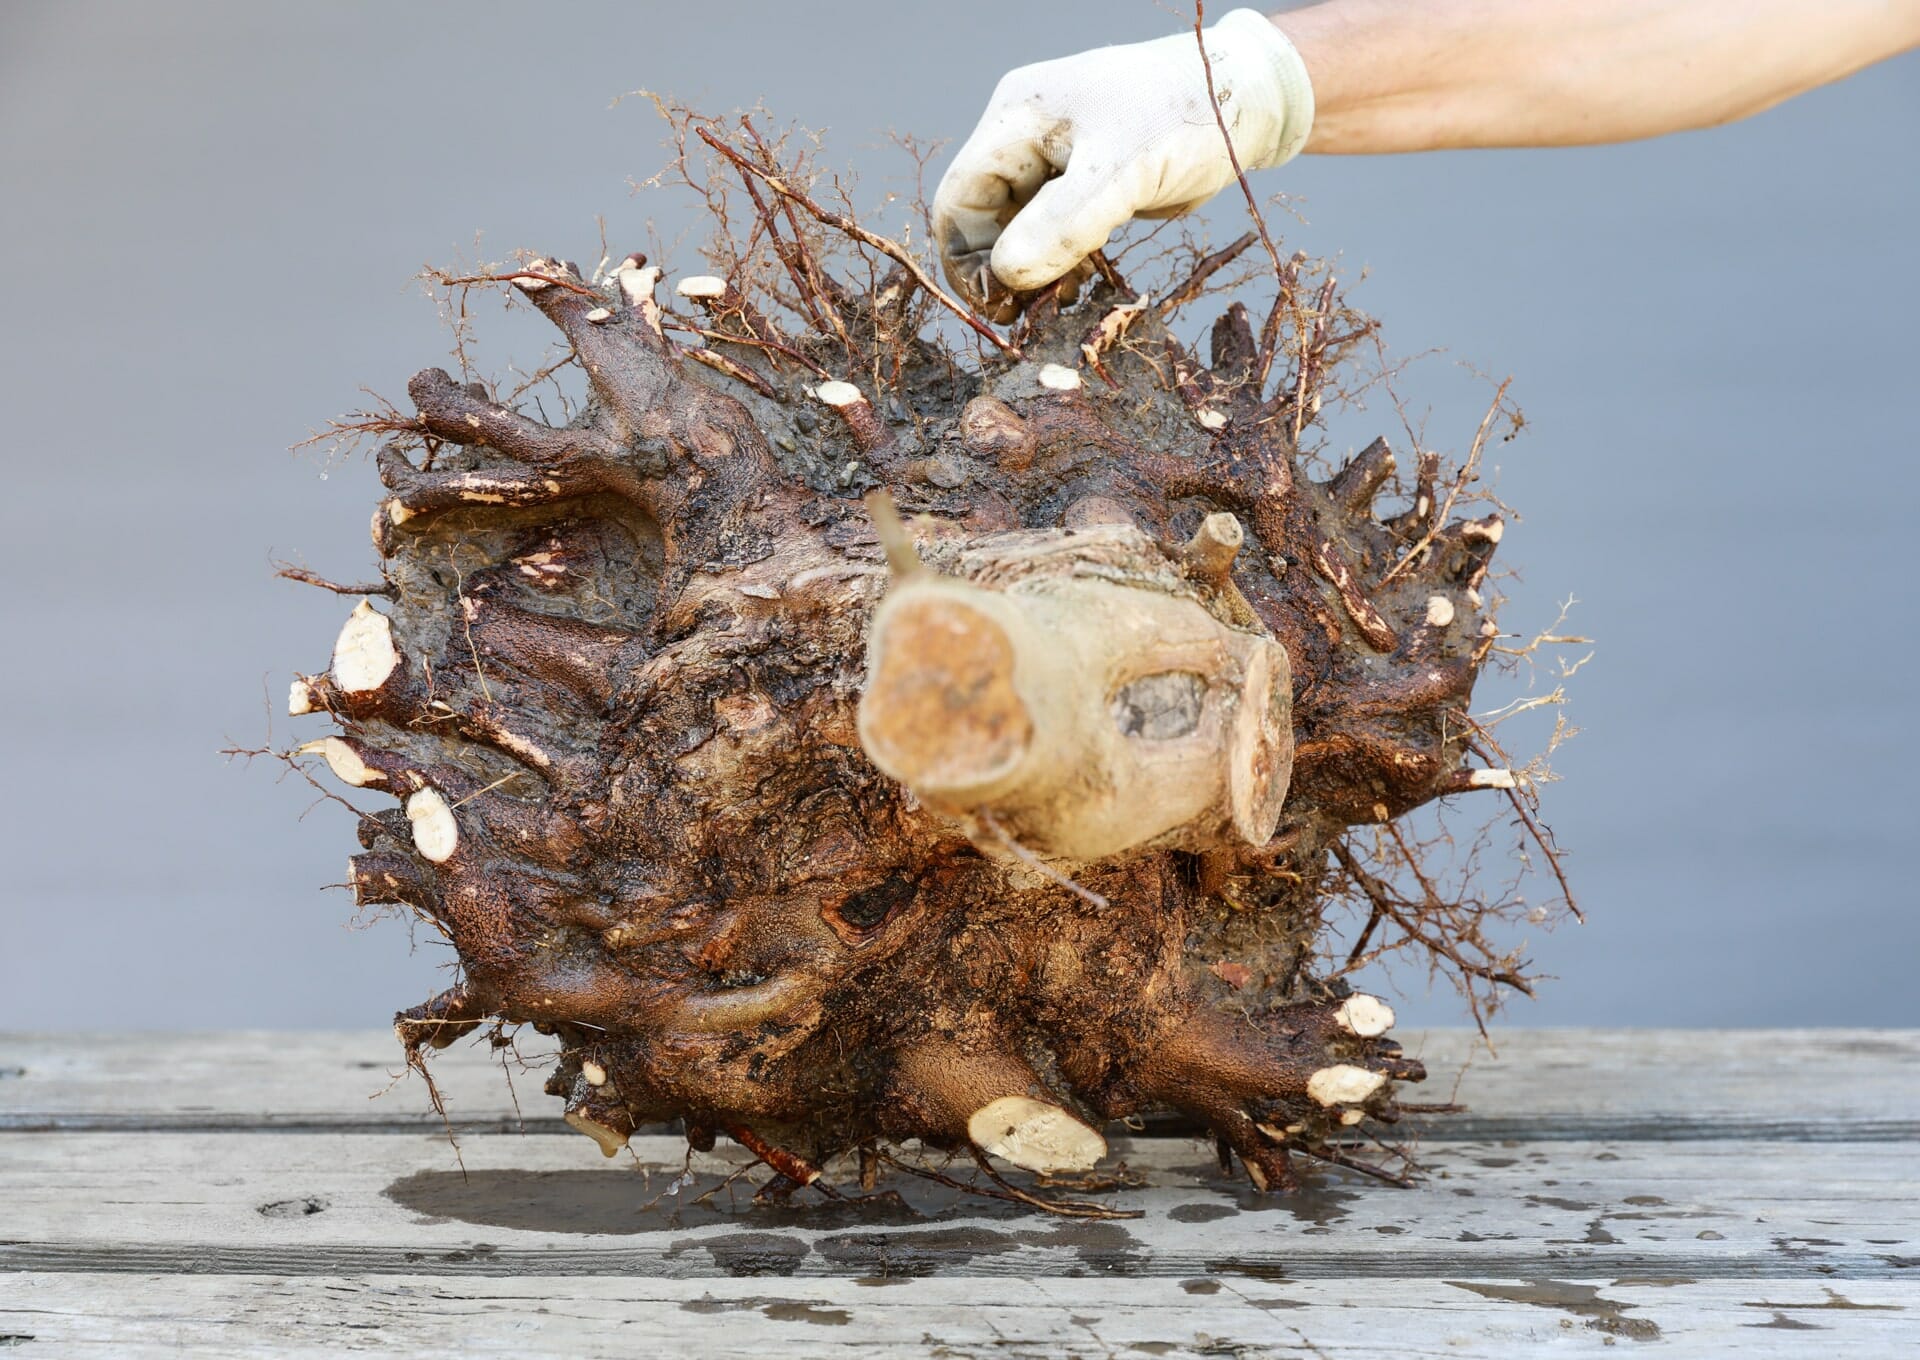
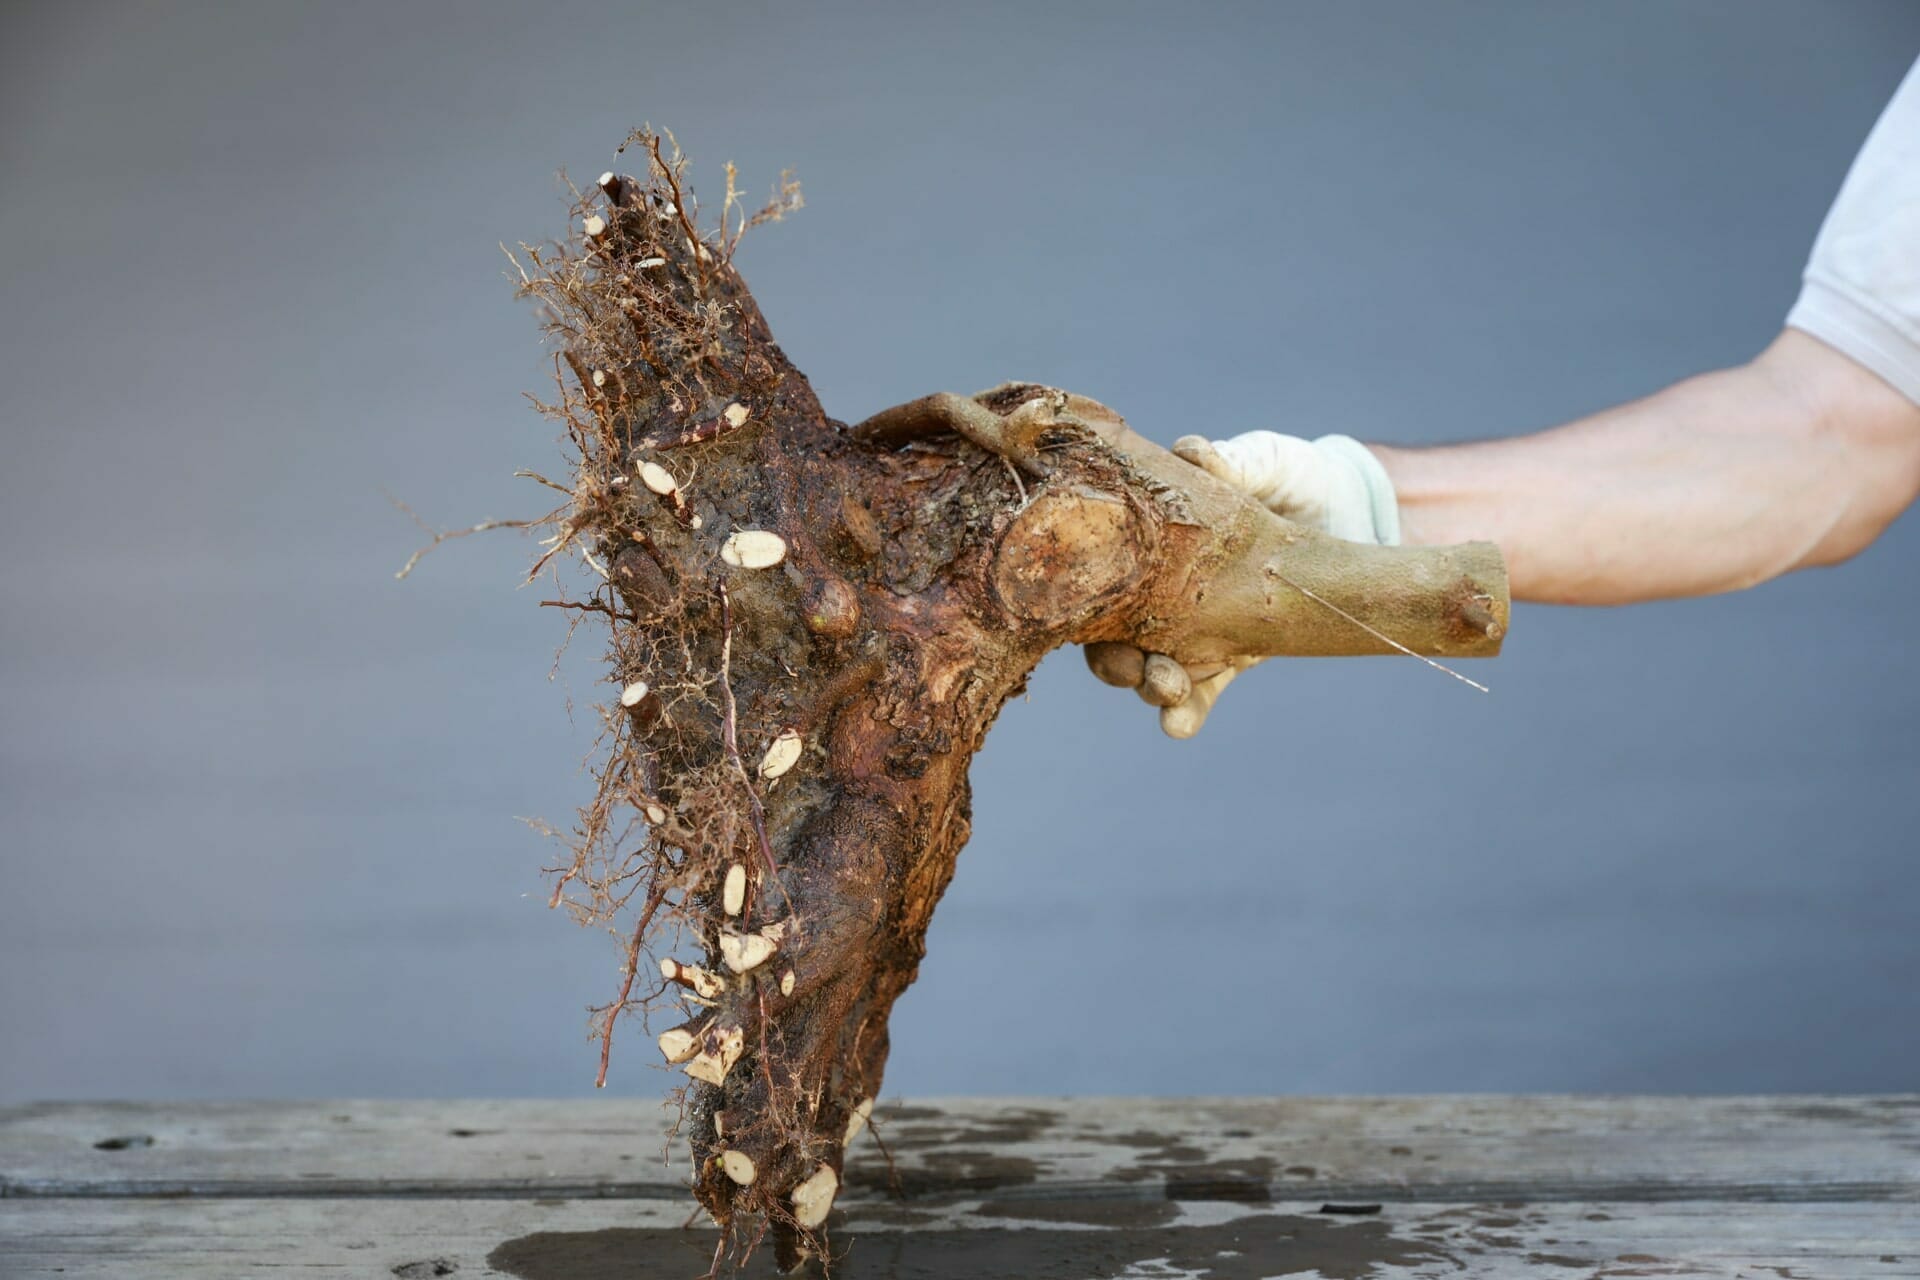
After we have carefully dug out and cleaned the roots, all the details are revealed.
Step 3
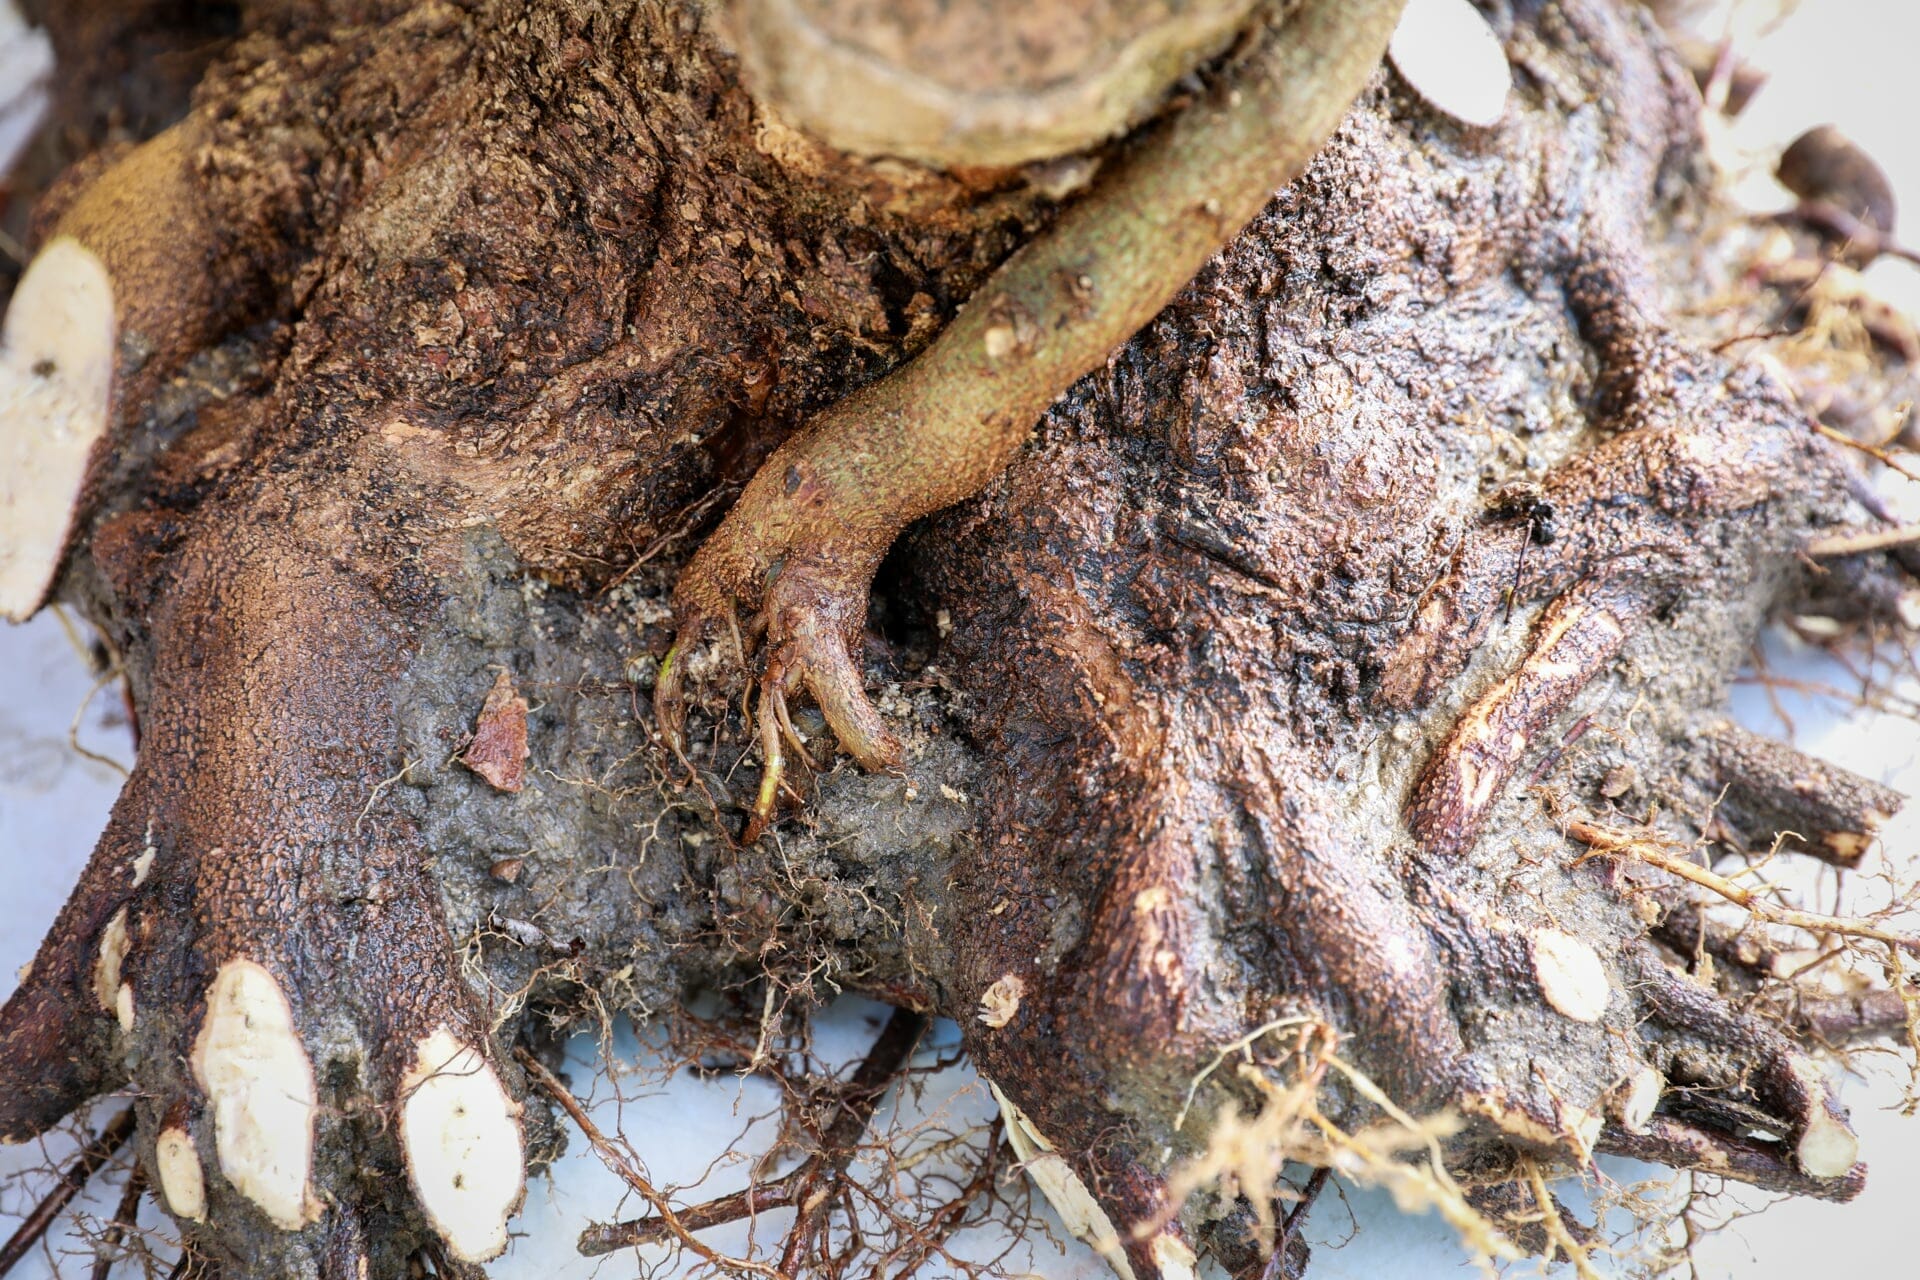
There is often free space between two main roots, which should be closed for a better visual appearance. A small and still young seedling is ideal for this. Our seedling used here was planted two years ago and has now reached the right thickness to close the gap.
Step 4
To attach it securely enough to the actual root base, it is simply fixed in place with a screw.
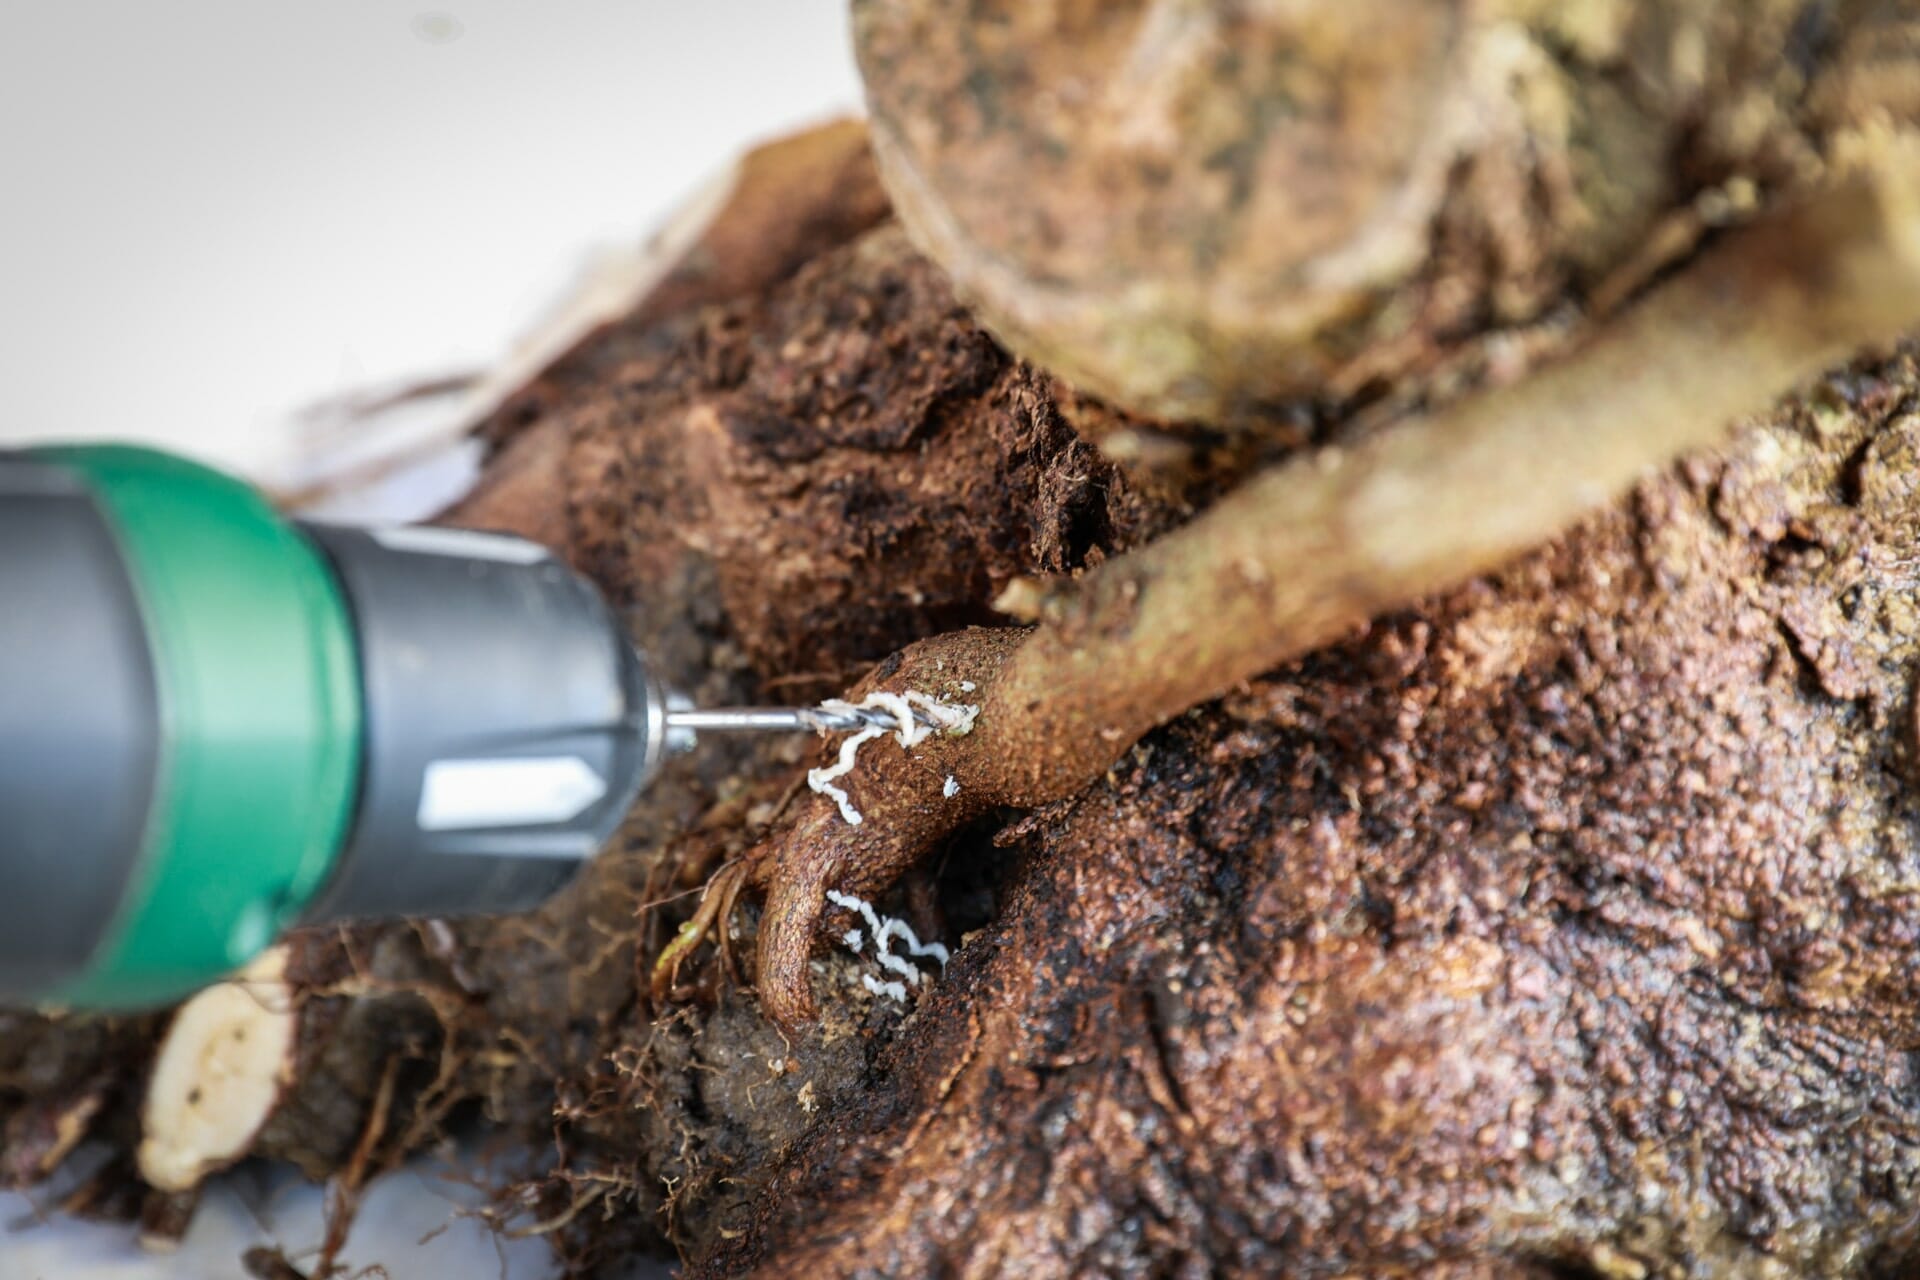
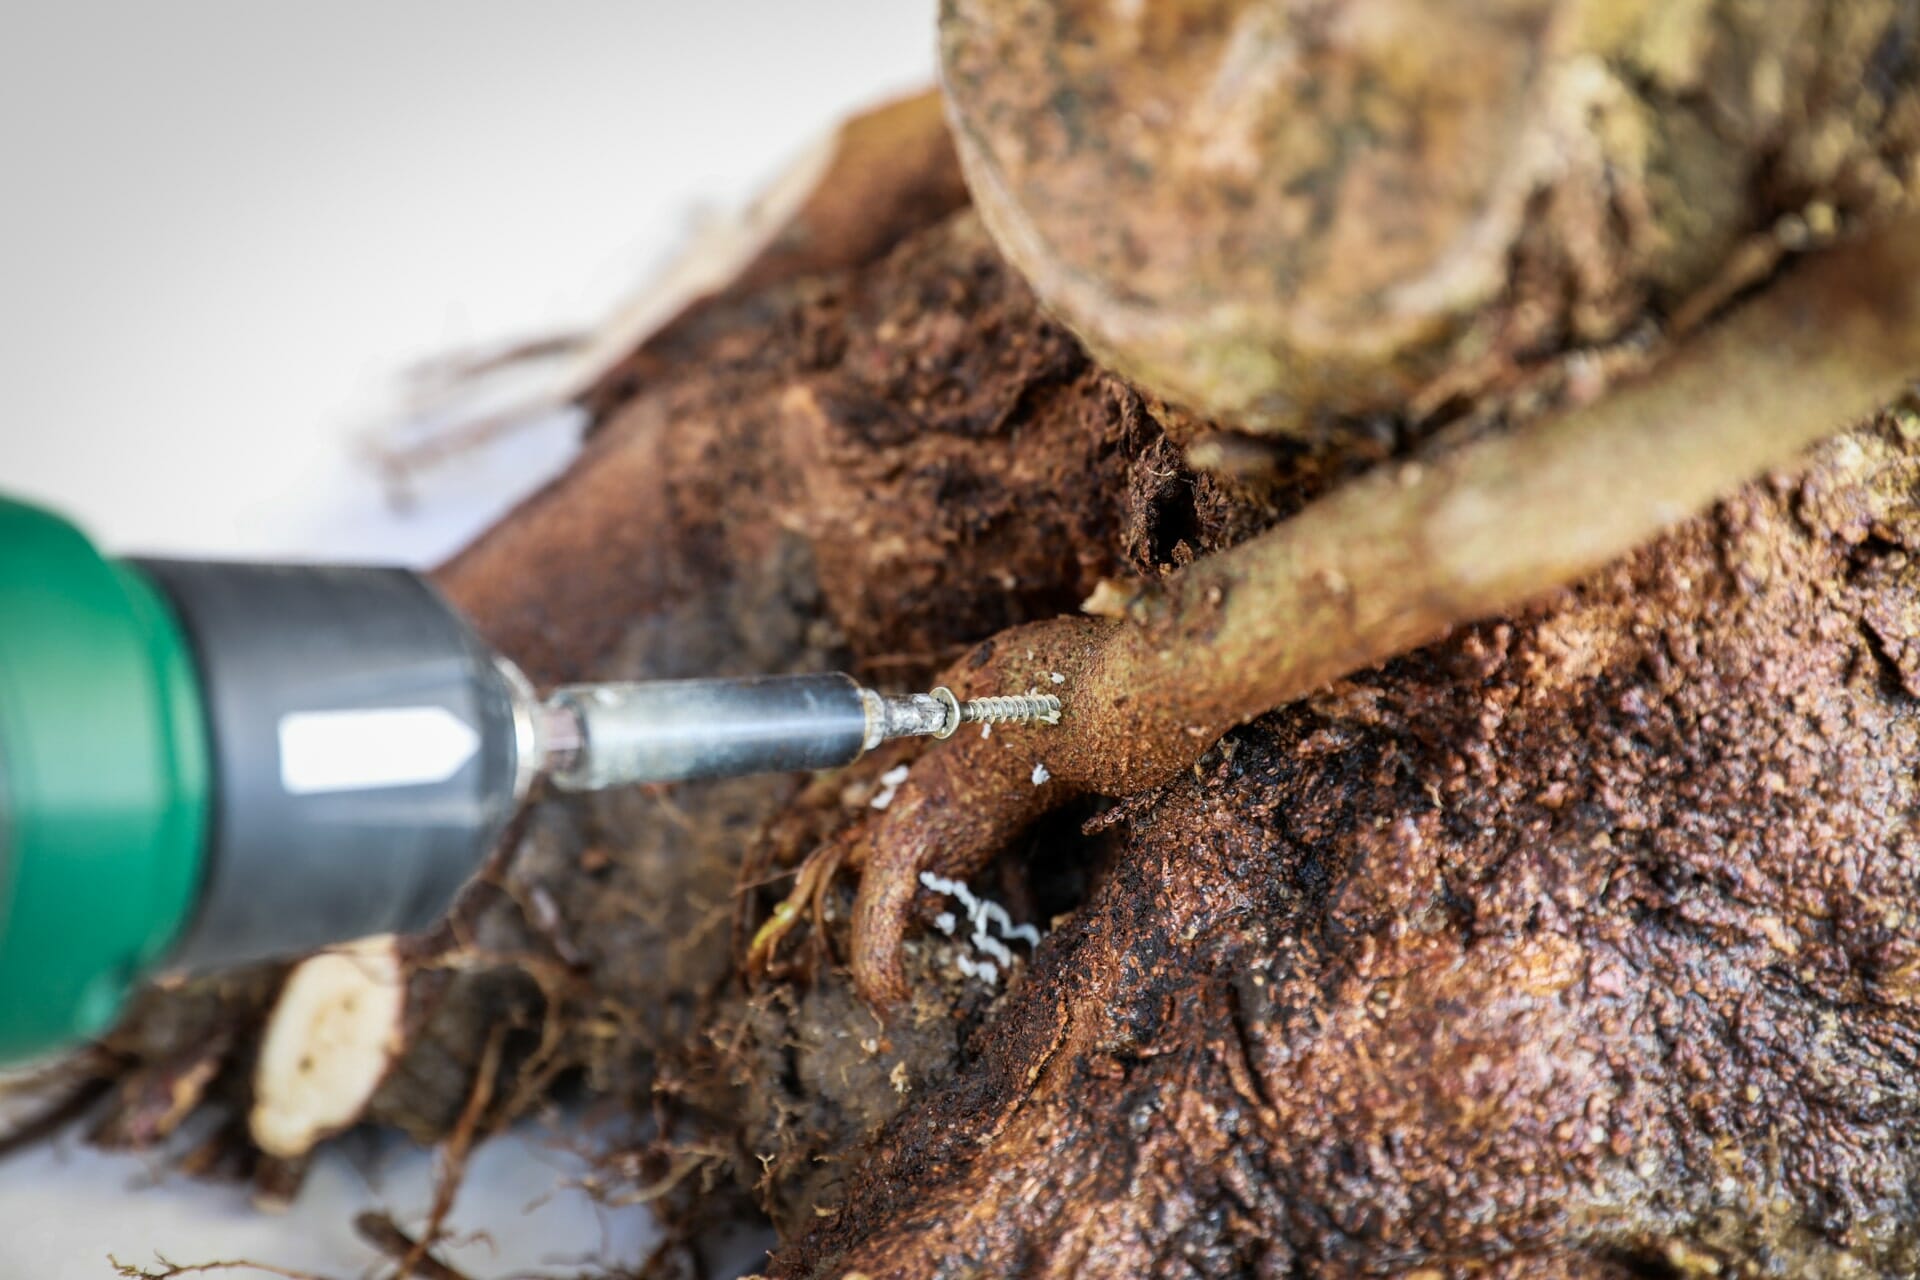
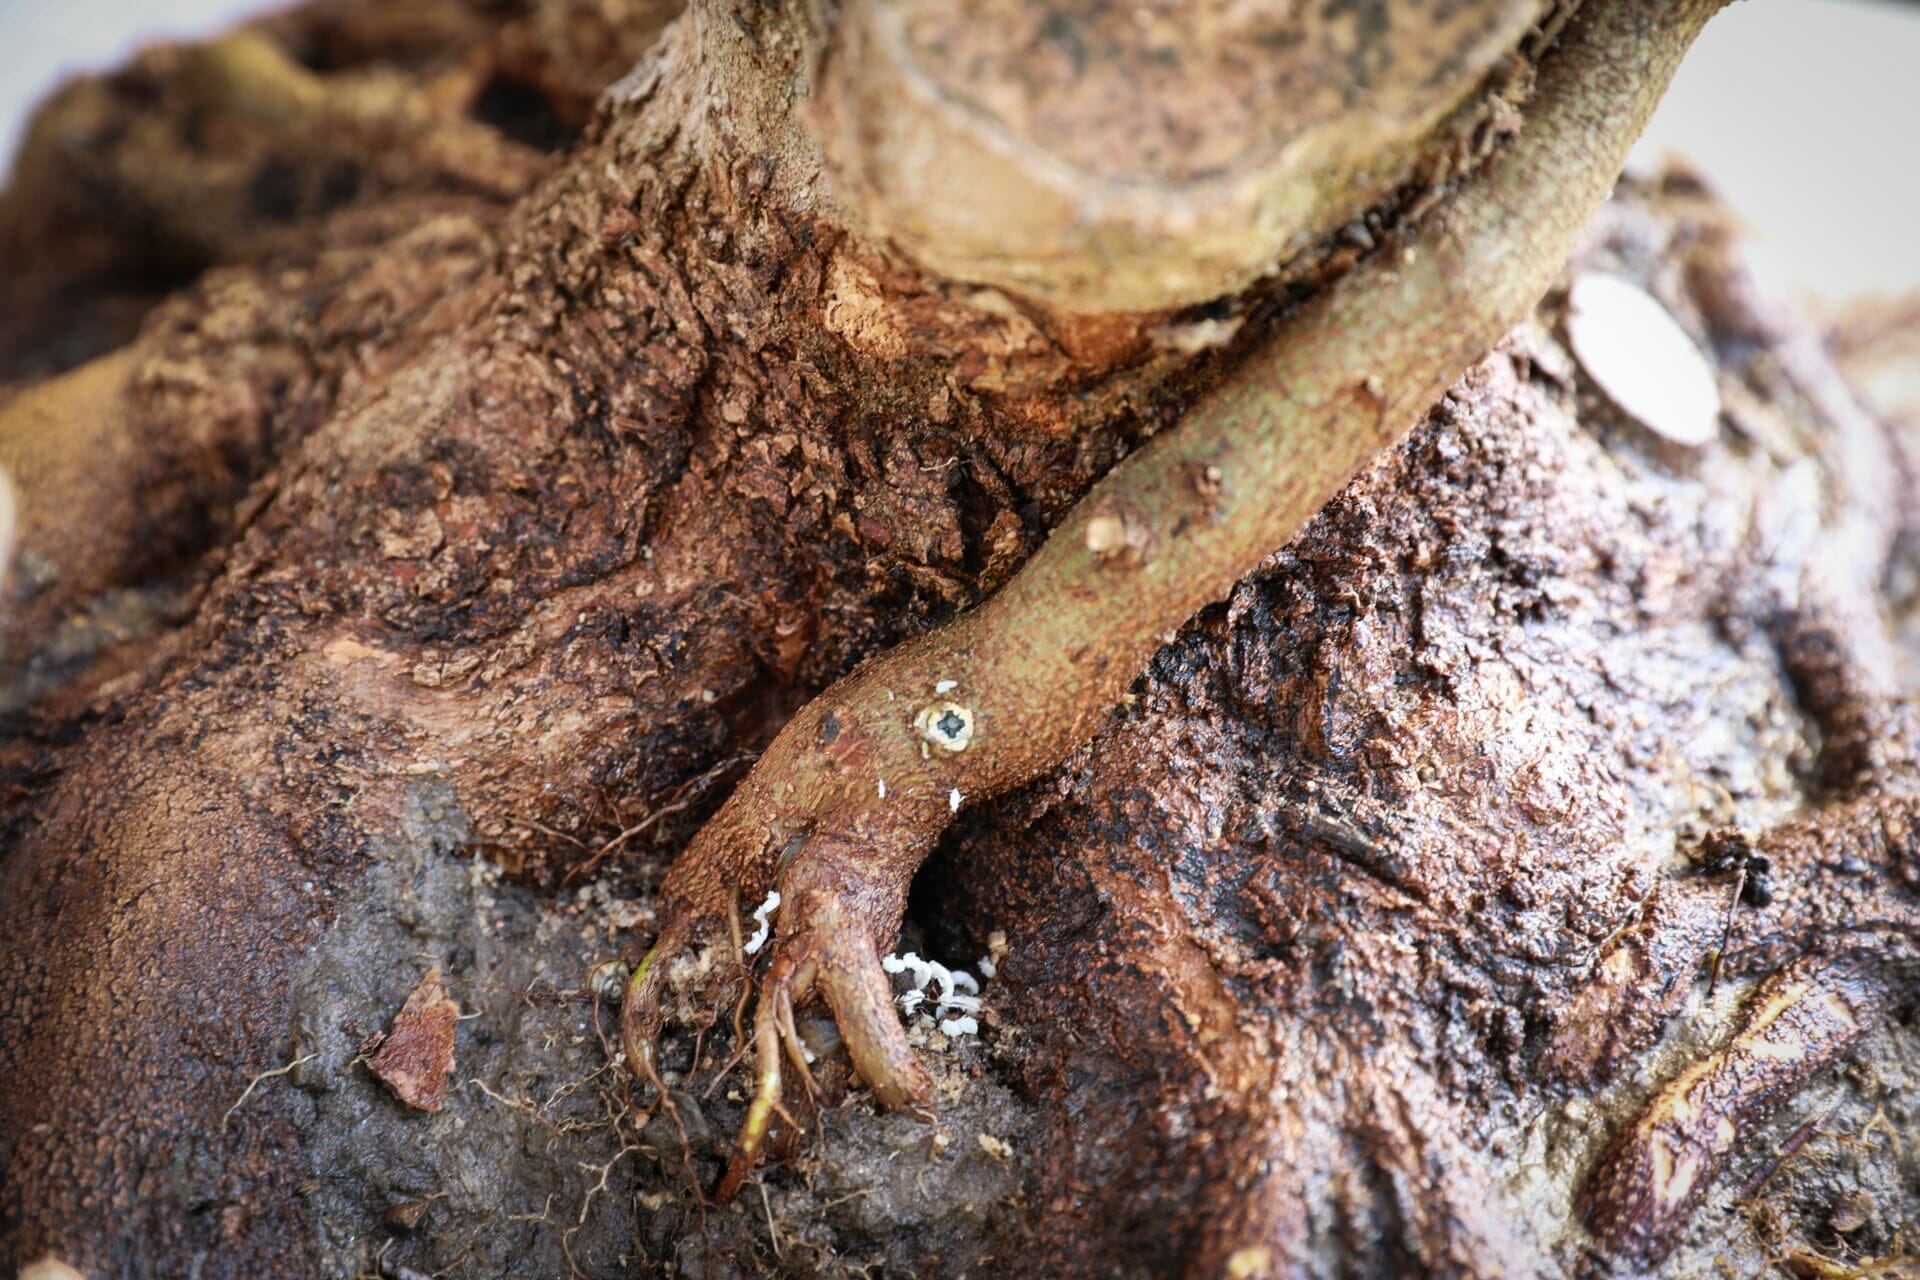
Step 5
Here we can clearly see traces of older seedlings that have already grown in.
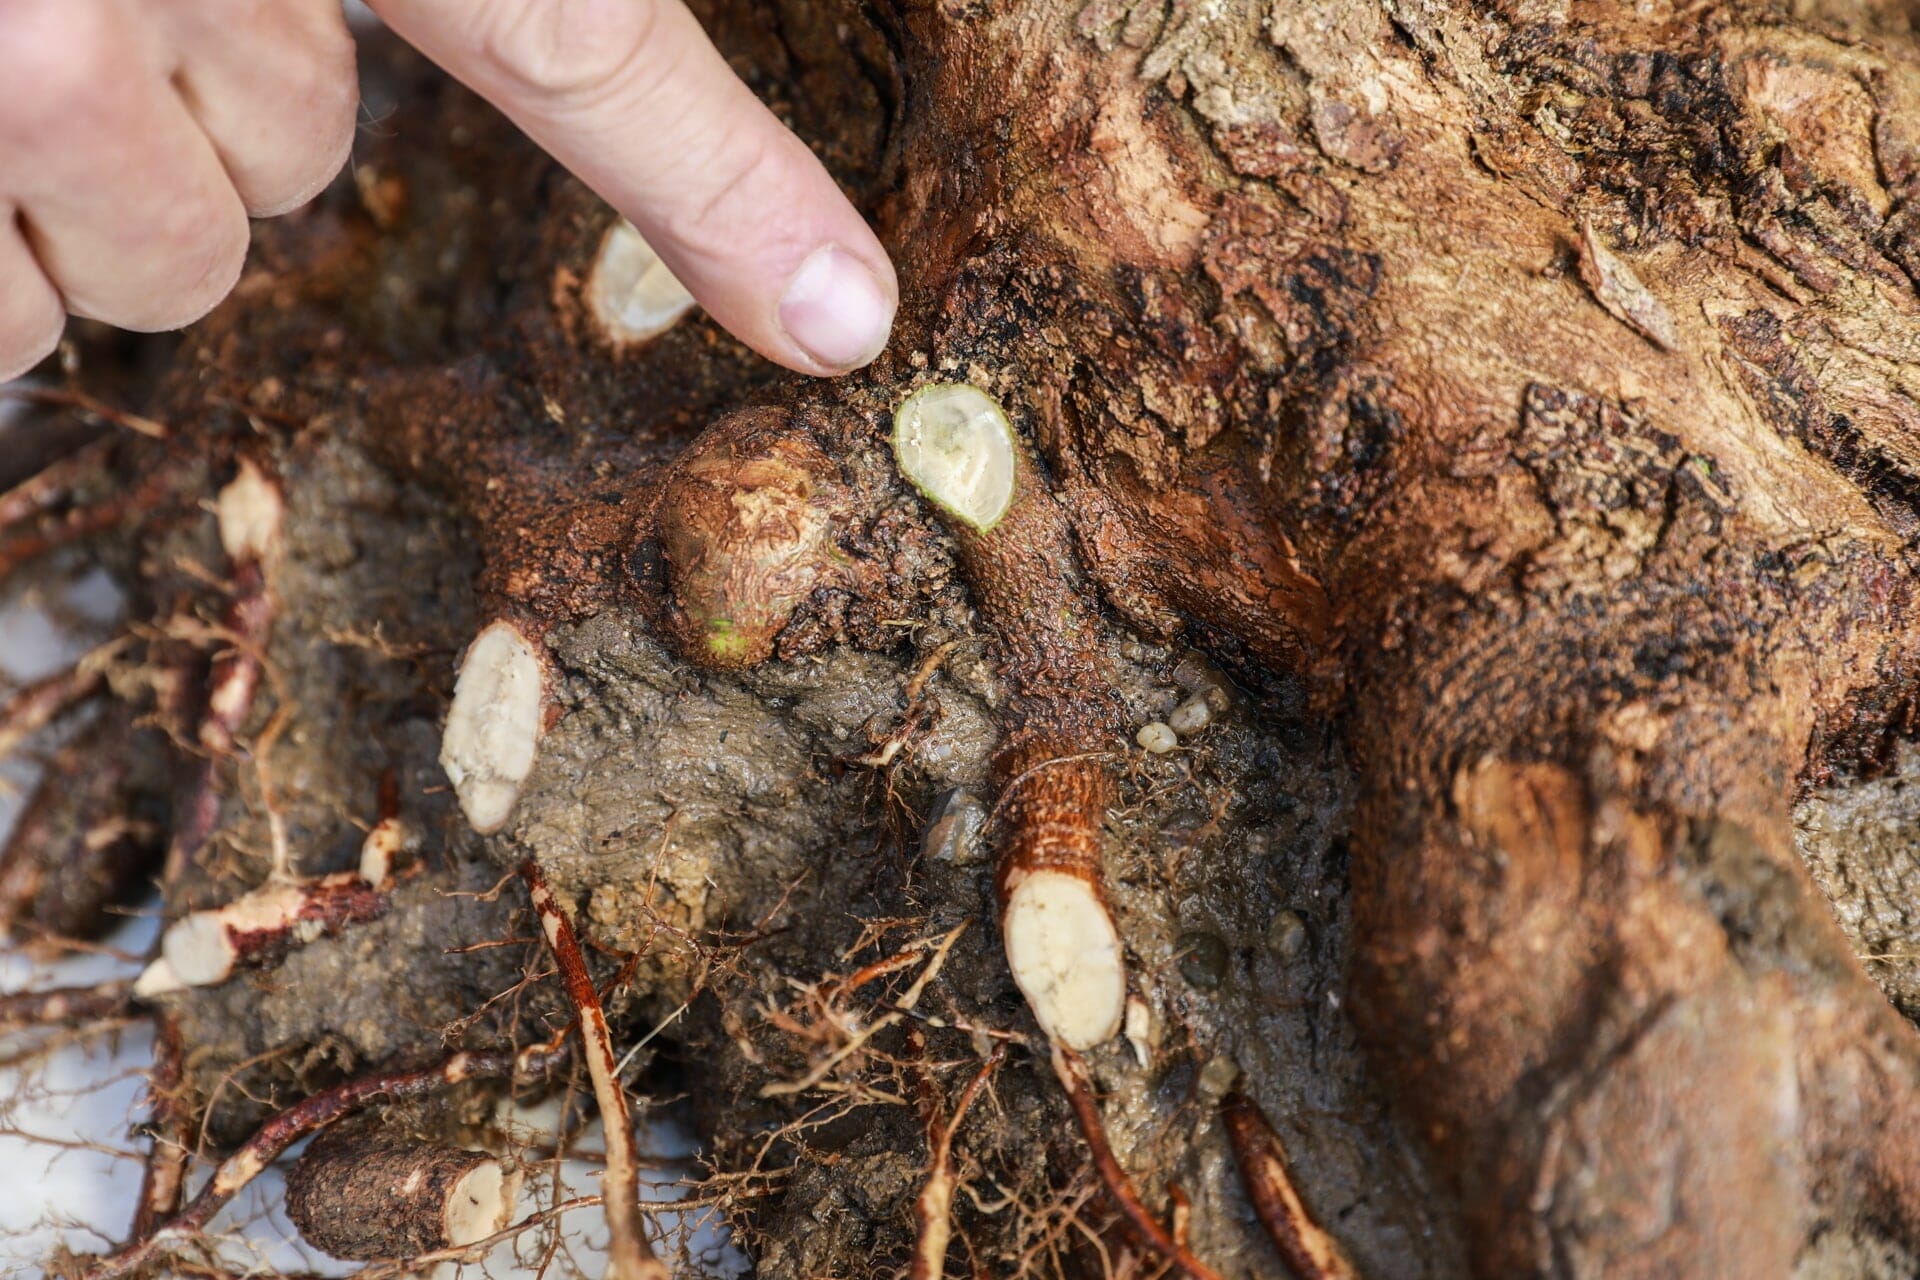
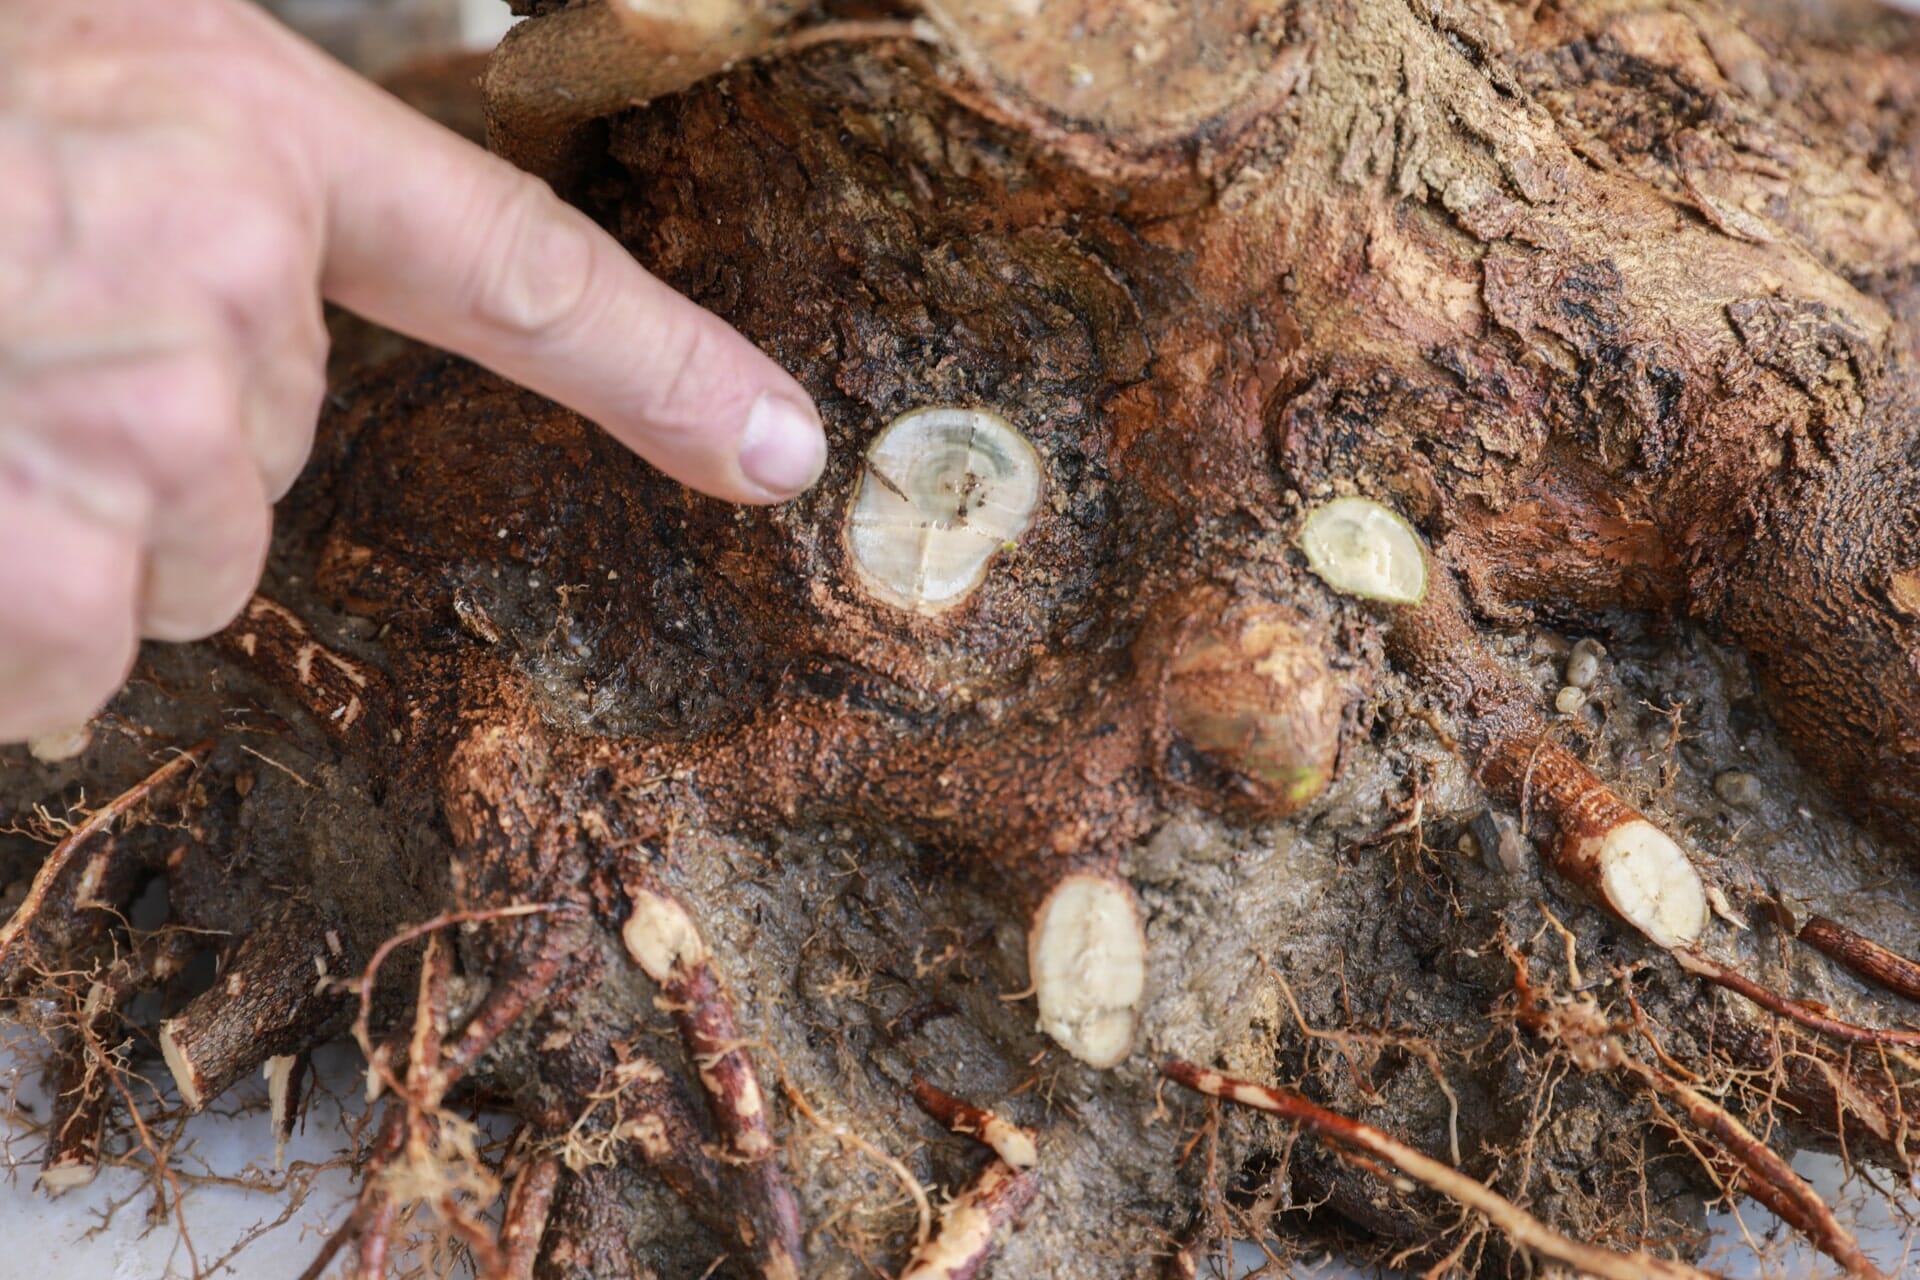
Step 6
In order to give the surface of the root attachment as attractive an appearance as possible, we simply finish it off thoroughly with a milling machine.
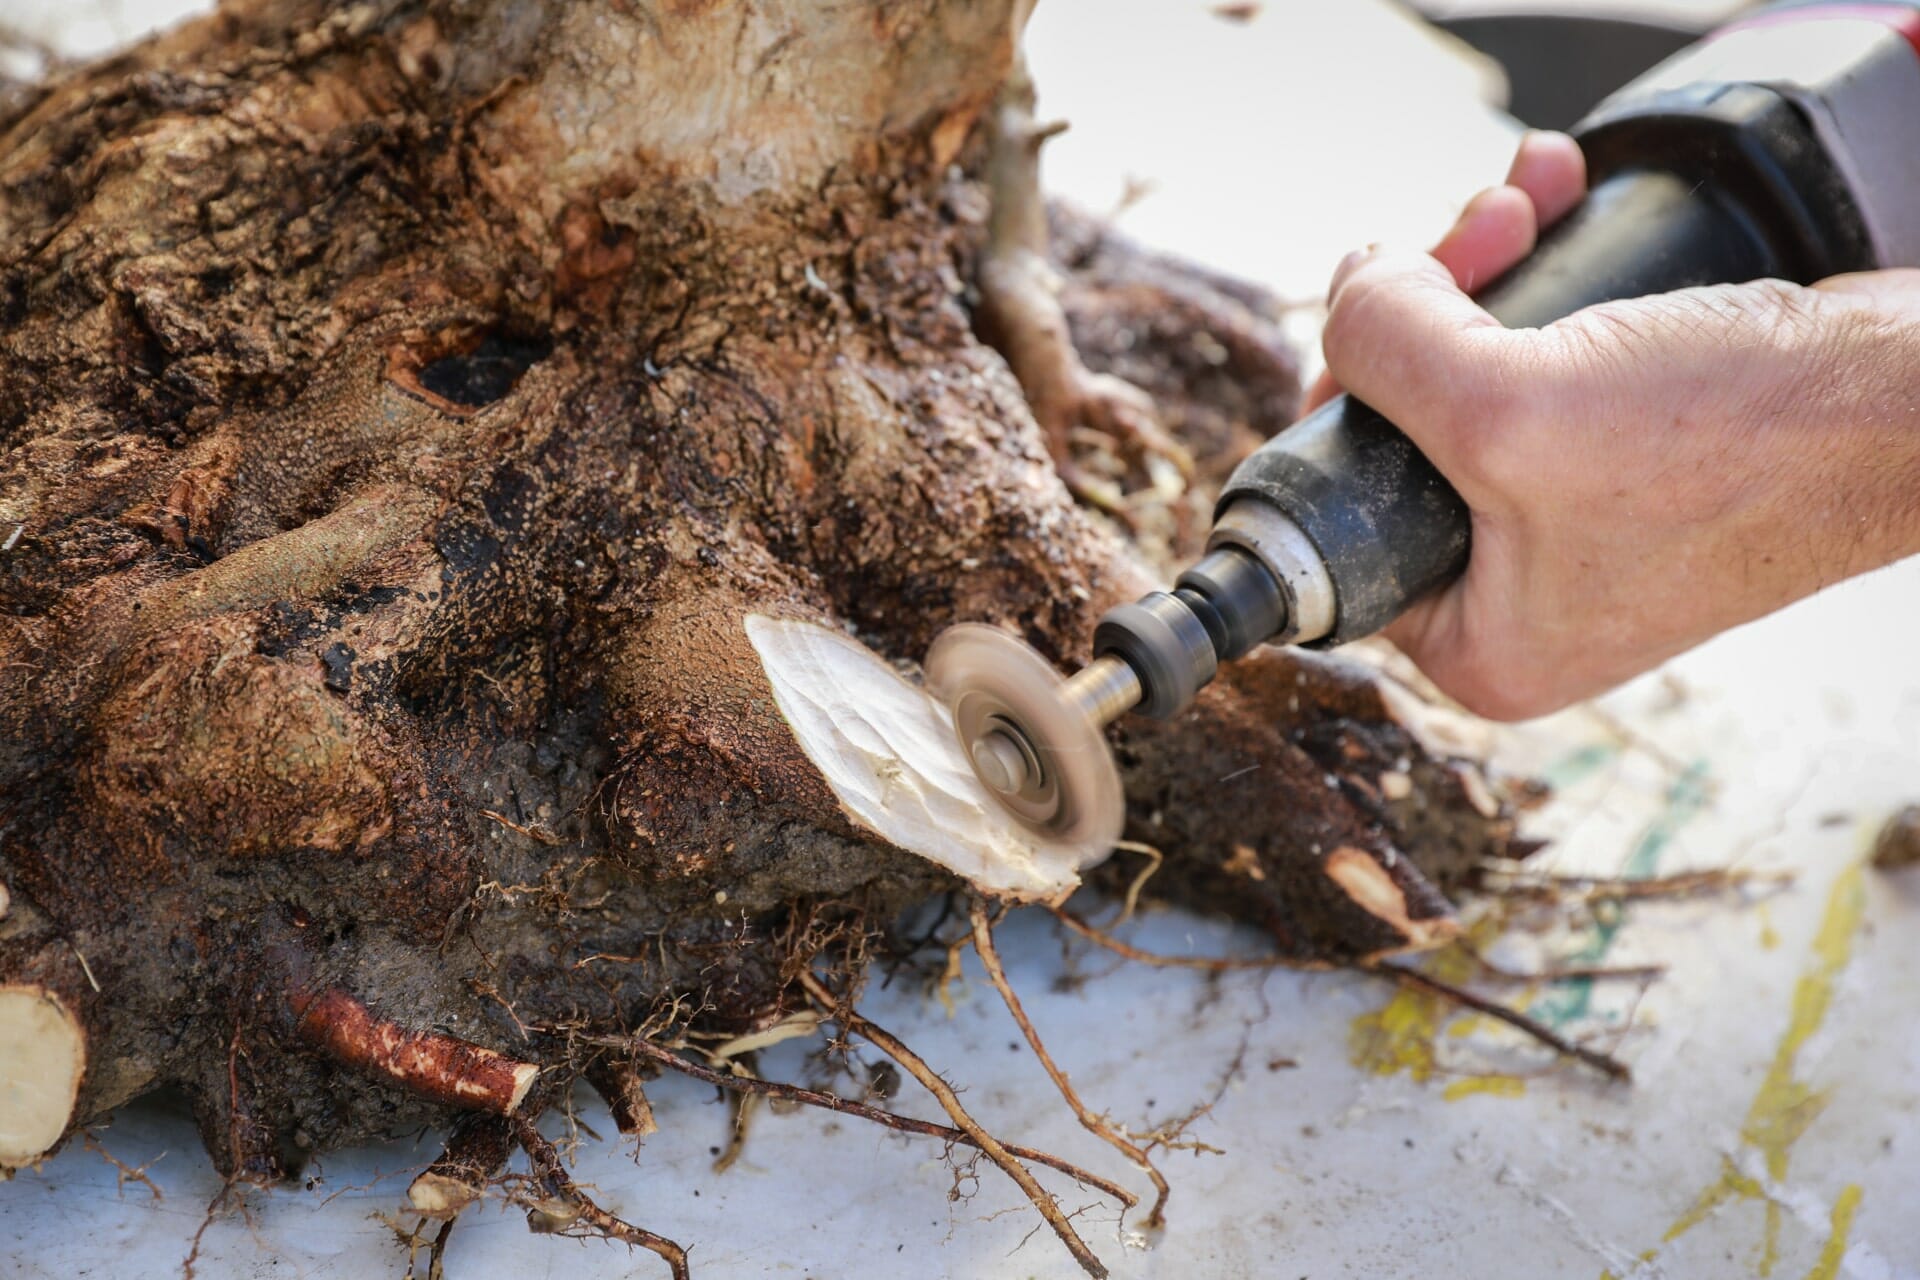
Step 7
We prepare new seedlings to further replenish the root base and for reinforcement.
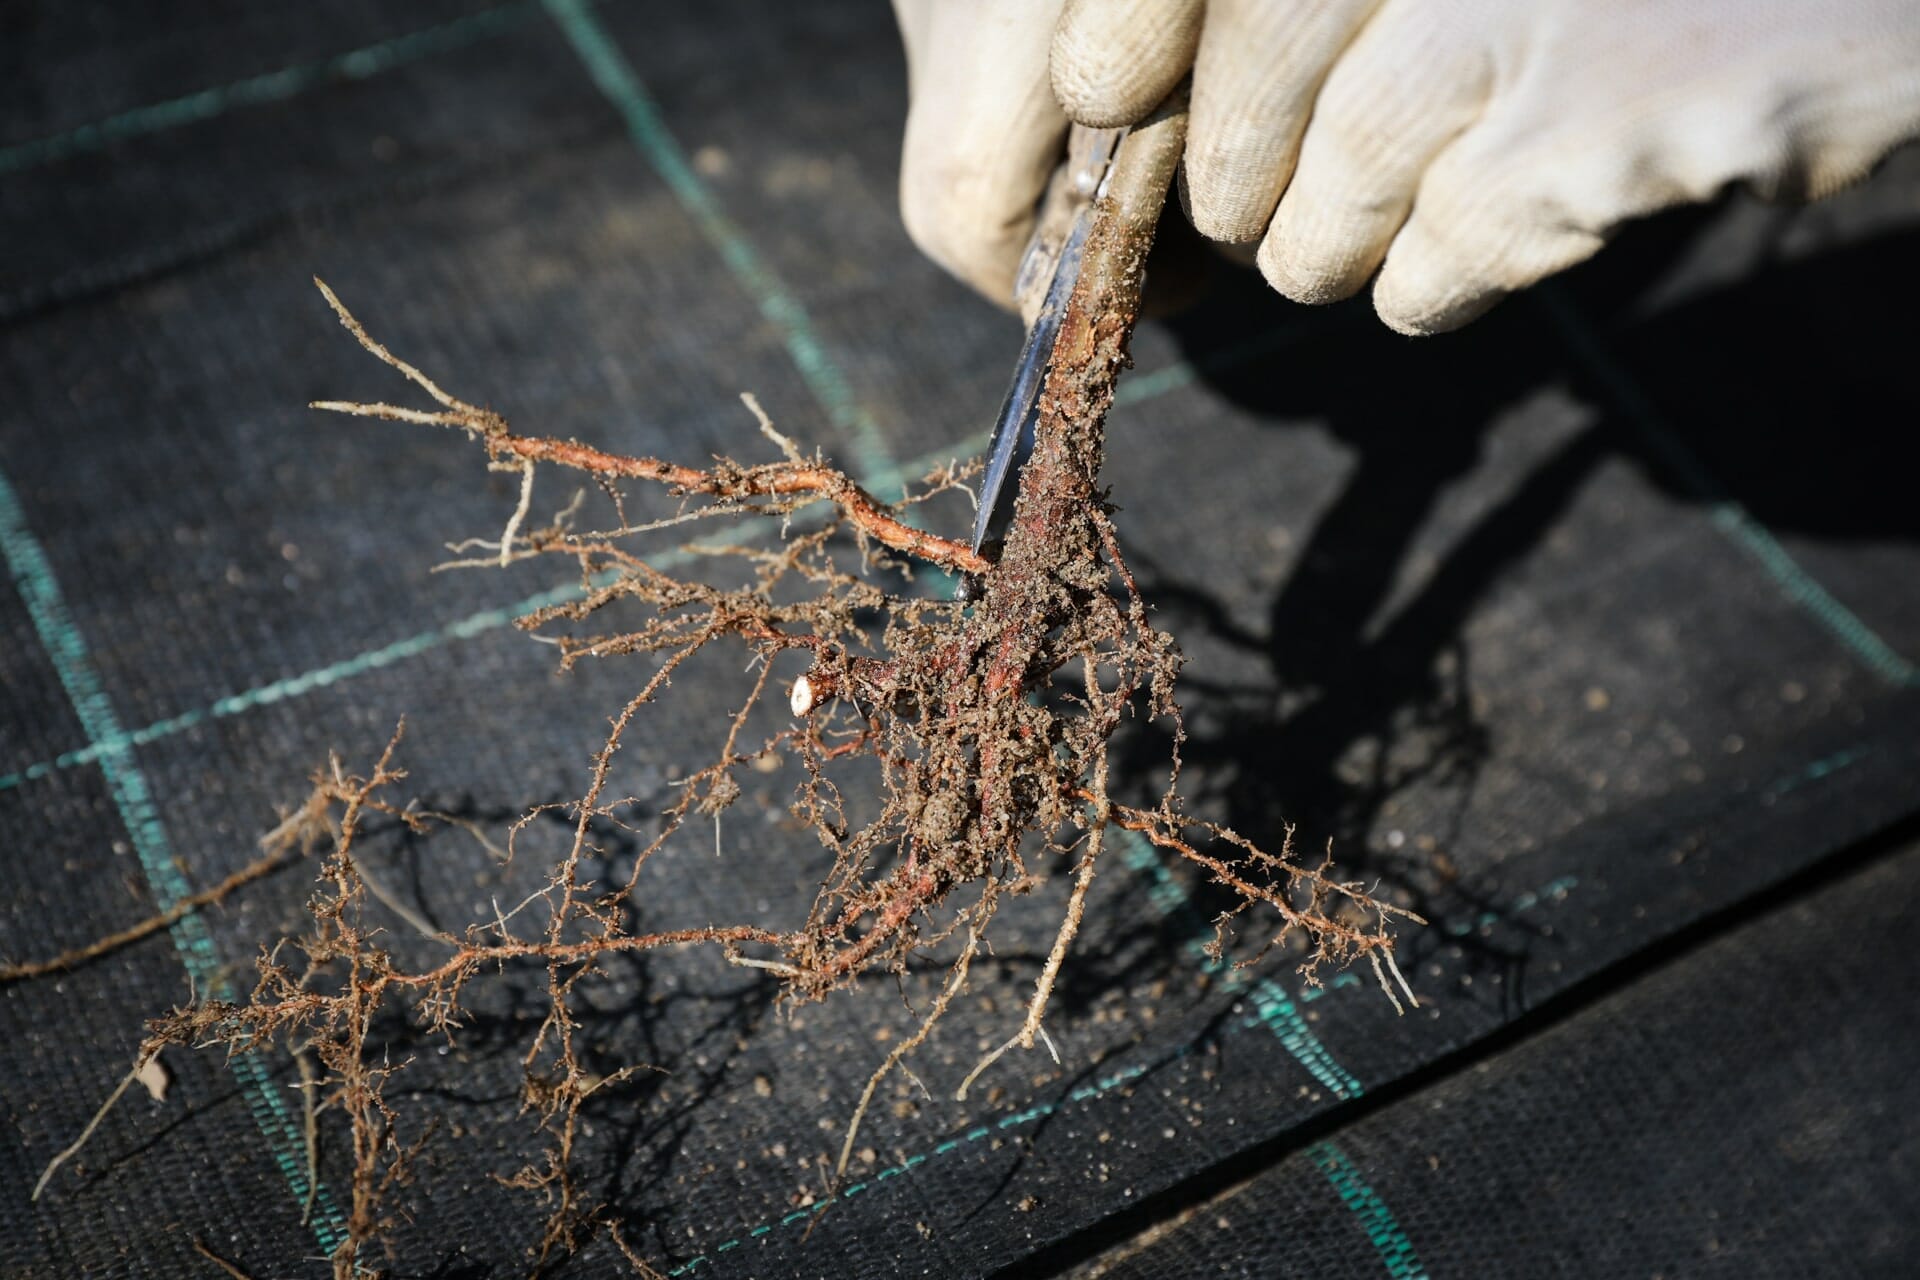
Step 8
These young seedlings are now simply placed in existing gaps between two already well-developed roots and covered with soil.
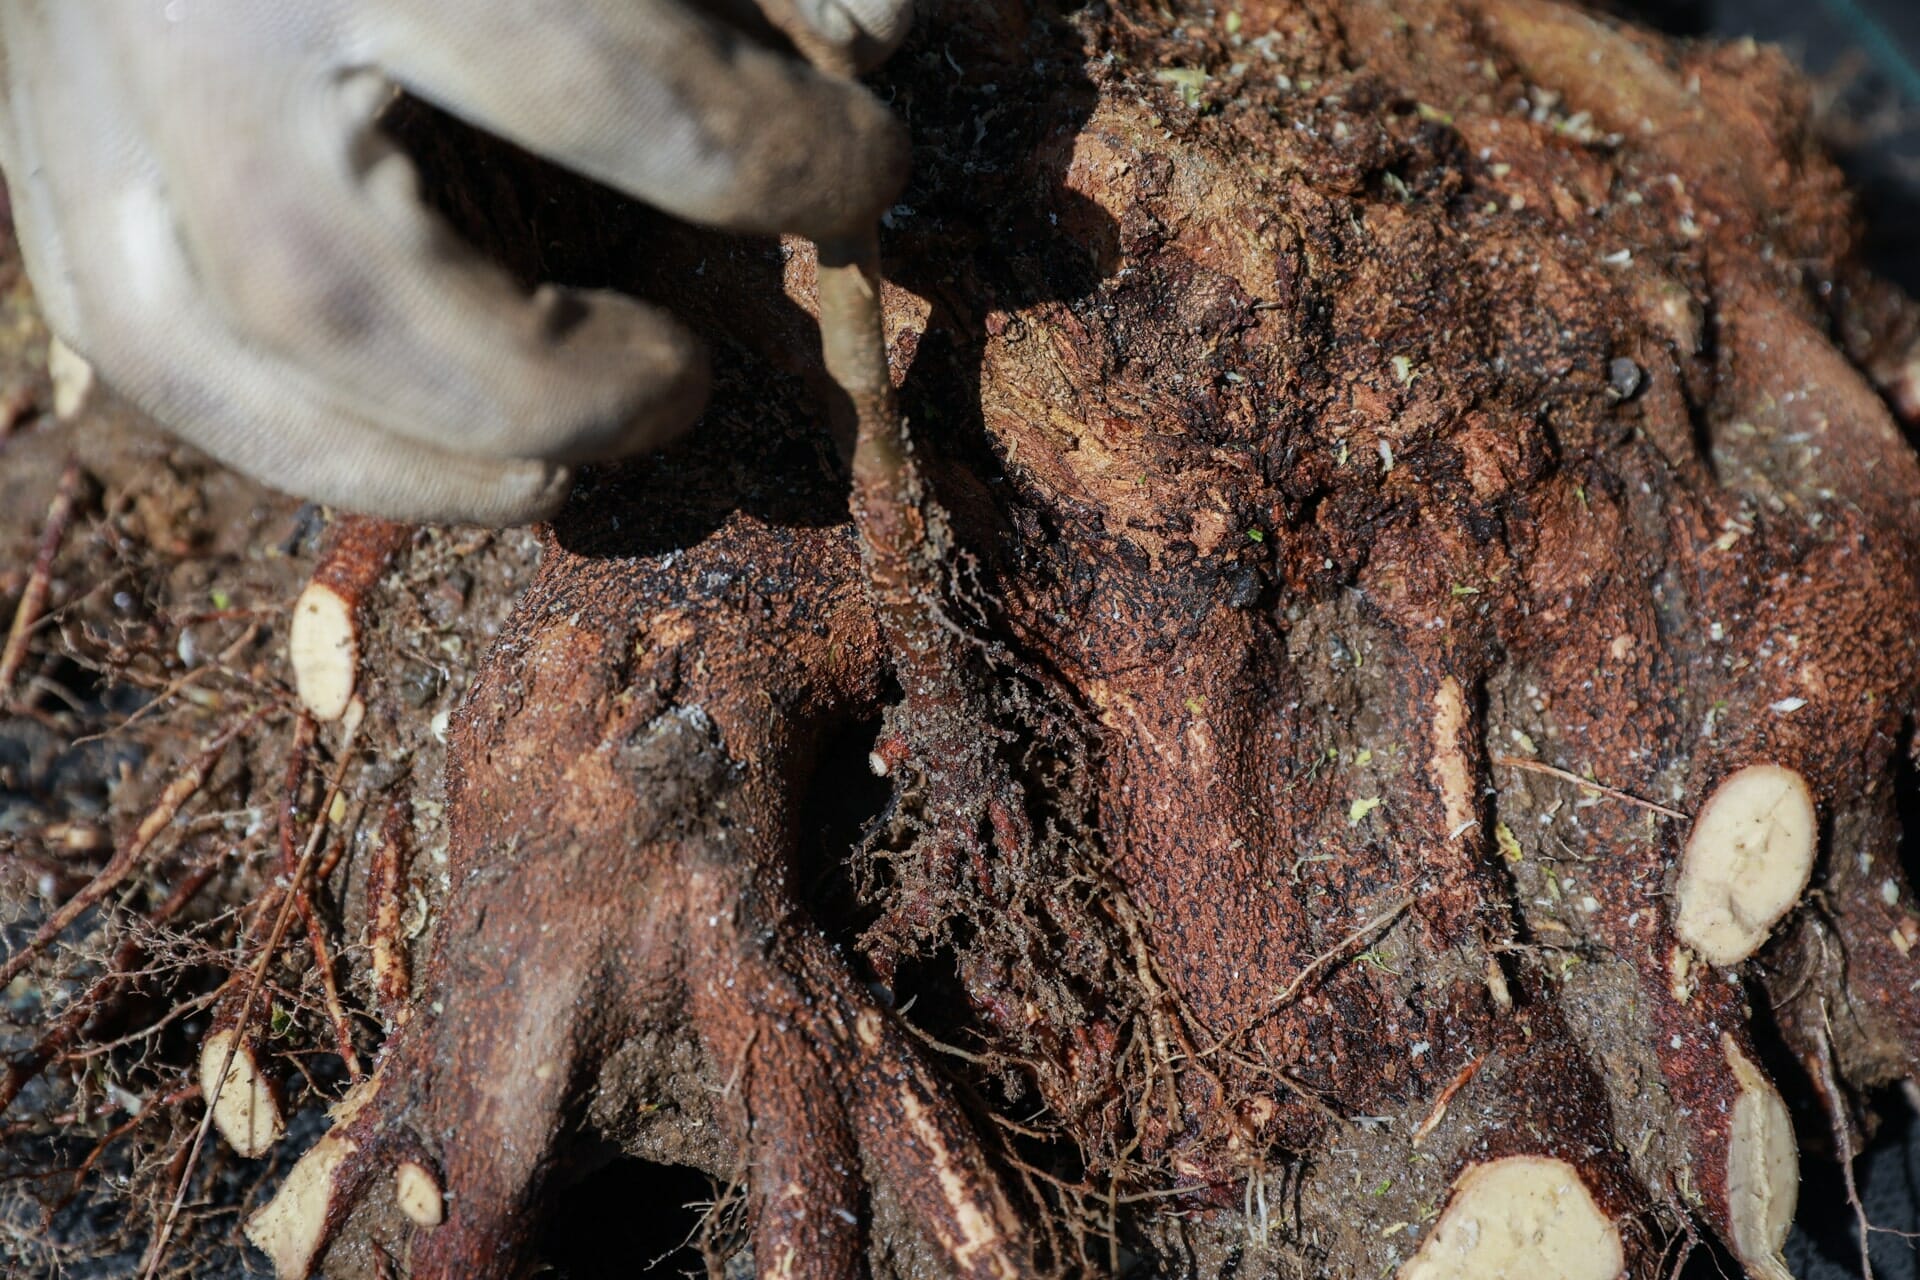
Step 9
We can then replant our processed root base and give it another three years to develop.