
Instructions
3, Reasons when you should definitely repot your bonsai.
- the shell is completely rooted through and pushes the tree out of the shell.
- water can no longer drain away and the roots start to rot (compacted substrate).
- if growth disorders of the tree are recognizable, the cause of which lies in the root ball (salty soil)
How often should you repot?
Deciduous trees are repotted on average every 2-4 years. The repotting interval for evergreen varieties is every 5-10 years. The new soil must be loosened and be able to store water well. The following soil mixtures can fulfill these tasks well:
Acadama, pumice, lava granules, perlite... the best repotting time is in spring, before budding.
Step 1
We'll show you how to repot a cornelian cherry (Cornus mas). The tree has not been repotted for 4 years and the planting angle is not ideal either, and while we're on the subject of repotting, we'll also use a suitable tray.

Step 2
We cover the holes in the trays with mesh, which prevents the pests from crawling in and the substrate from flowing out.

Step 3
First, we make a drainage layer that should have a height of 1 - 1.5 cm, this drainage layer is good against stagnant water and at the same time provides a good air cushion. The grain size must be between 0.5 - 1 cm, I use lava, pumice and perlite here.

Step 4
For my trees I use a basic soil mixture of 40% Akadama, 50% perlite (or lava, pumice, expanded clay) 10% peat humus (coconut fiber) The ingredients have a grain size of about 0.5 cm, the dust must be removed with a sieve.

Step 5

Step 6

Step 7
Remove the tree from its old shell and clean the roots. We cut off the rotten and excessively long roots.

Step 8
Figure: Larvae of the European weevil
Otiorhynchus sulcatus

Step 9
Figure: Larval click beetle (wireworm)
Agriotes lineatus / obscurus
When repotting, you have to look very carefully to see if there are any pests hiding, as these can eat away the entire root system in one season. Here you can see some pests hiding in my Curnus.

Step 10
We position the tree in the new tray and fill it with fresh soil. Cornelian cherry (Cornus mas) is a very lime-loving variety, which is why we add an extra portion of lime to our soil mixture.

Step 11
The dosage is 1 tablespoon of lime per 2 liters of soil. The following types of lime can be used: Bone meal, dolomite lime, lawn lime...
The bonsai is not fertilized after repotting.
The first fertilizer is not applied until the end of May after the first shoots have emerged.

Step 12

Step 13
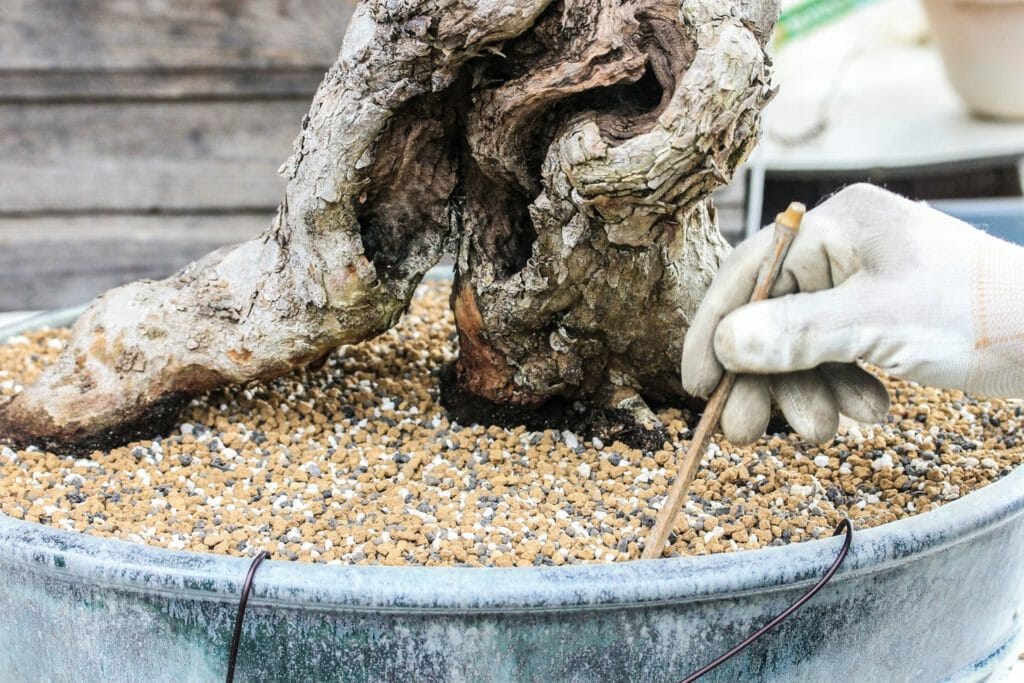
Now secure the cornelian cherry (Cornus mas) in the tray and compact the soil with a chopstick. Make sure that there is no space between the roots.
Step 14
Finally, we water and enjoy our work.
Note: The bonsai must not be exposed to direct sunlight for at least 1 month.
