Instructions
So the only option left for us is to grow a tree ourselves from seeds or cuttings. If you wanted to carry out this project in a shell, you would need a lot of patience. It is quicker to grow them outdoors, for example in a bonsai nursery. Attractive results can be achieved after around 10 years.
Some tips on care:
The plane tree is characterized by particularly high resistance to diseases. It is a classic marsh plant and therefore always needs plenty of water and fertilizer for its development. If the plane tree has leaves, it should be kept in water all the time, for example in a bowl. The wetness must be maintained even in winter, as the plane tree generally does not tolerate dry phases well.
The plant needs a lot of sun and therefore loves places that receive sunlight all day long.
In the early stages of its development, the plane tree forms large leaves with growth sizes of ten to 15 centimeters. These must be constantly pruned back to around three to five centimeters until the tree has such dense foliage that no more larger leaves are formed.
In the following series of pictures we show the development of our sycamore bonsai over a period of three years:
Step 1
The basis for our project is a seedling that came to the bonsai nursery for further development when it was about two years old.
Step 2
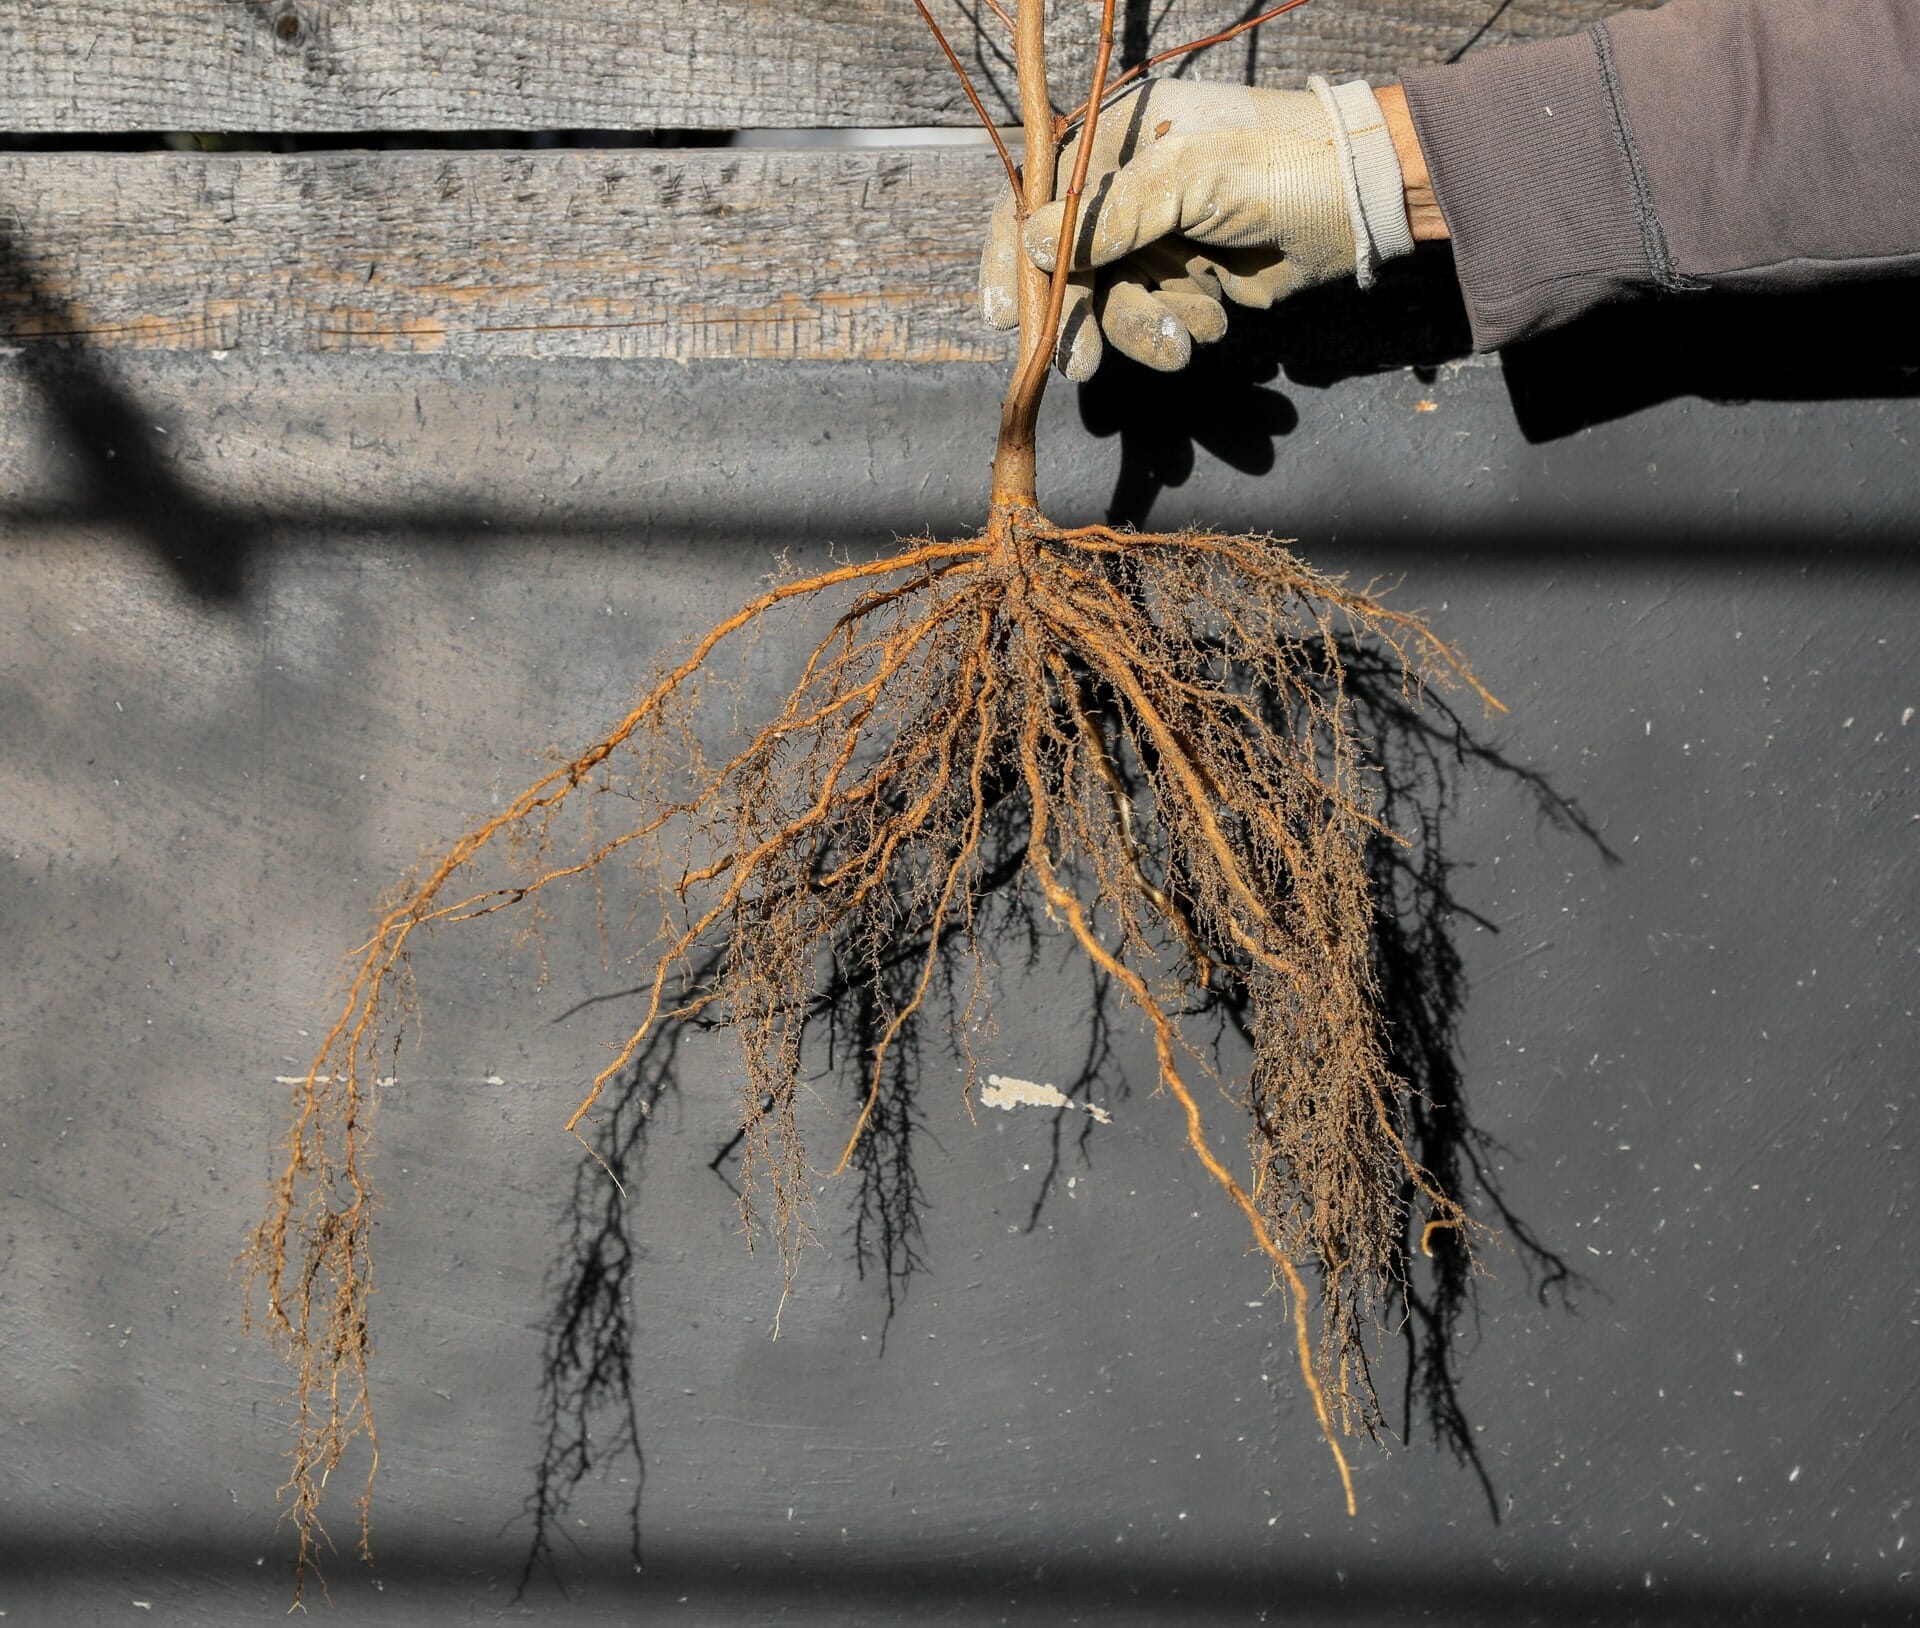
After around ten years in the nursery, the trunk and the base were built up.
Step 3
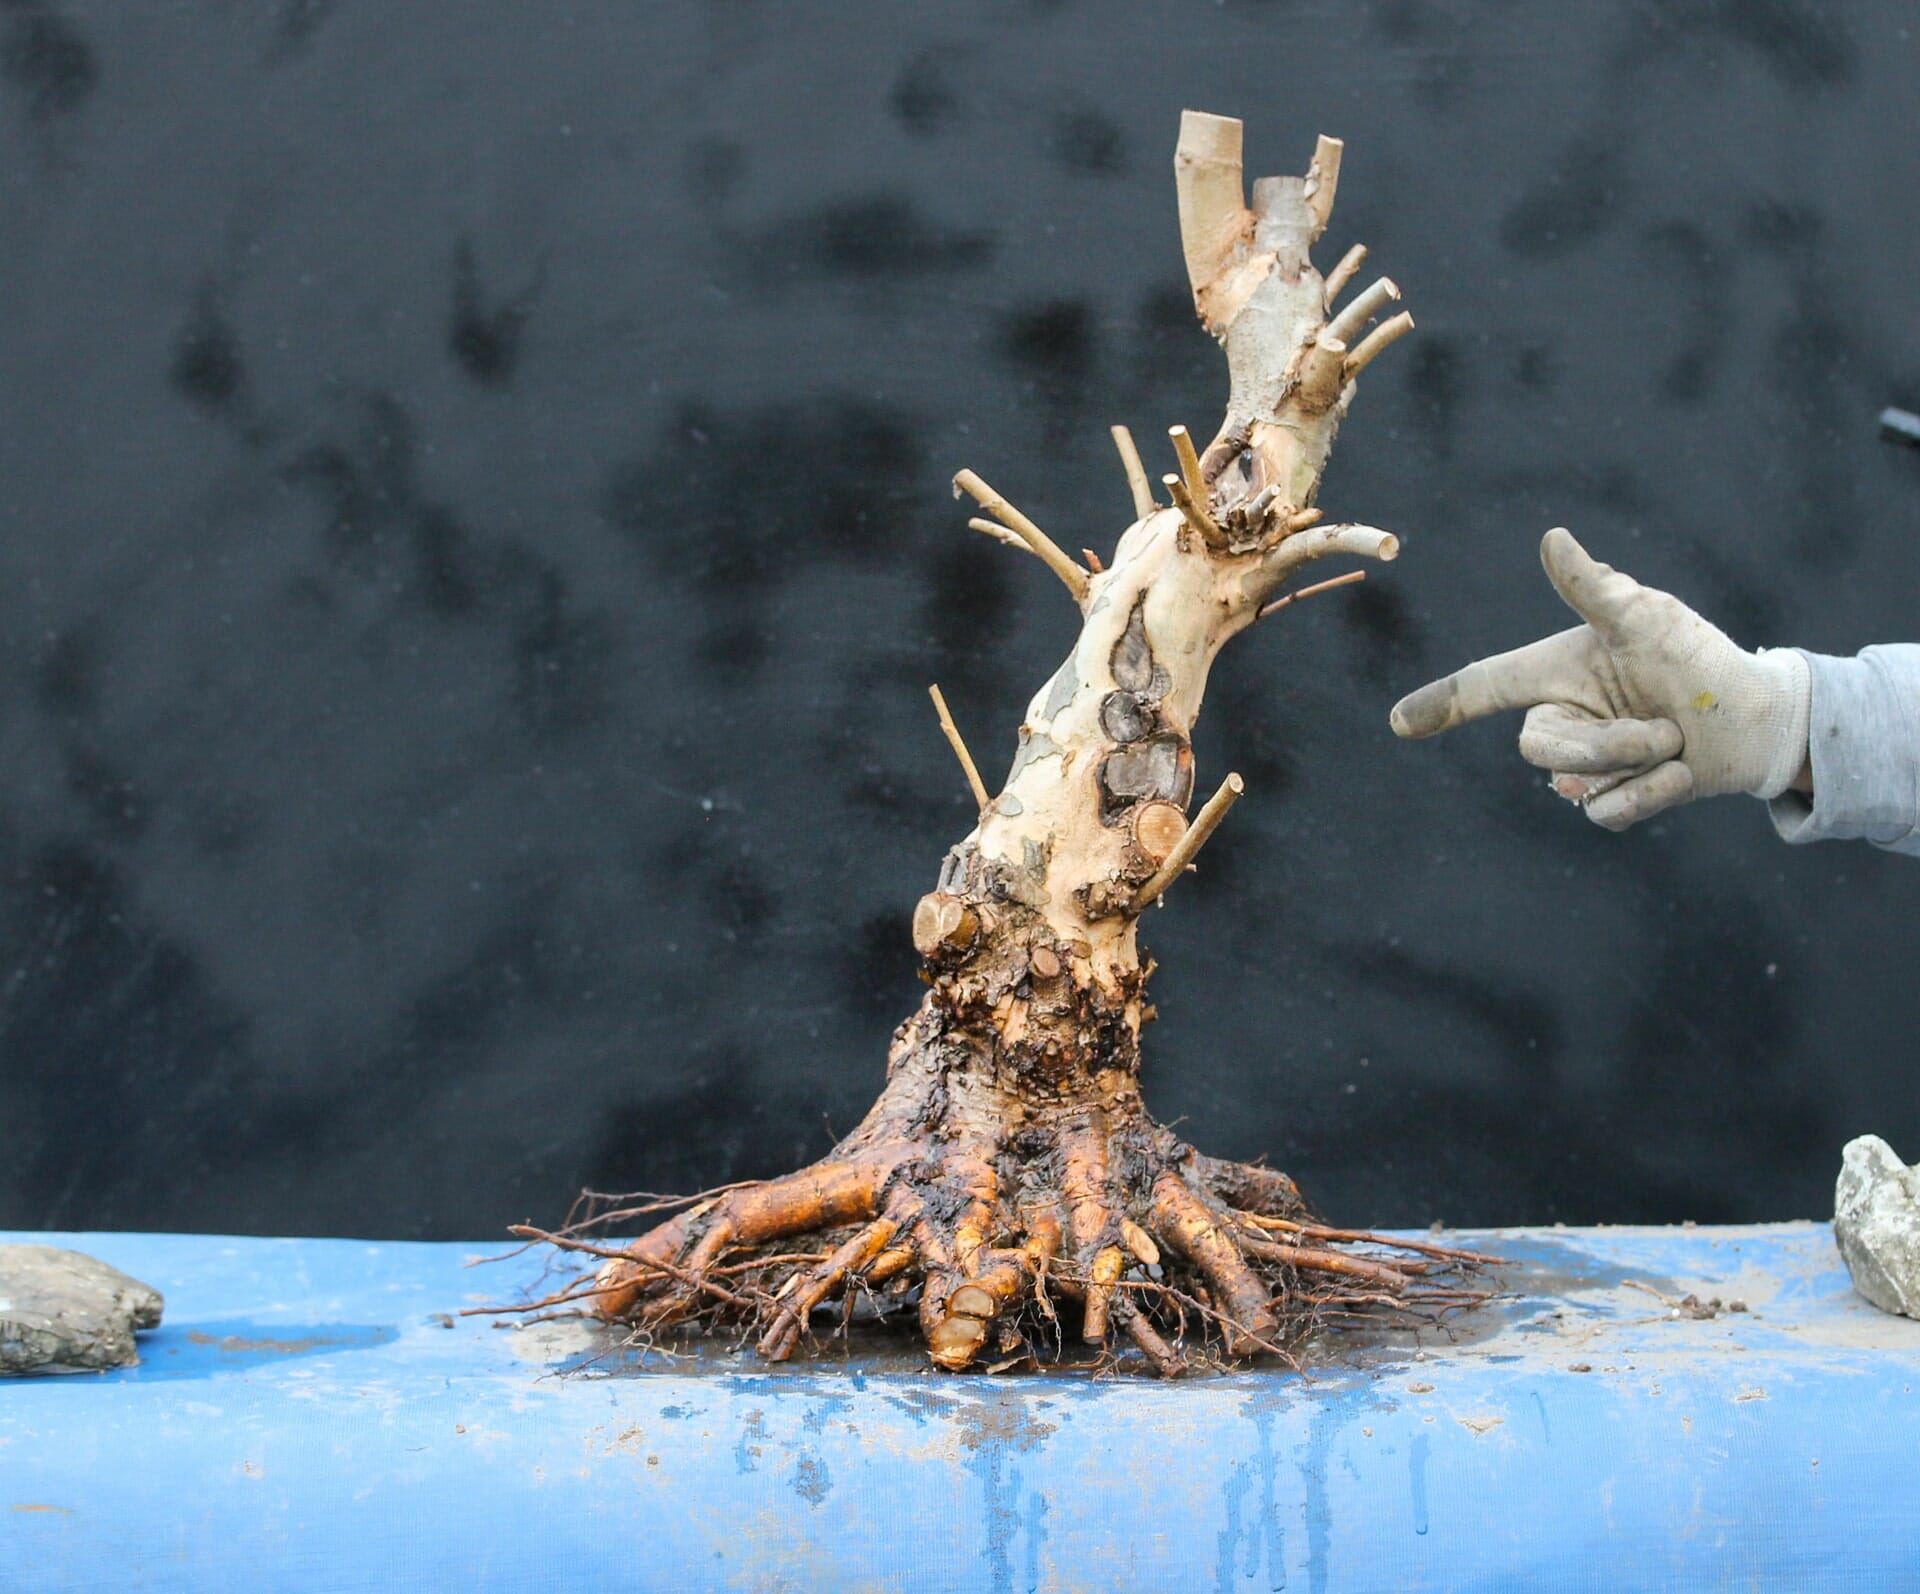
After just a short time (until the beginning of June), our freshly planted plane tree developed such strong shoots that we were able to position the main branches.
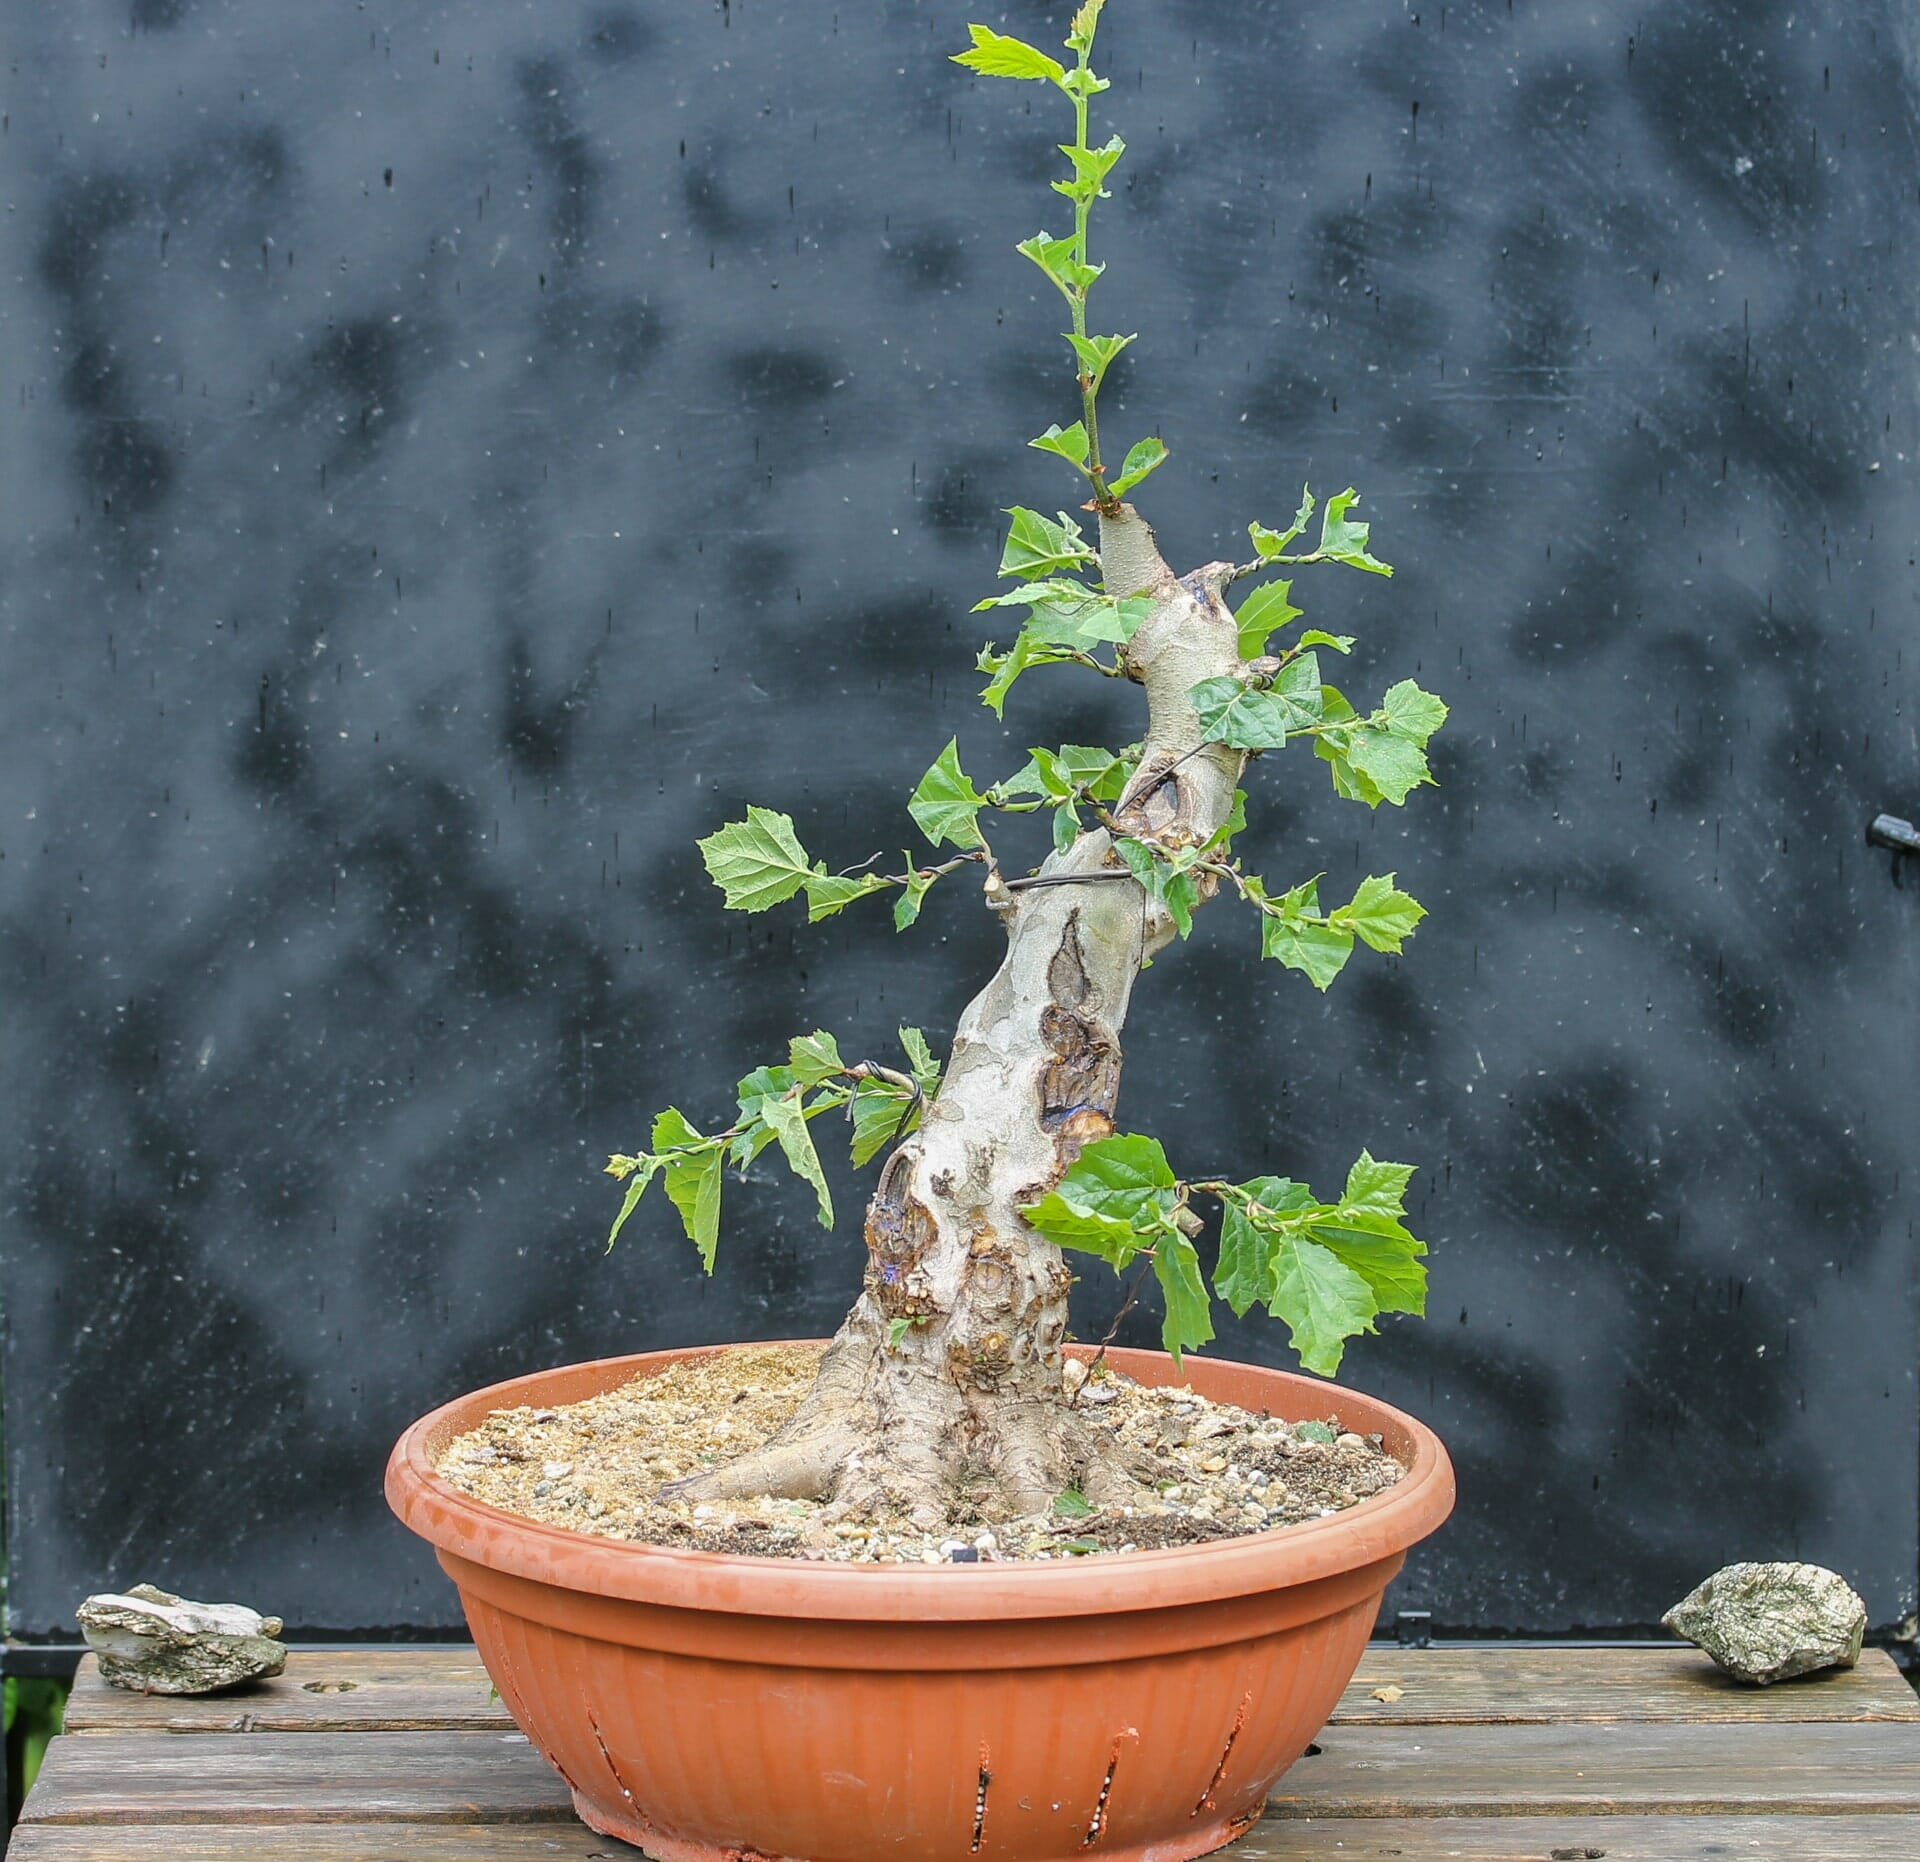
Step 4
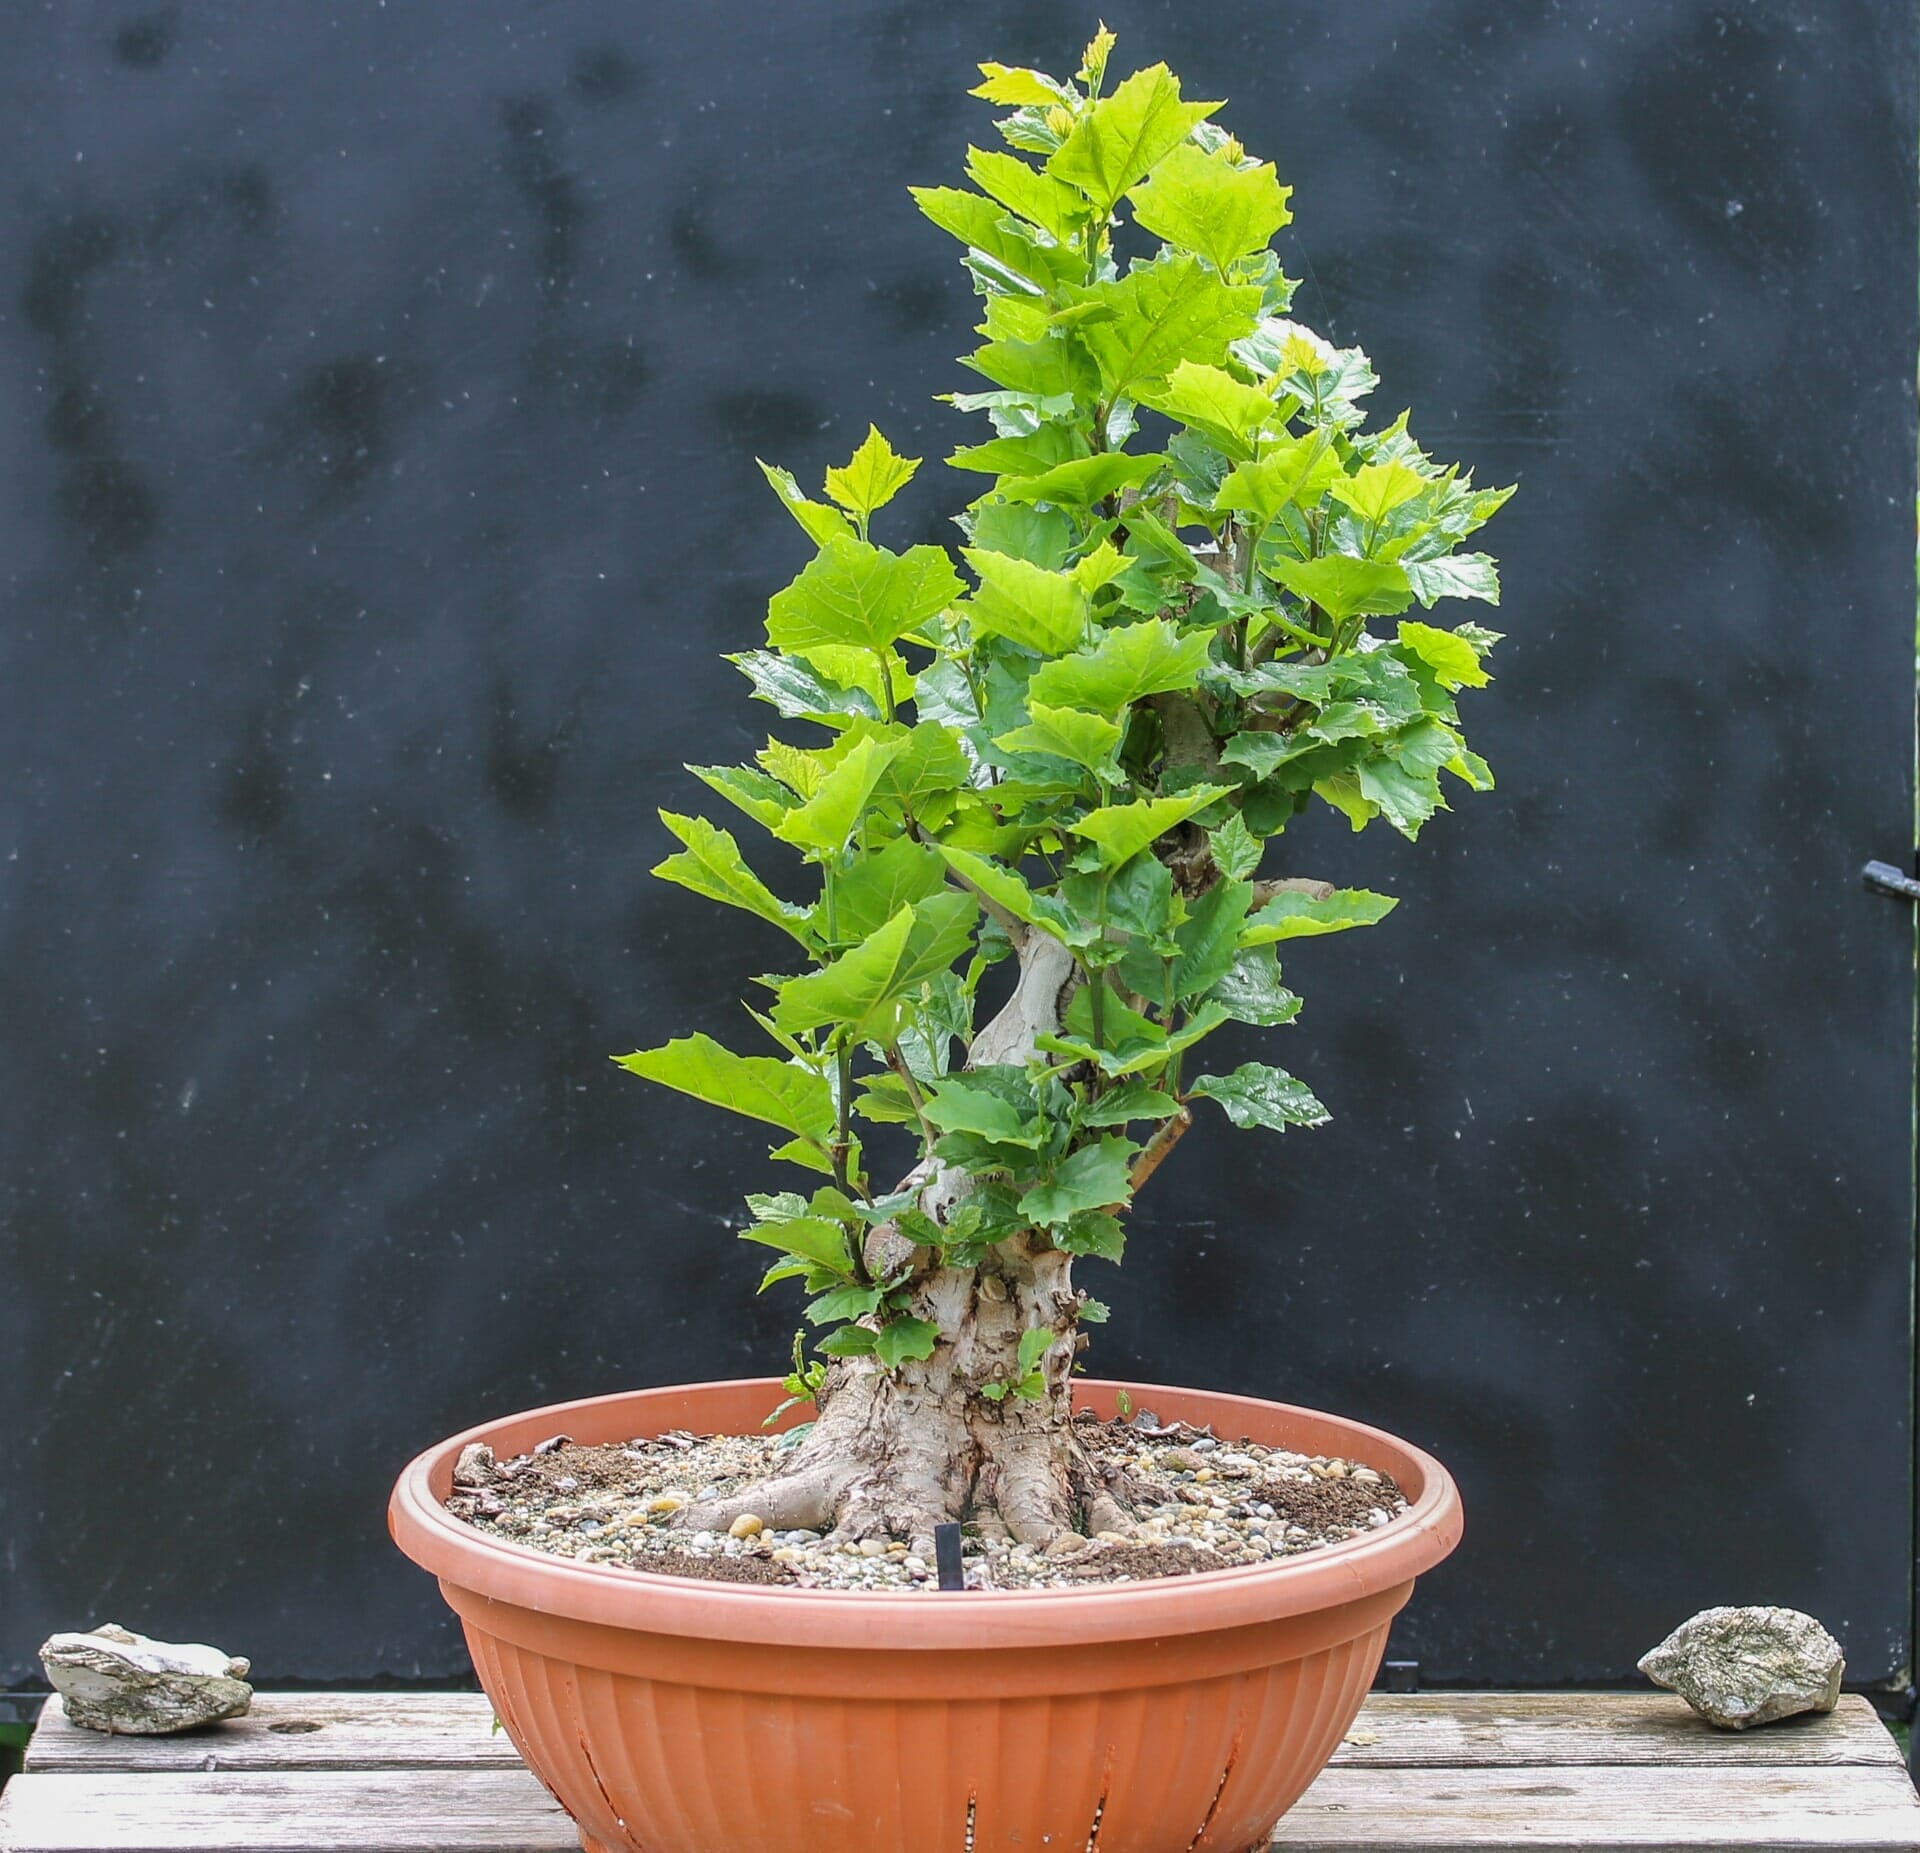
Two complete leaf cuts and one wiring later in the fall of 2016, the tree has already developed significantly.
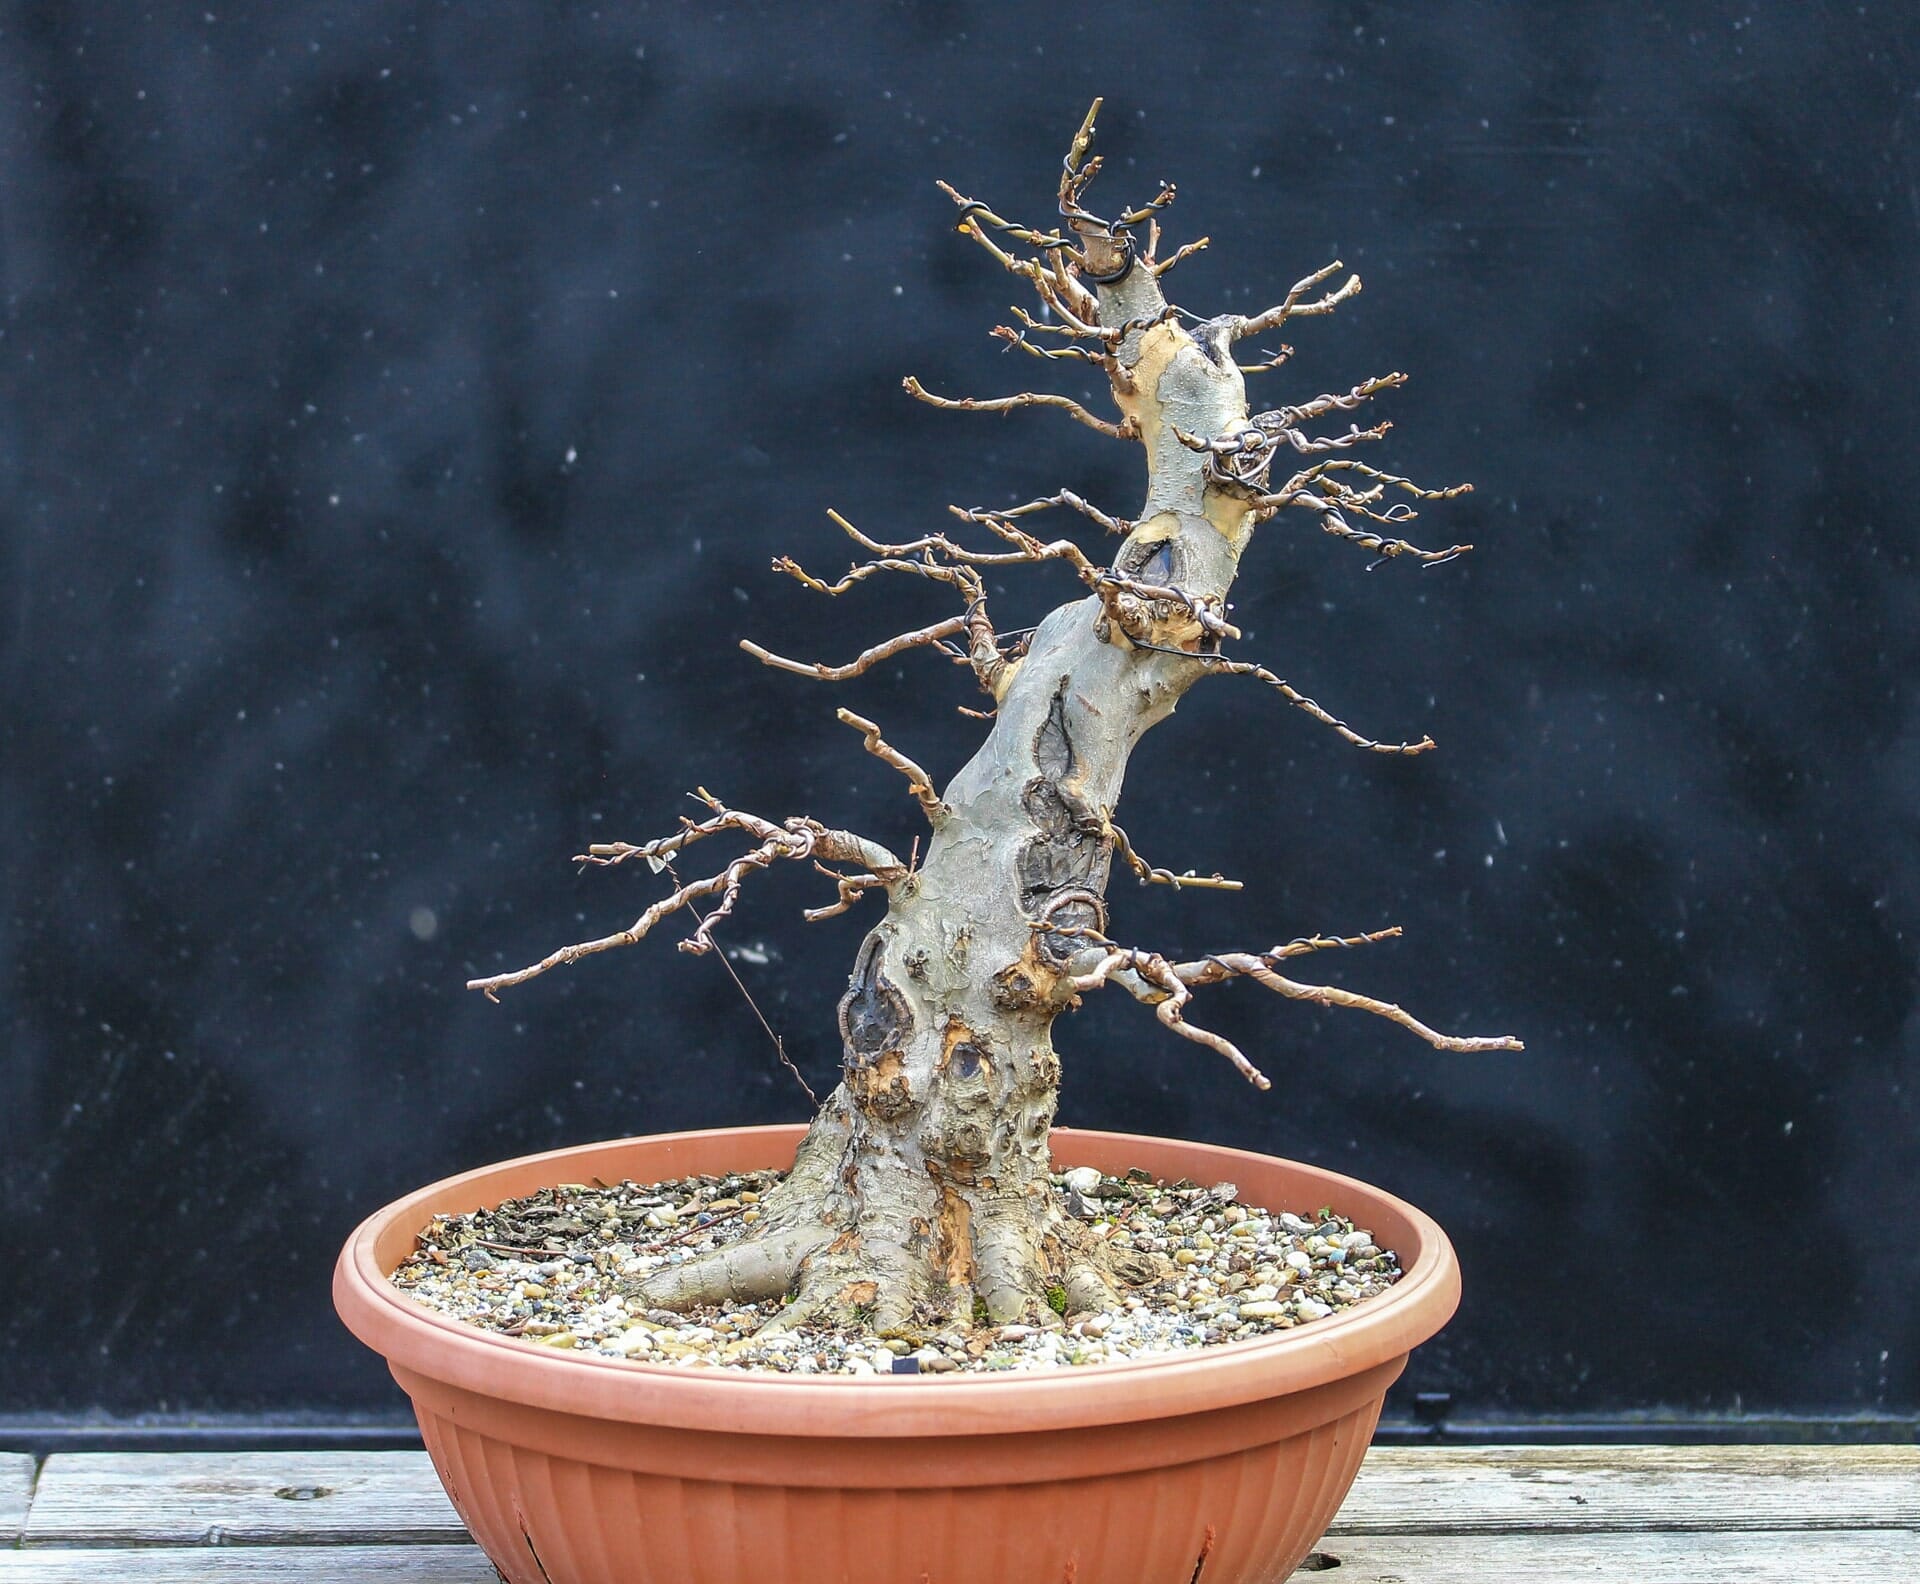
Step 5
A year later, in the fall of 2017, the tree had developed sufficient fine branching to allow us to proceed with the design.
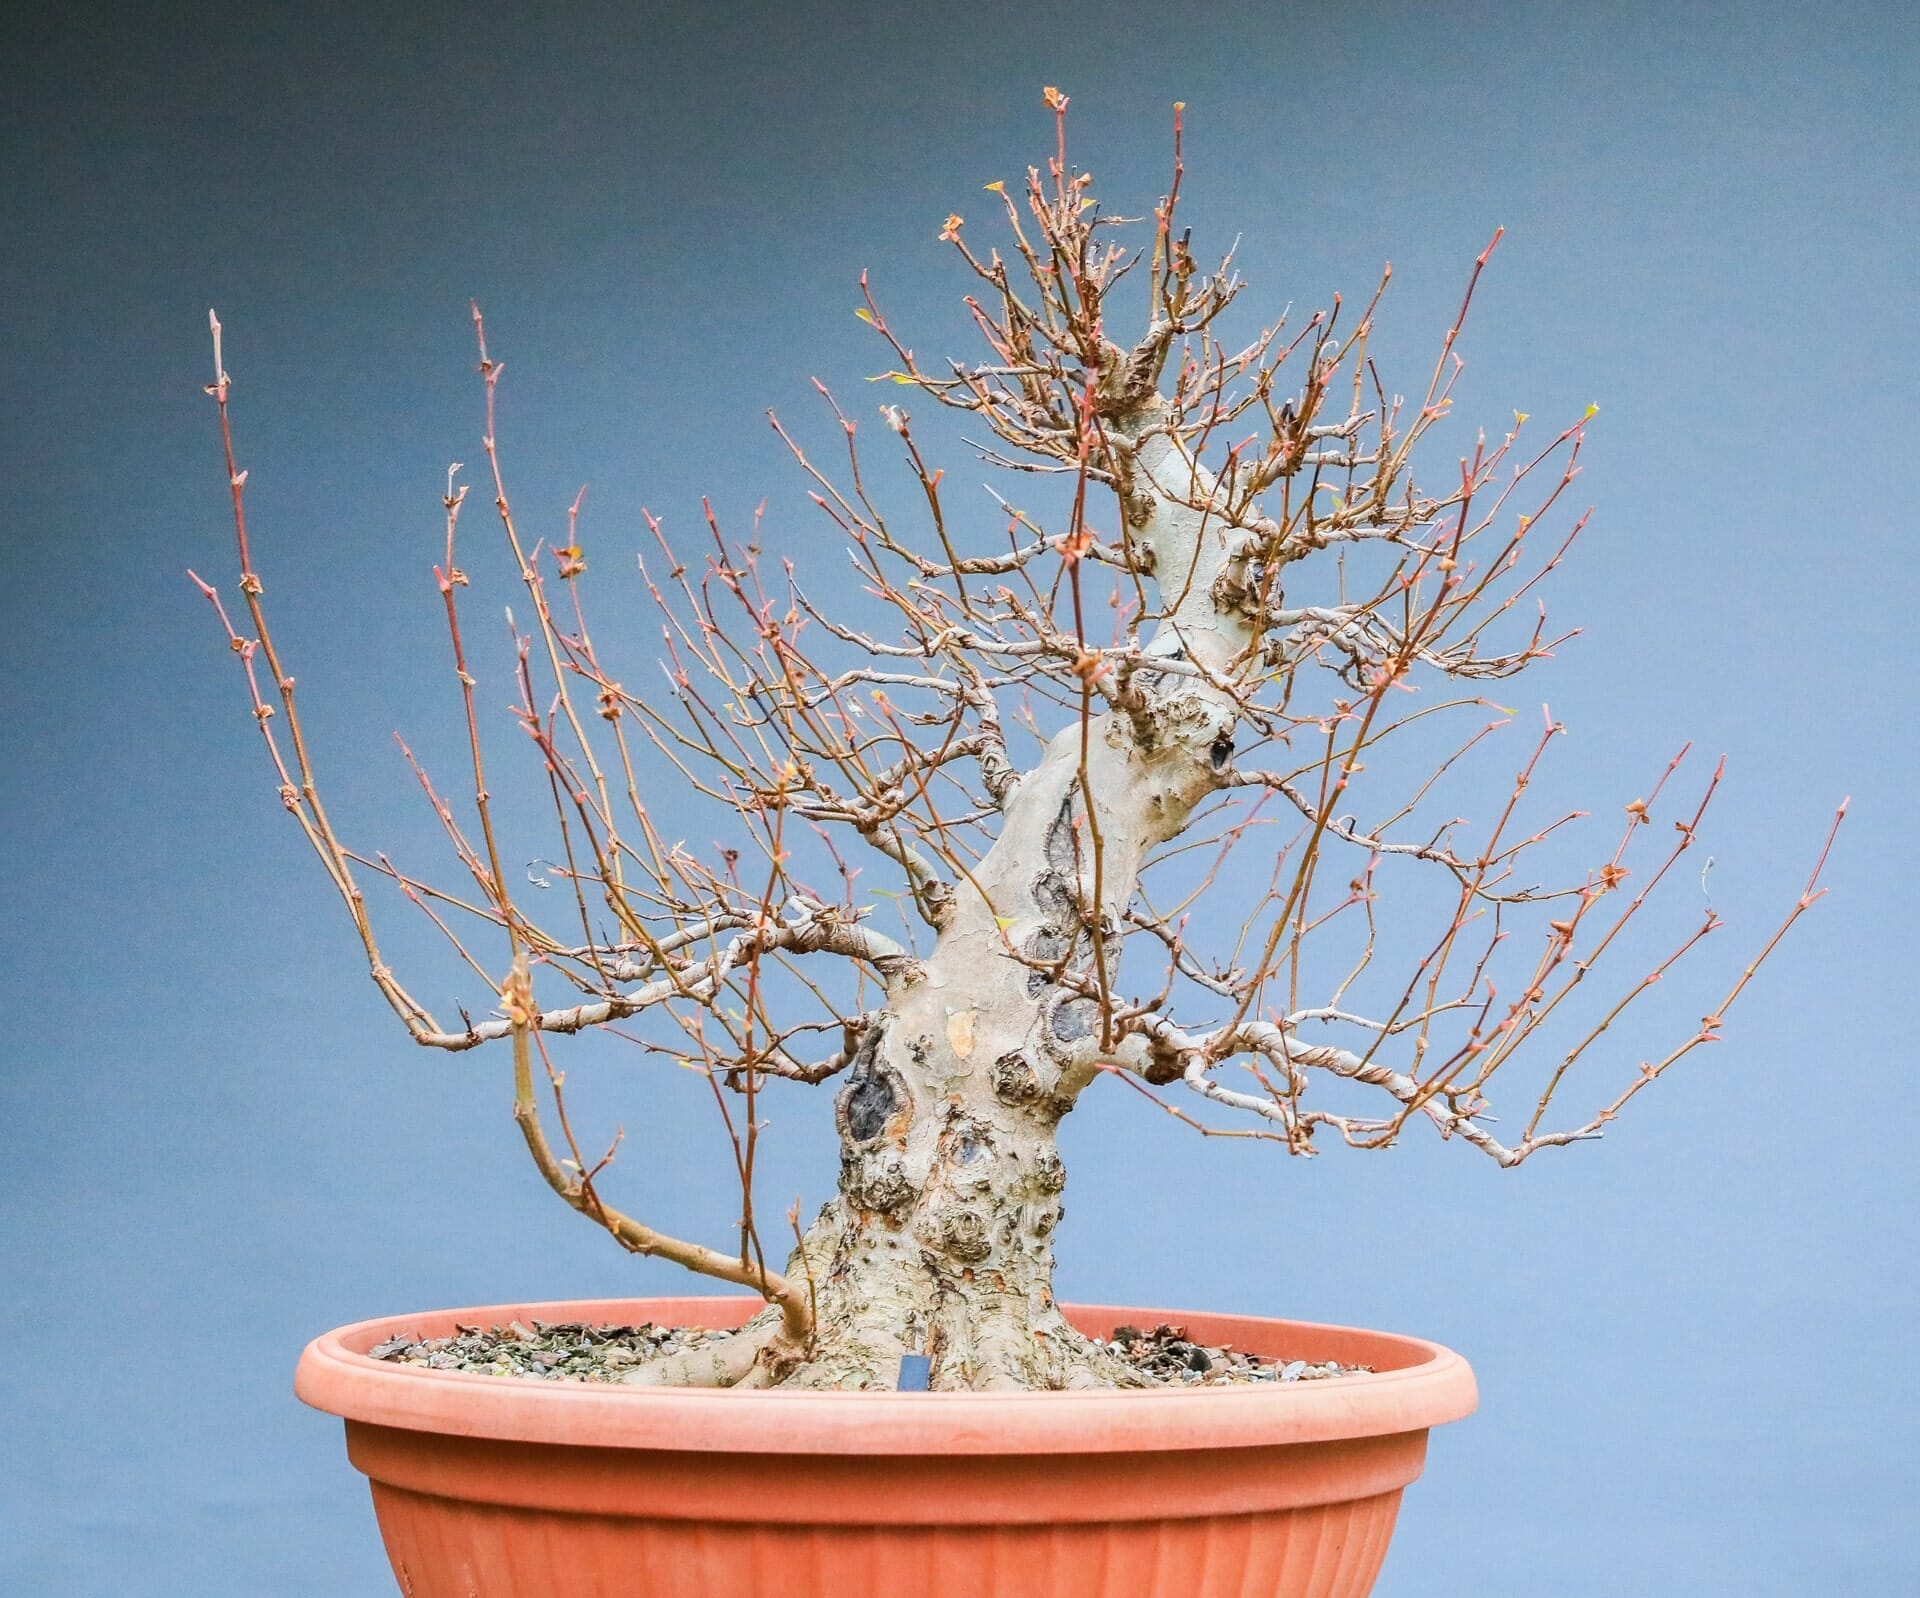
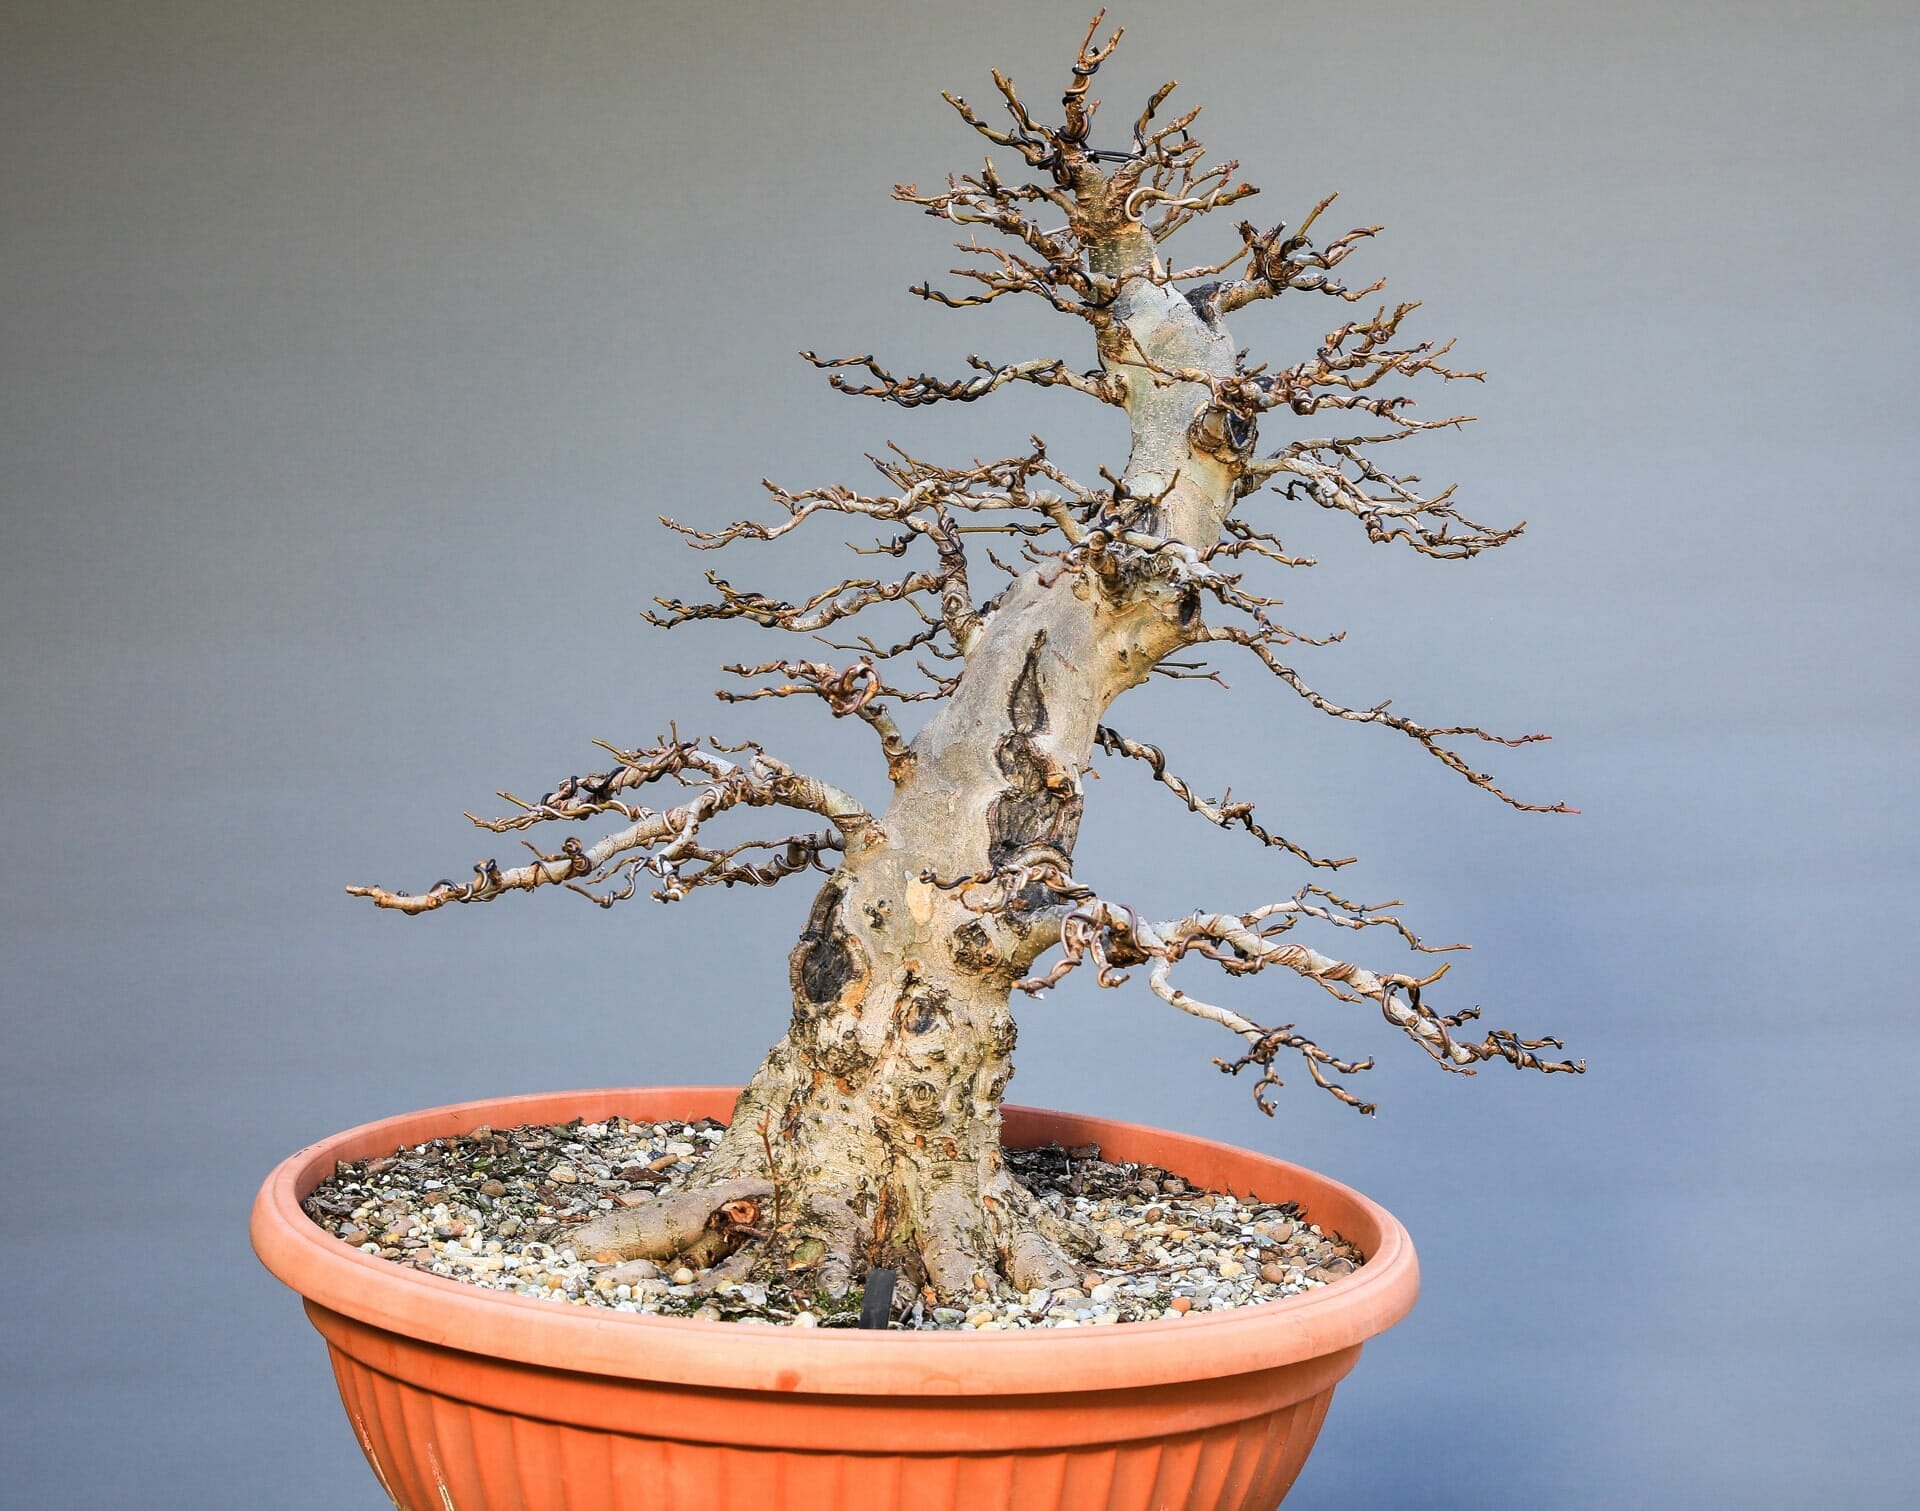
Step 6
The next spring (April 2018) we were able to transplant our bonsai into a ceramic pot.
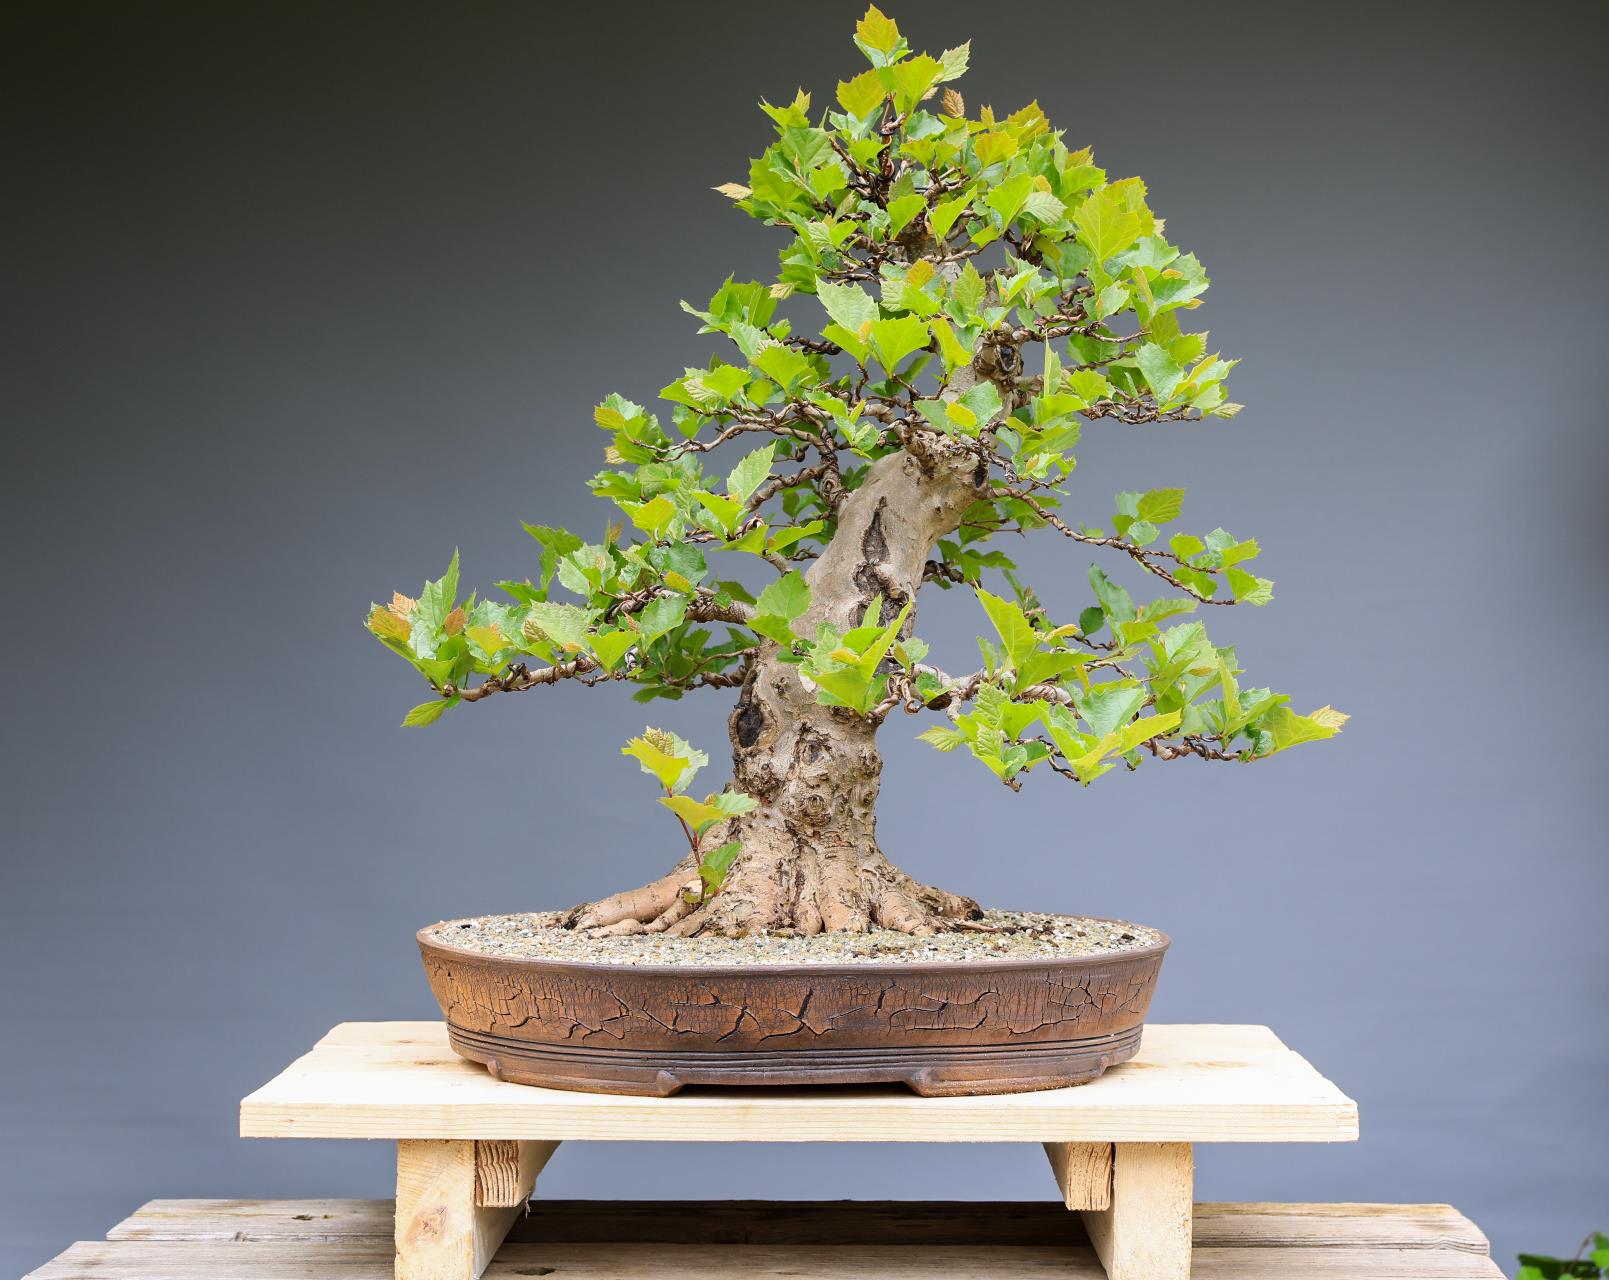
Step 7
Here is our tree in June 2018 just before the complete leaf cut.
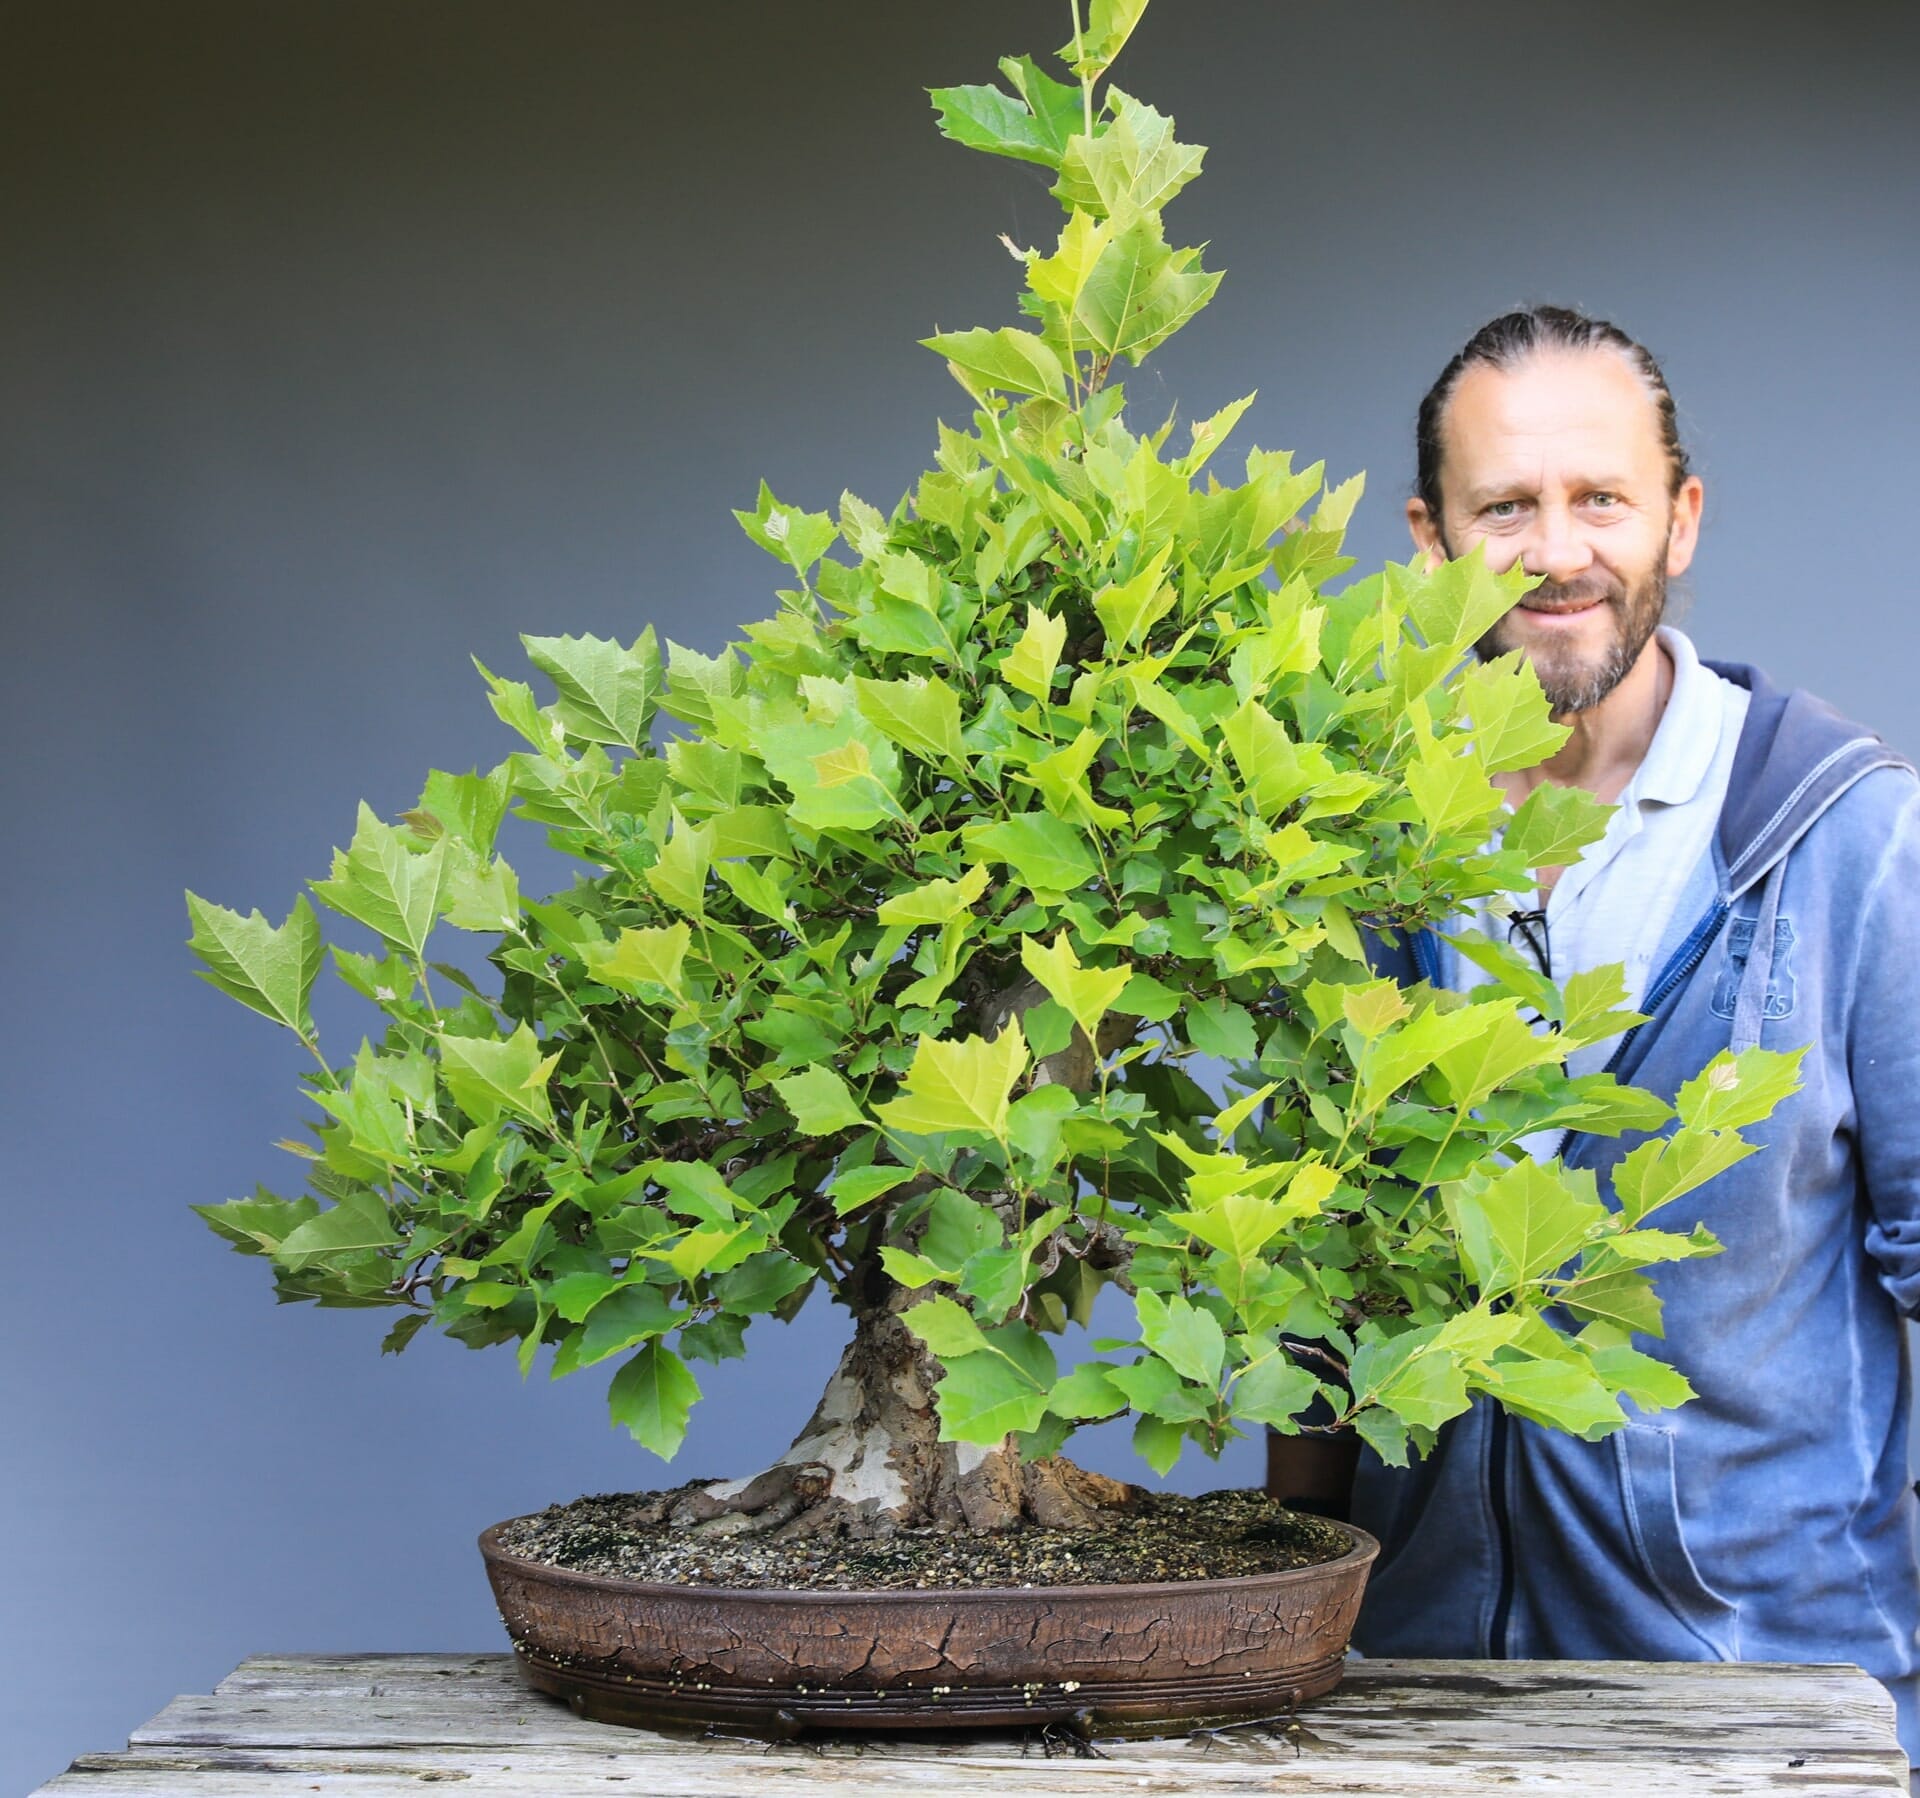
Step 8
By fall 2018, our tree will be almost fully developed and designed.
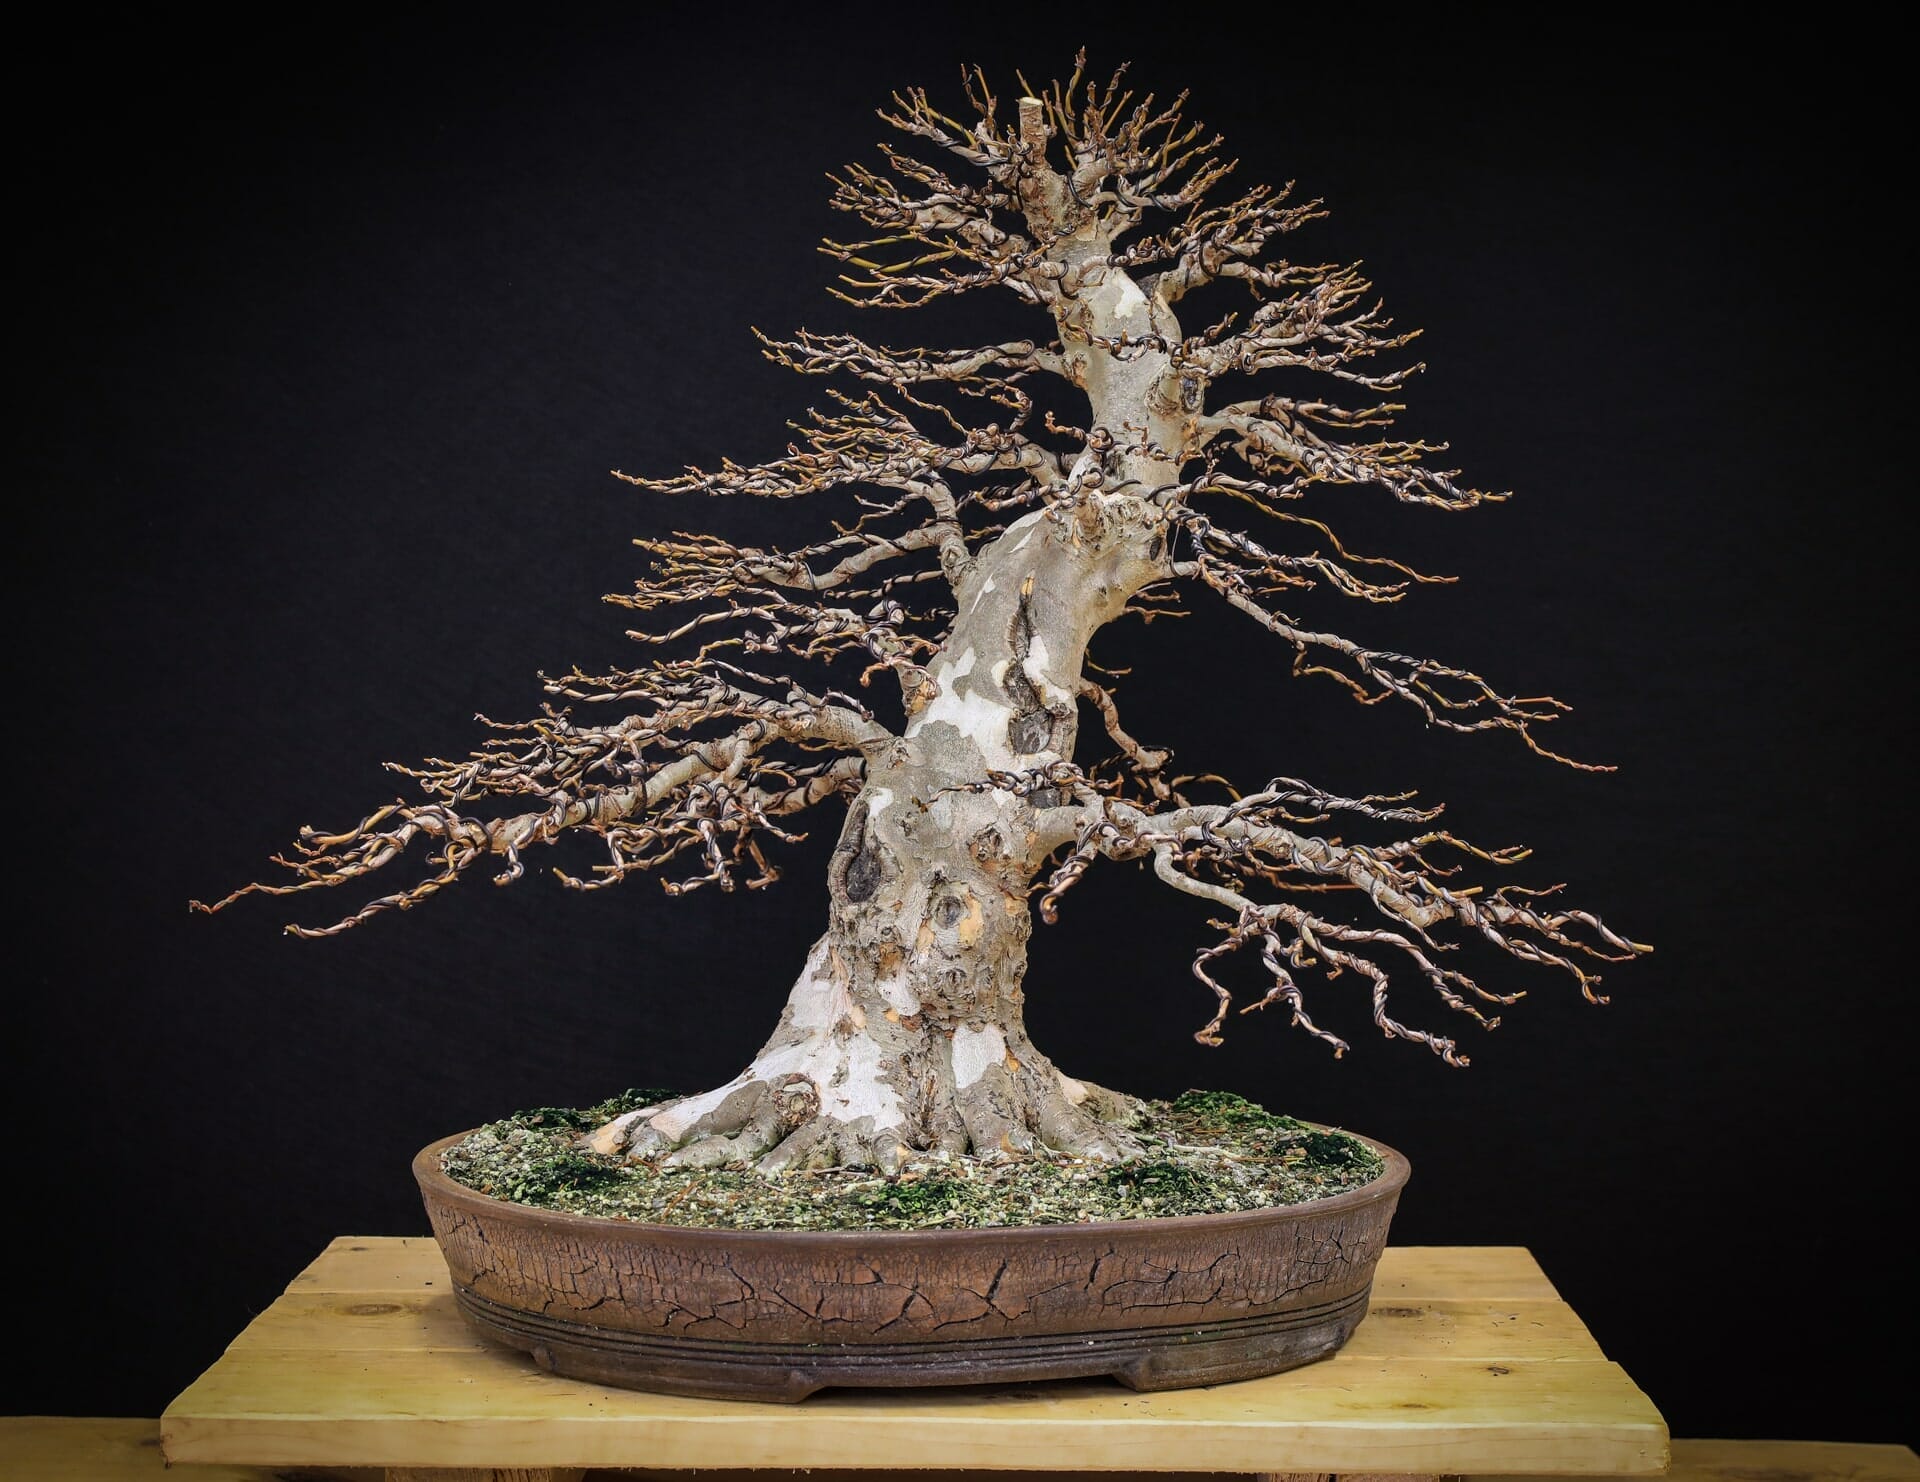
Step 9
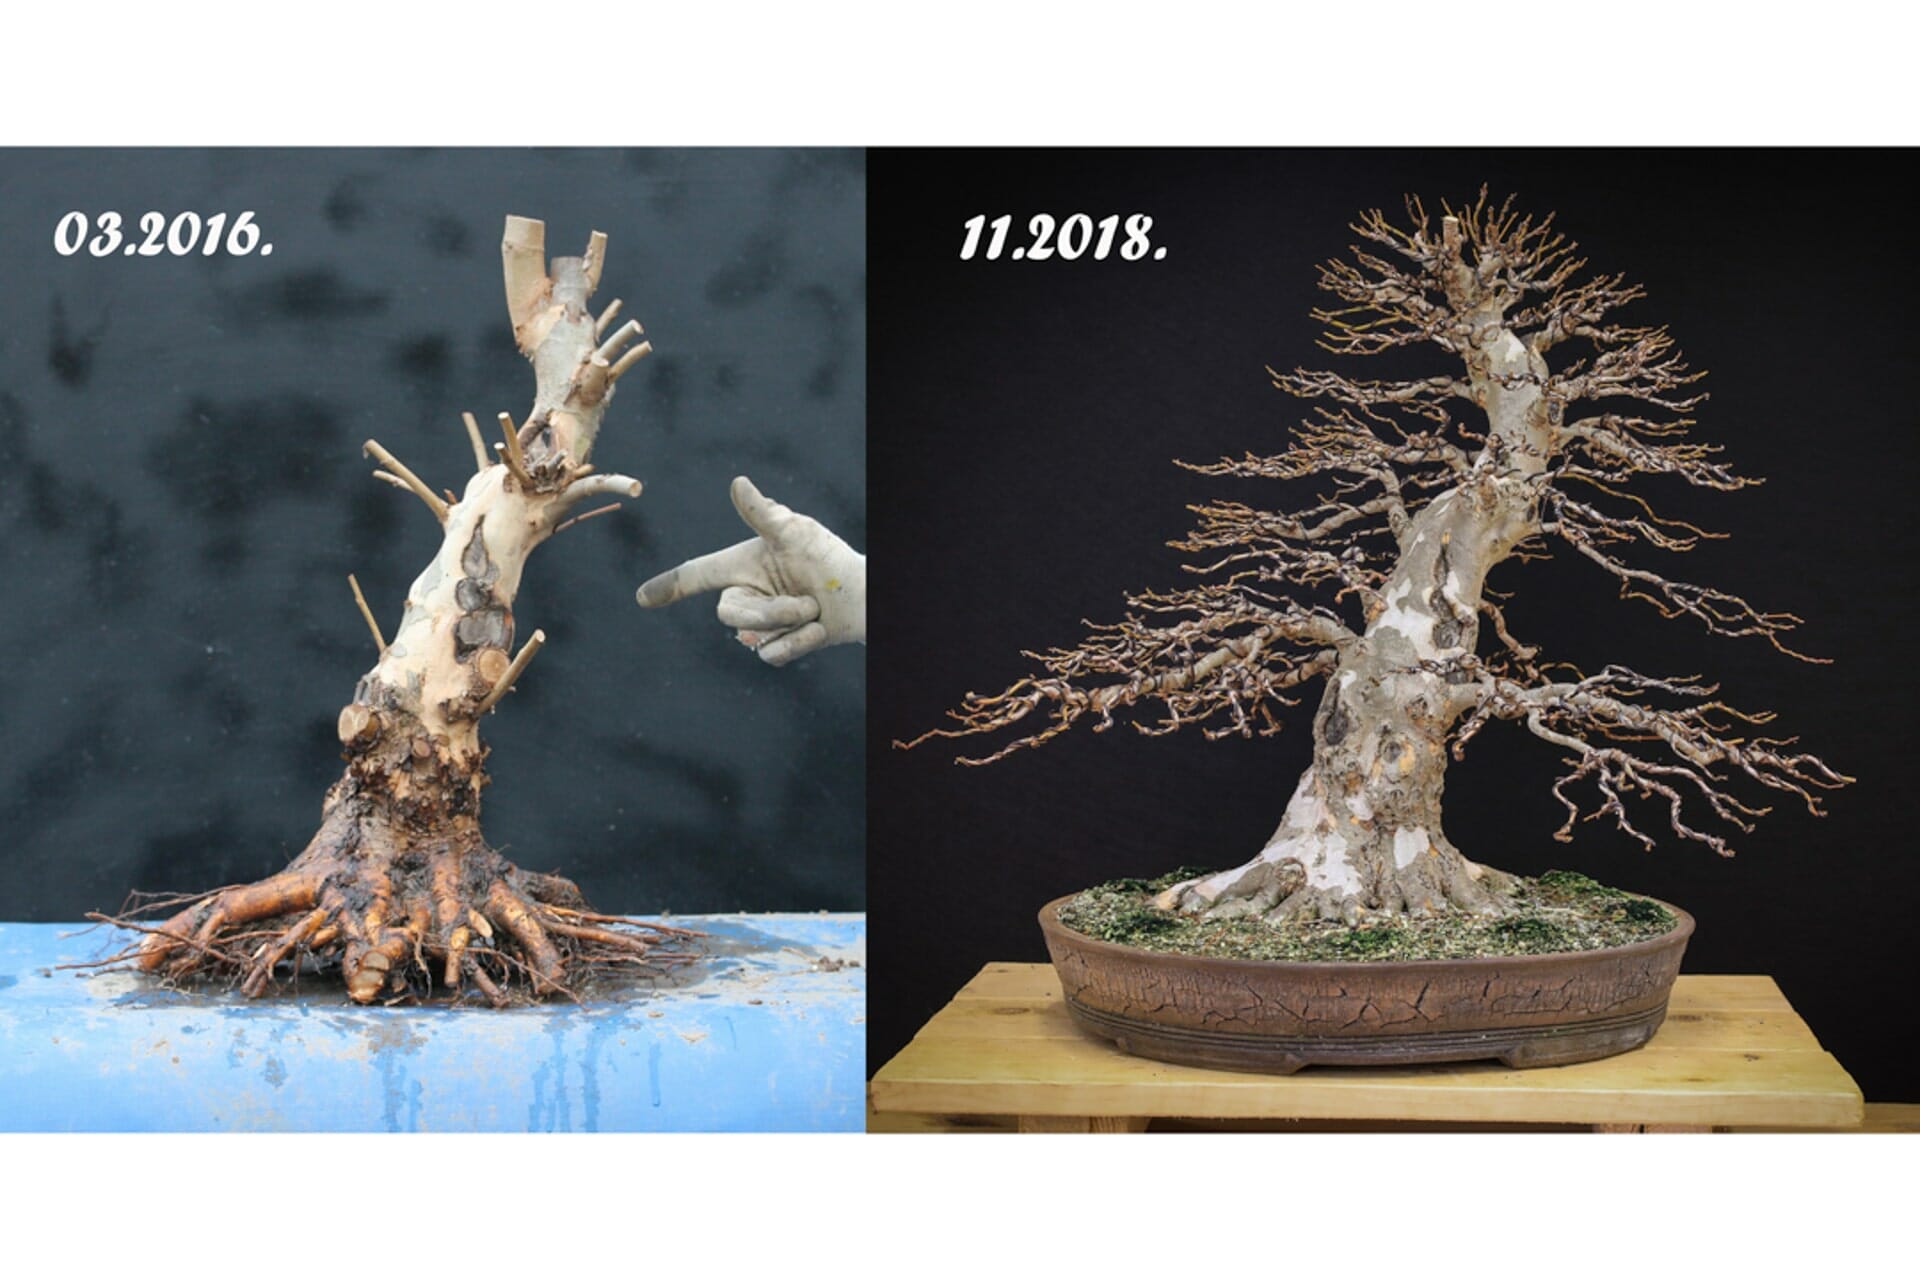
Once again the direct comparison: the development within three years from the bare and raw trunk to the finished bonsai.