Instructions
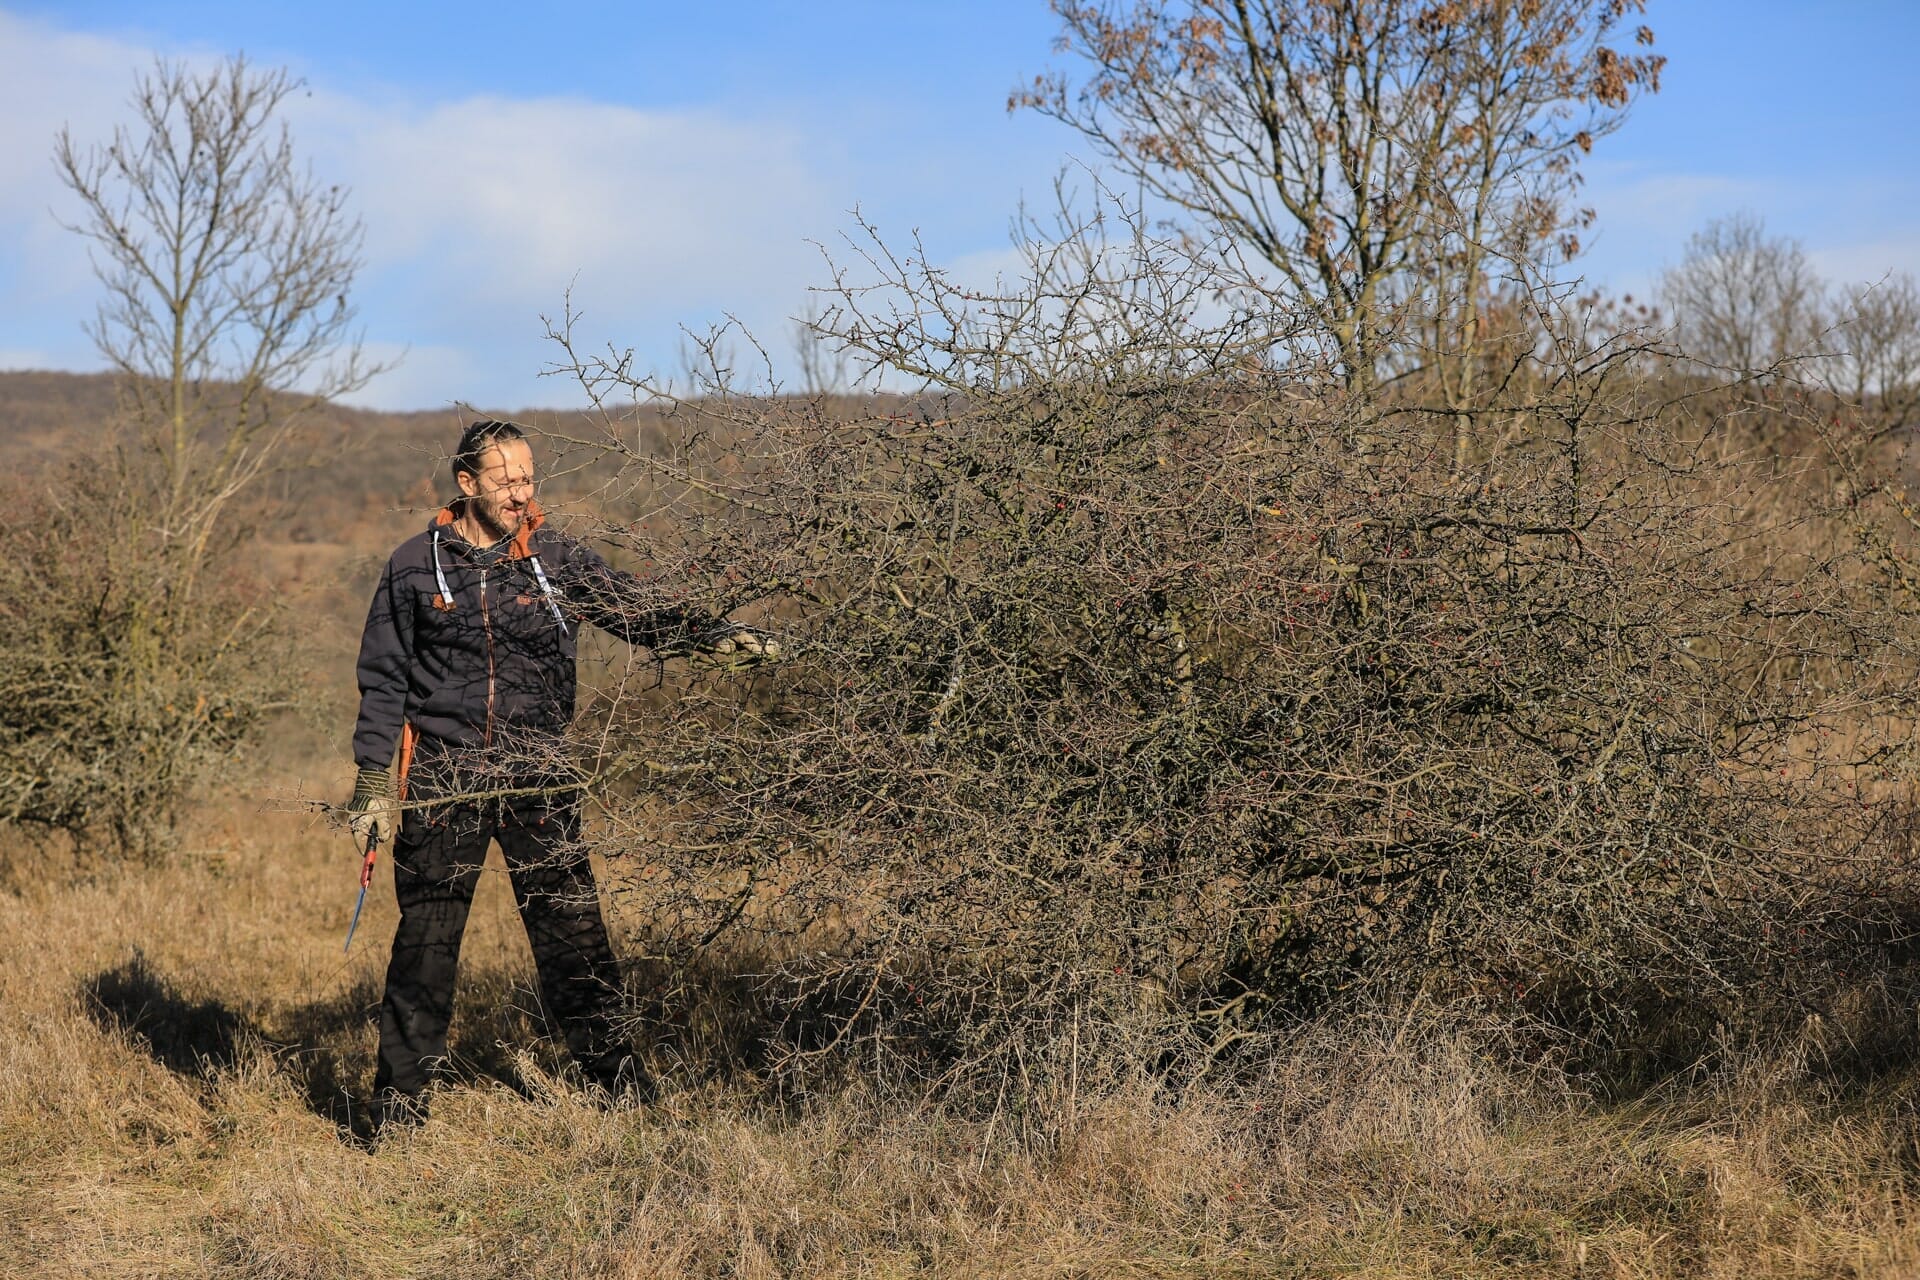
Important: Yamadori may only be dug up with permission!
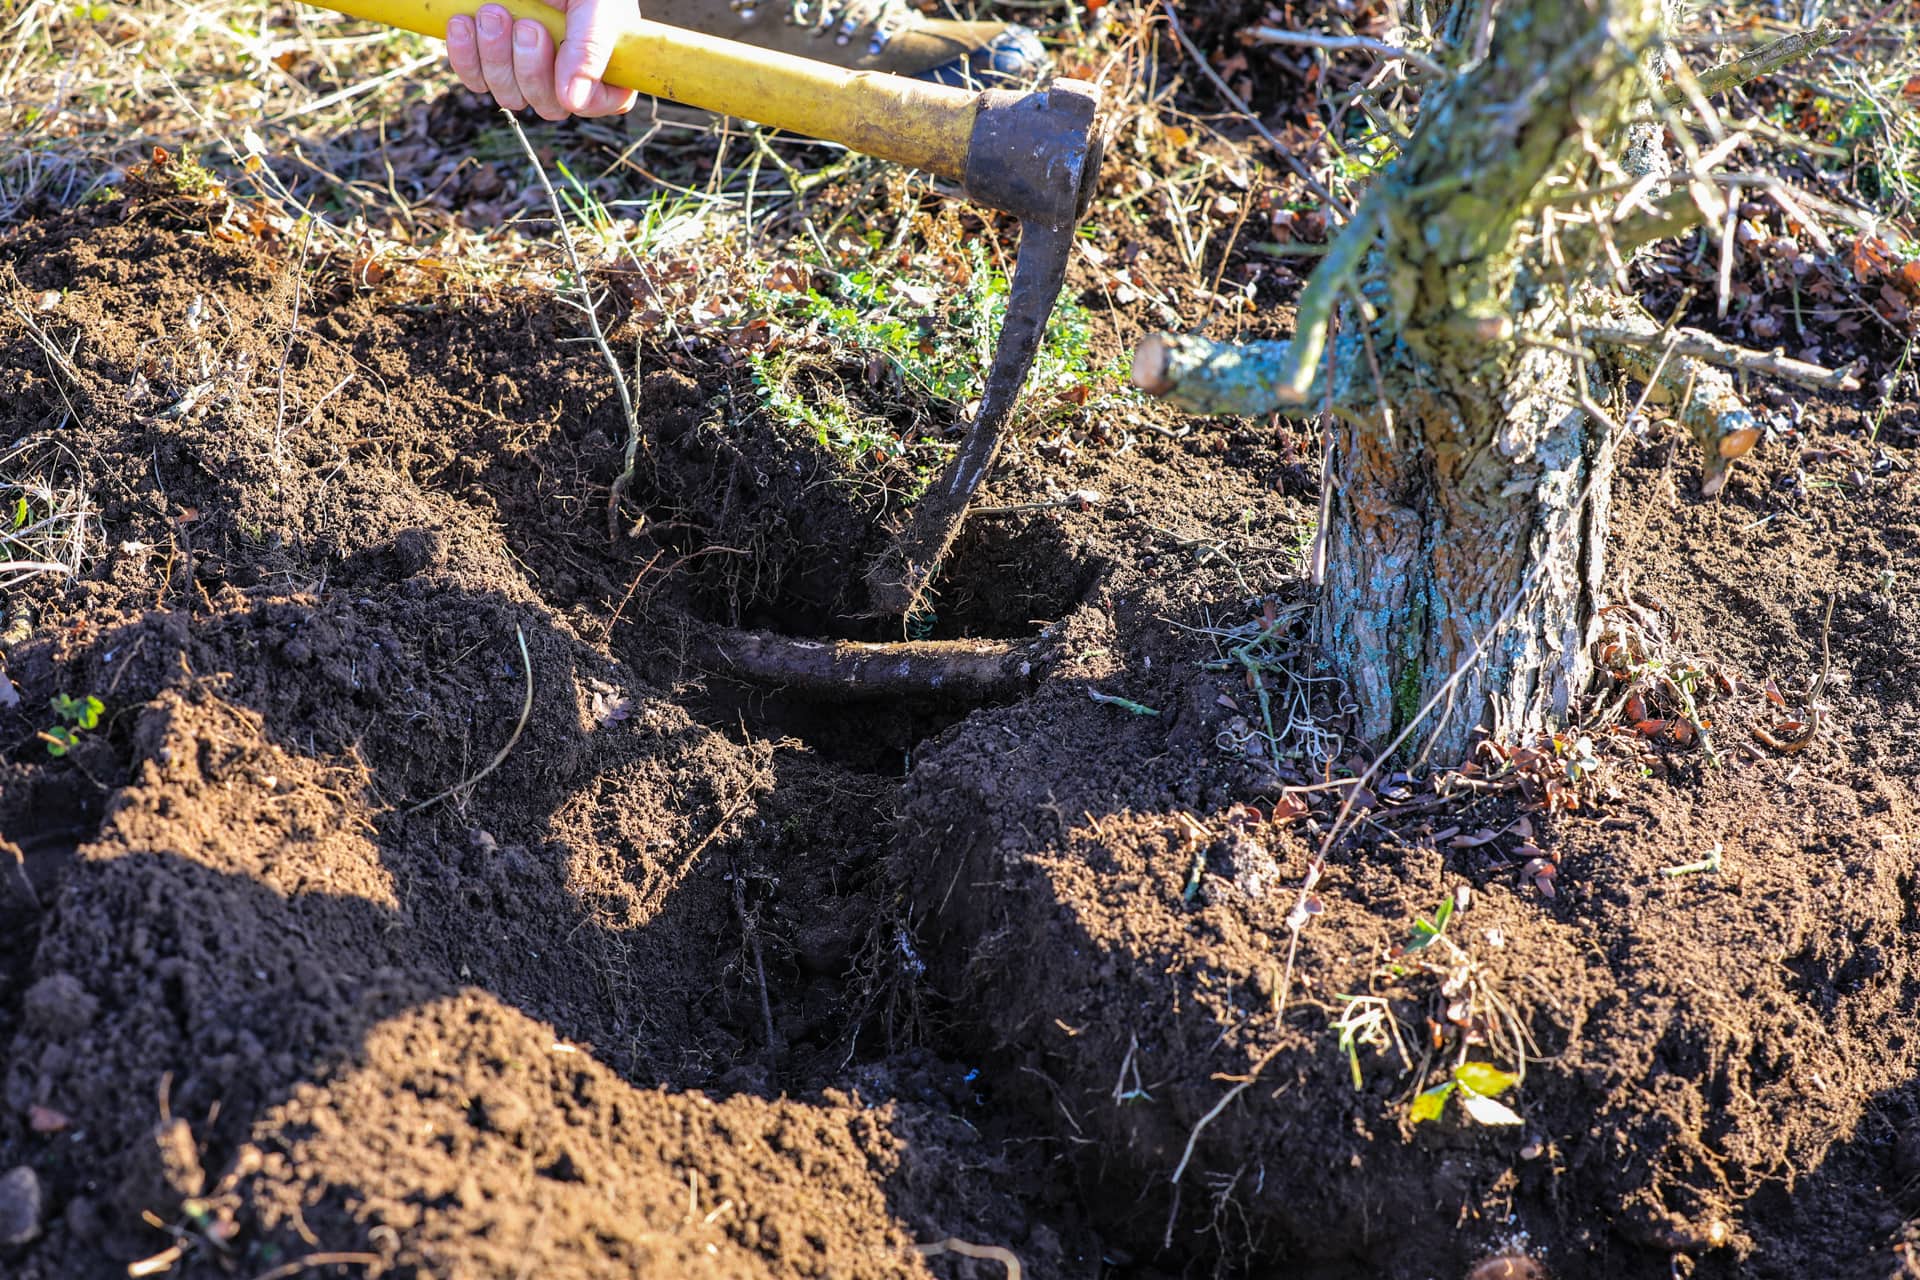
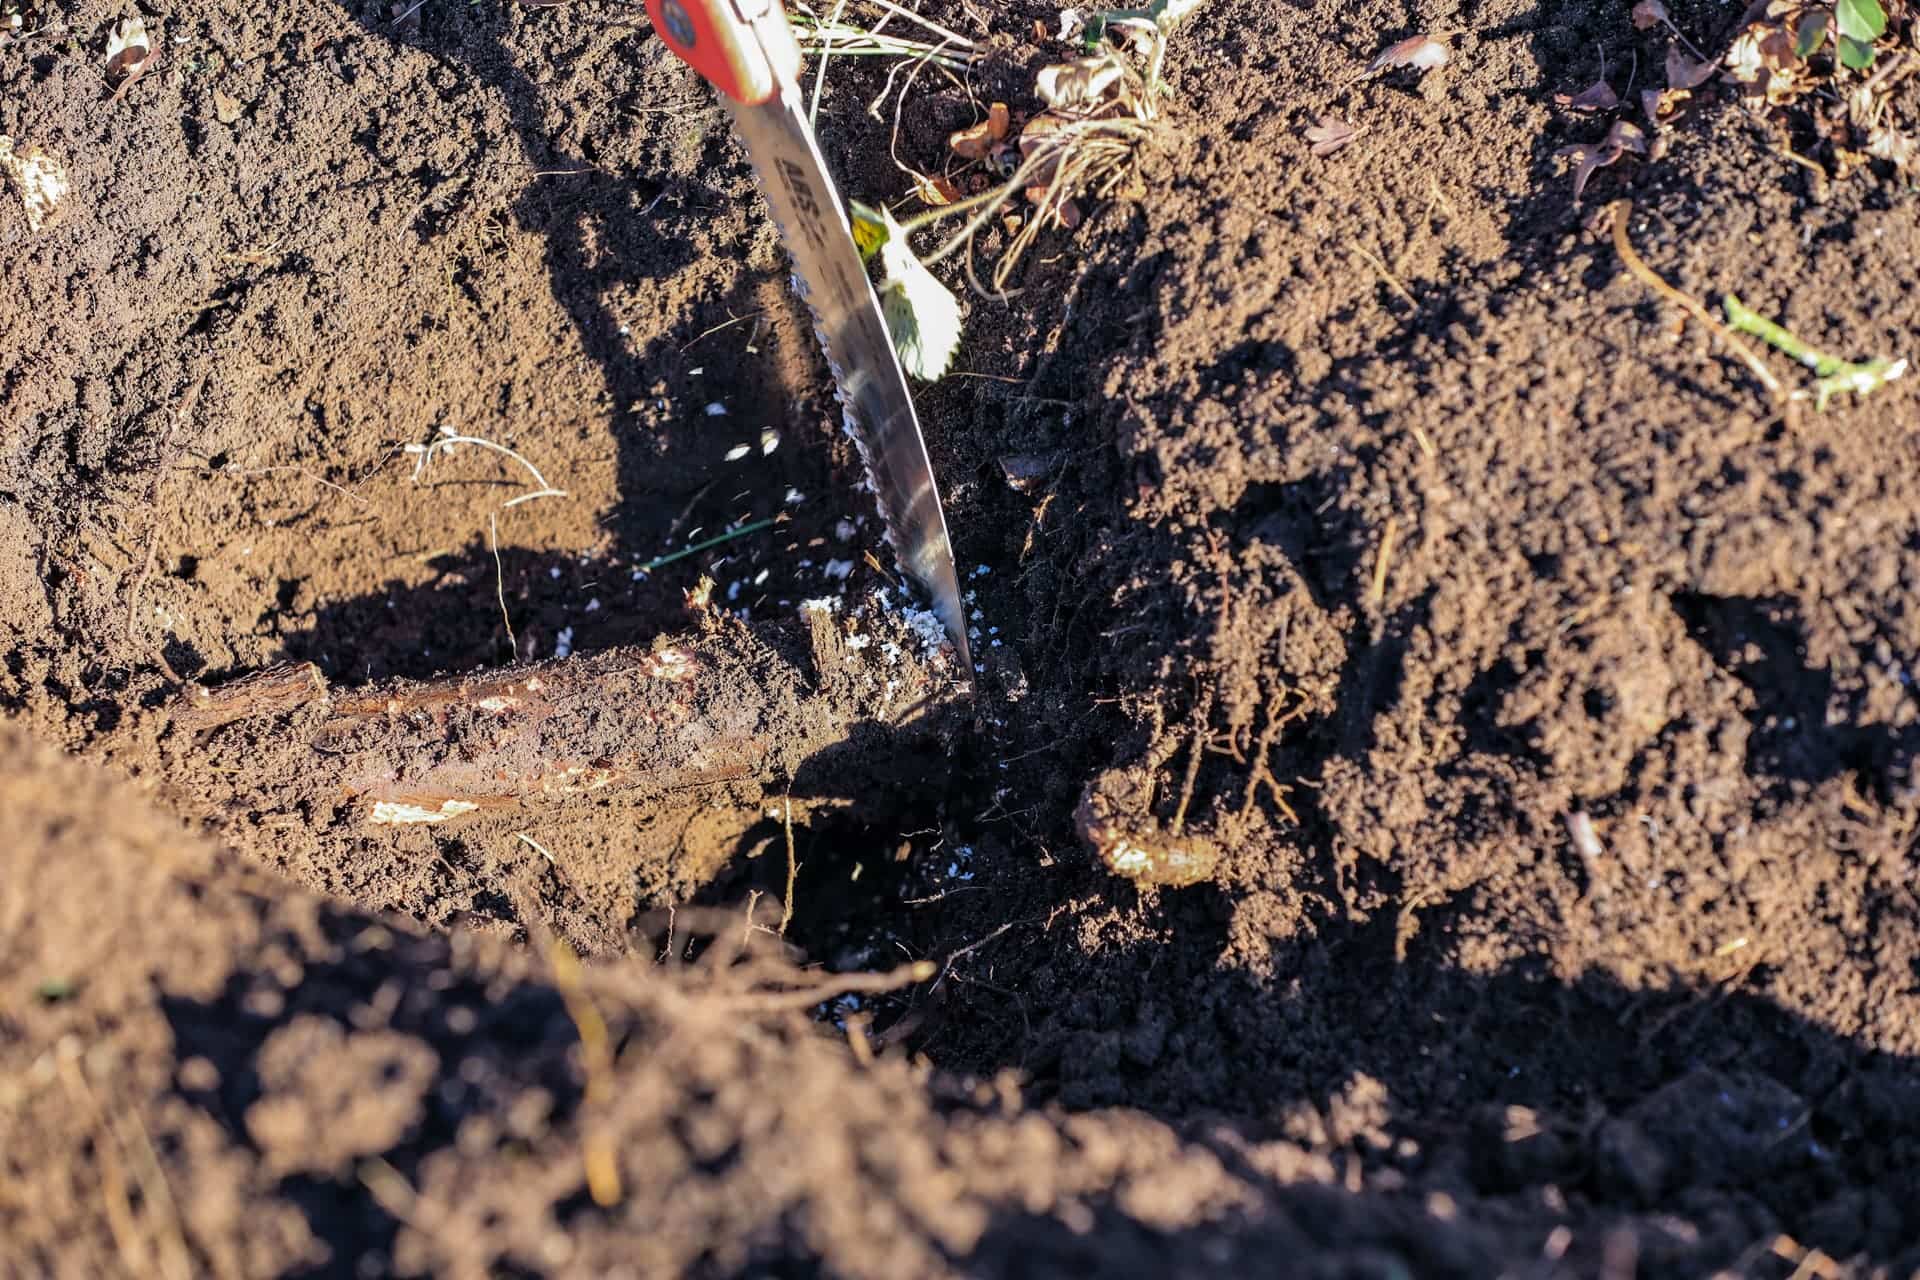
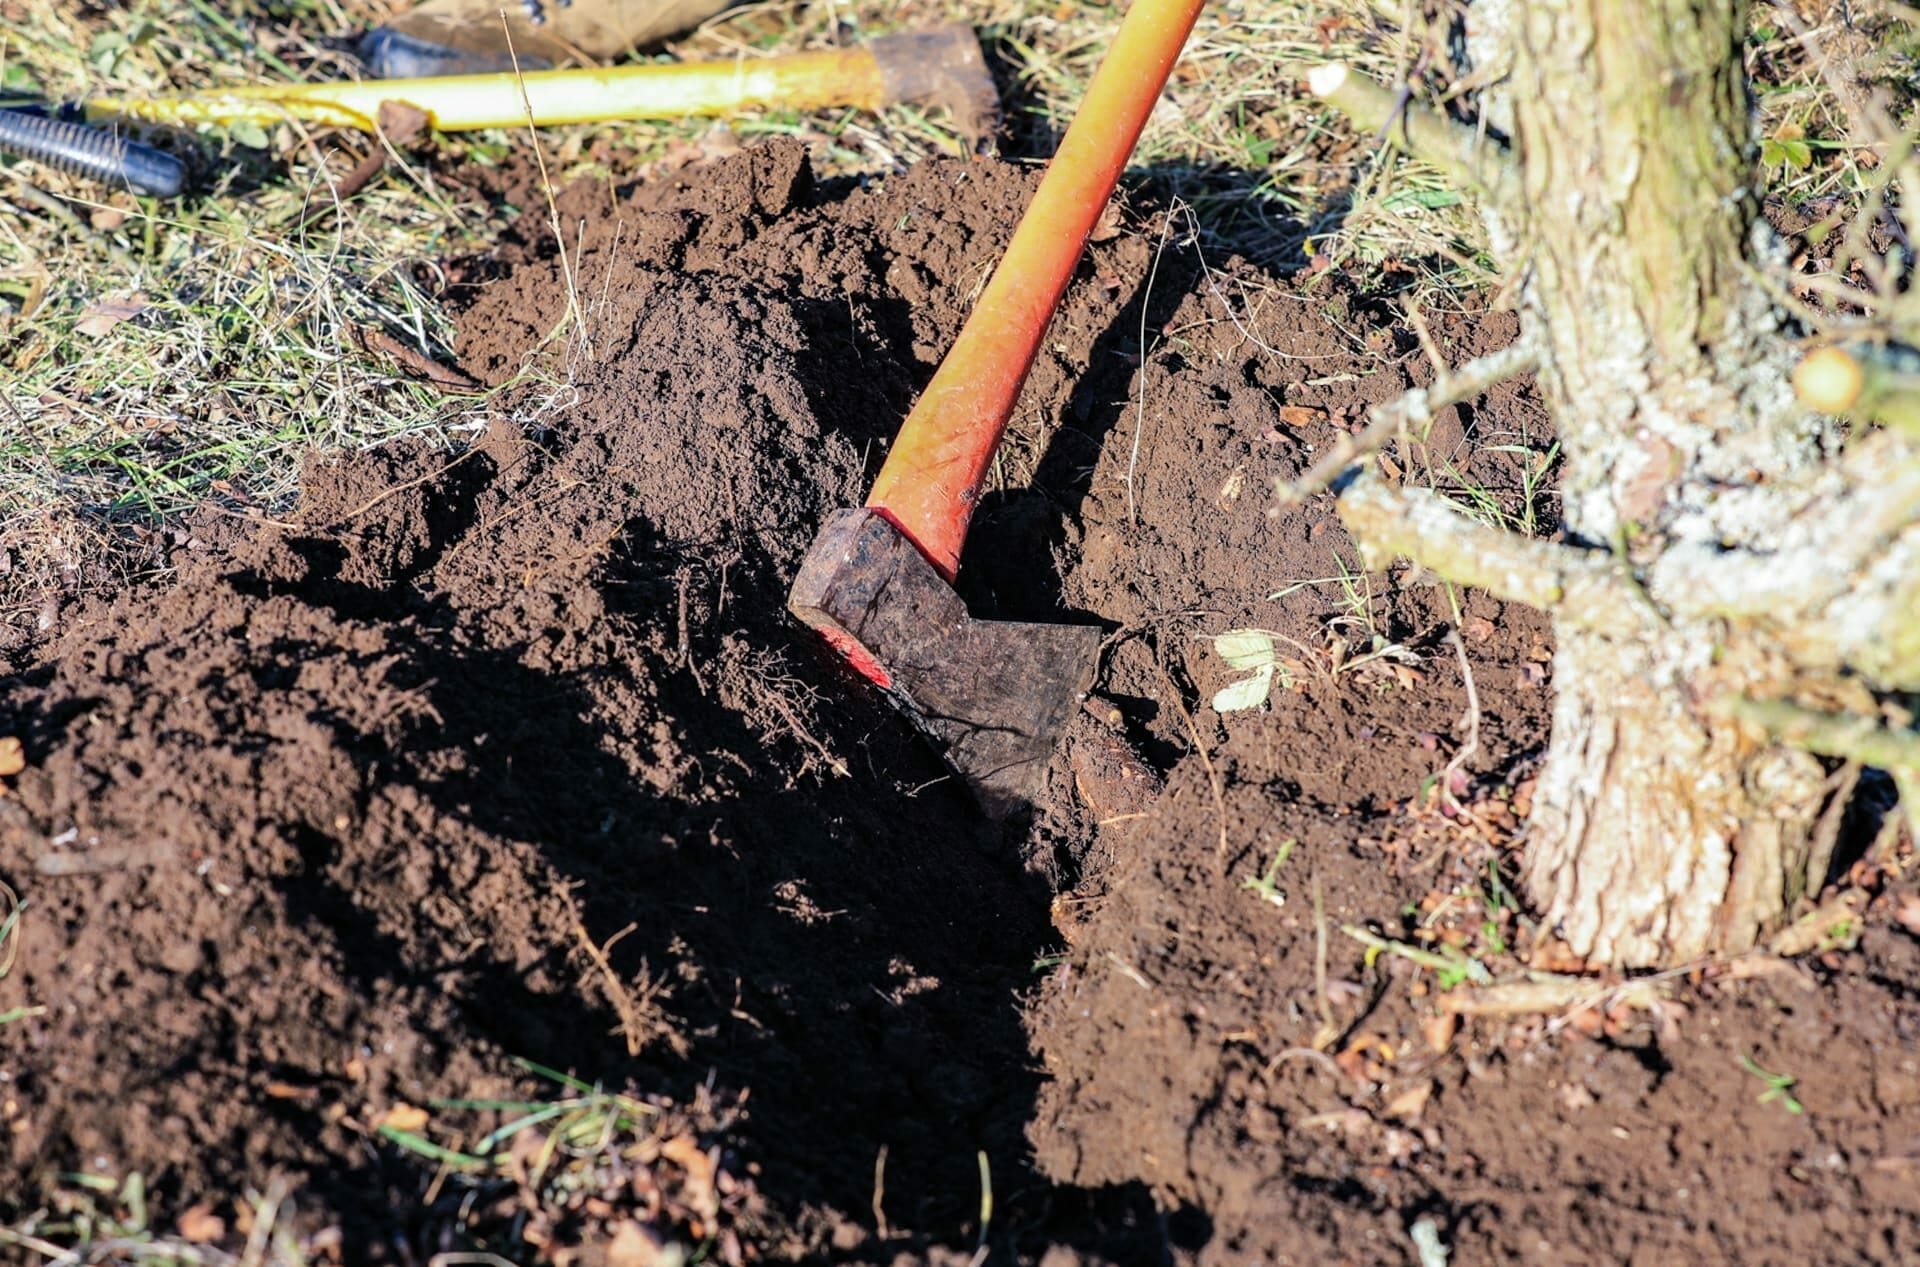
What you need:
- Pickaxe / pickaxe
- Axe
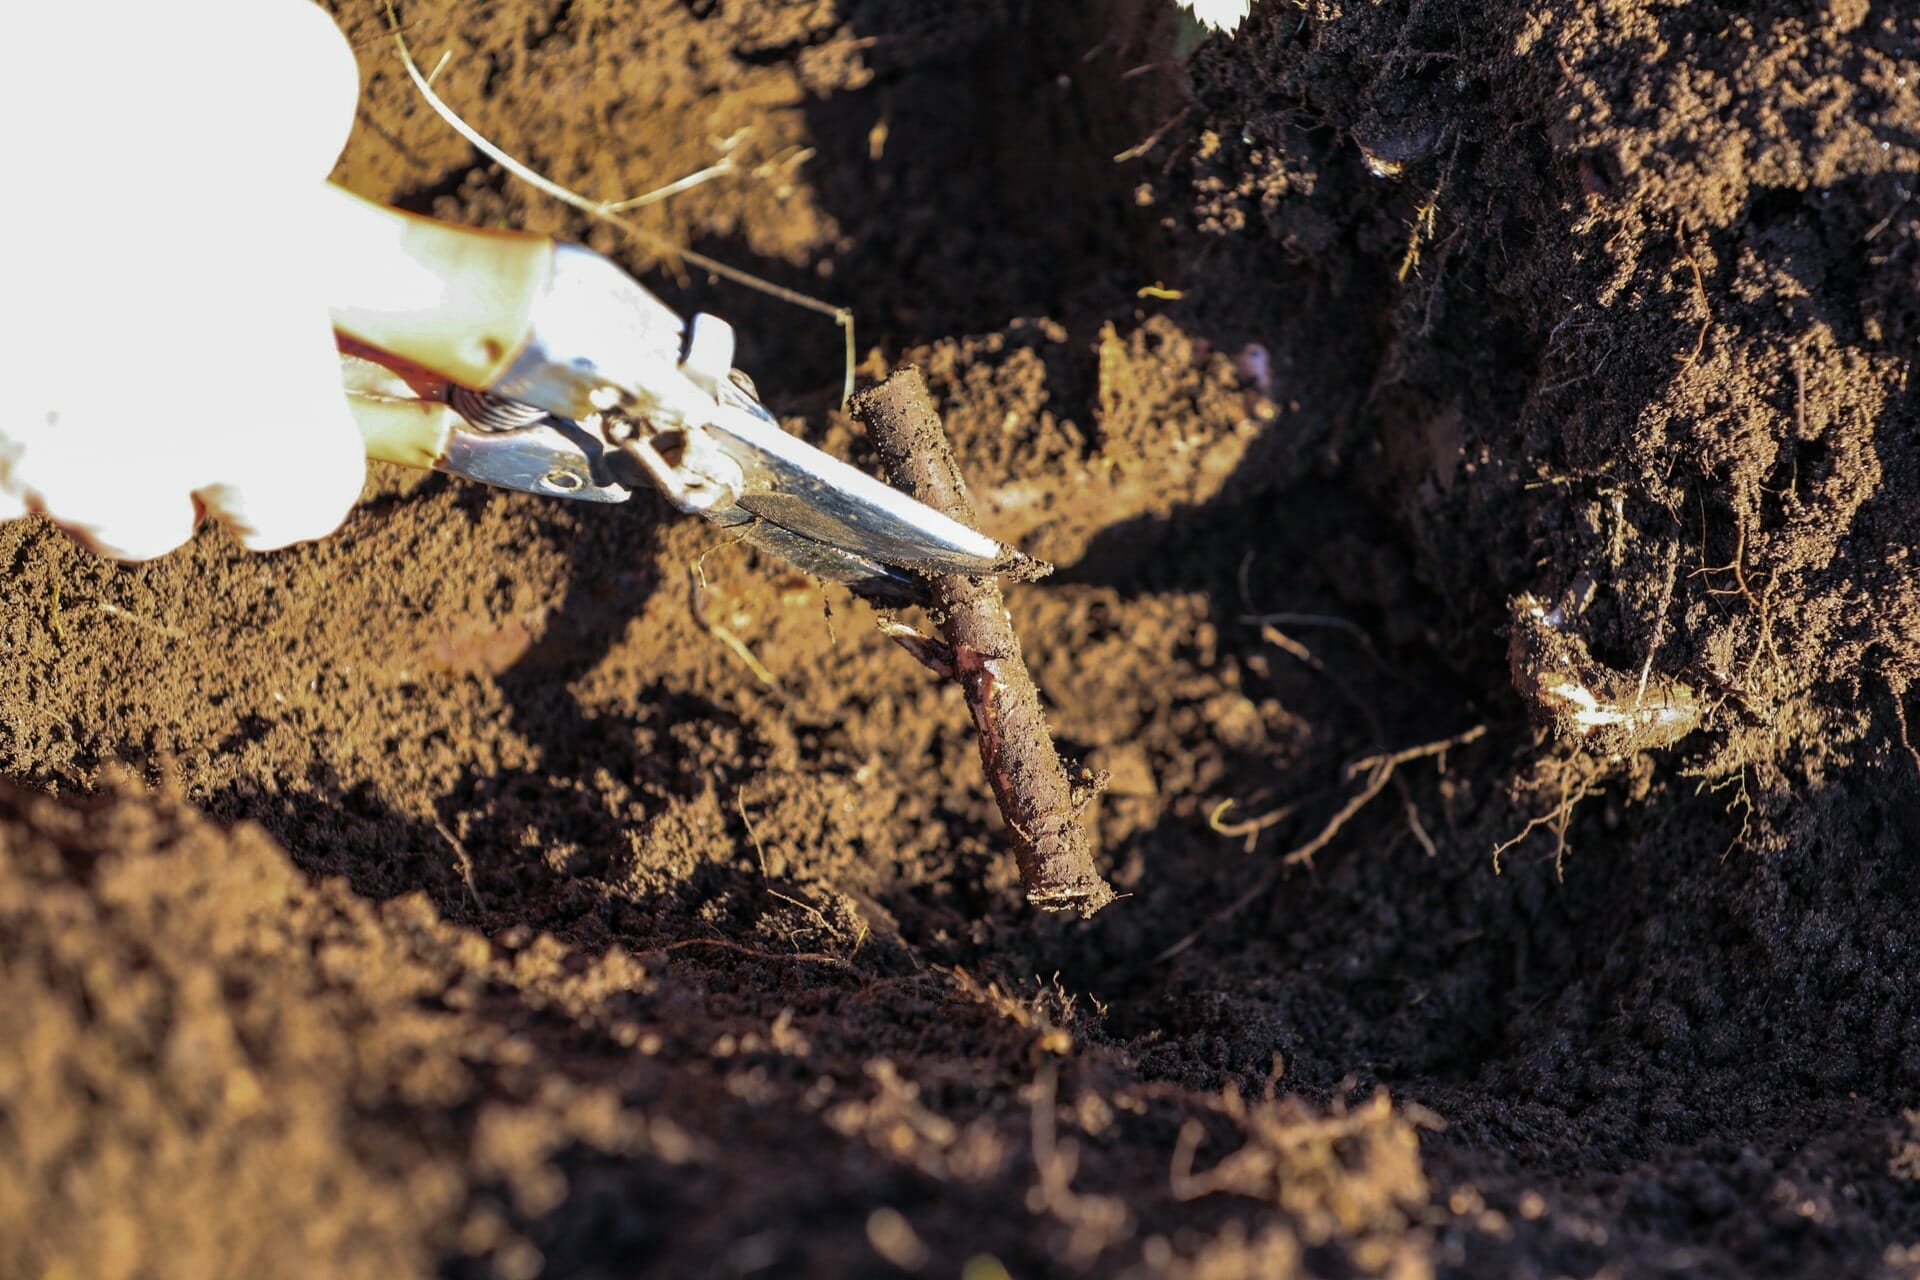
- Pruning shears
- Saw
- Root claw
- Carrying frame / load carrier
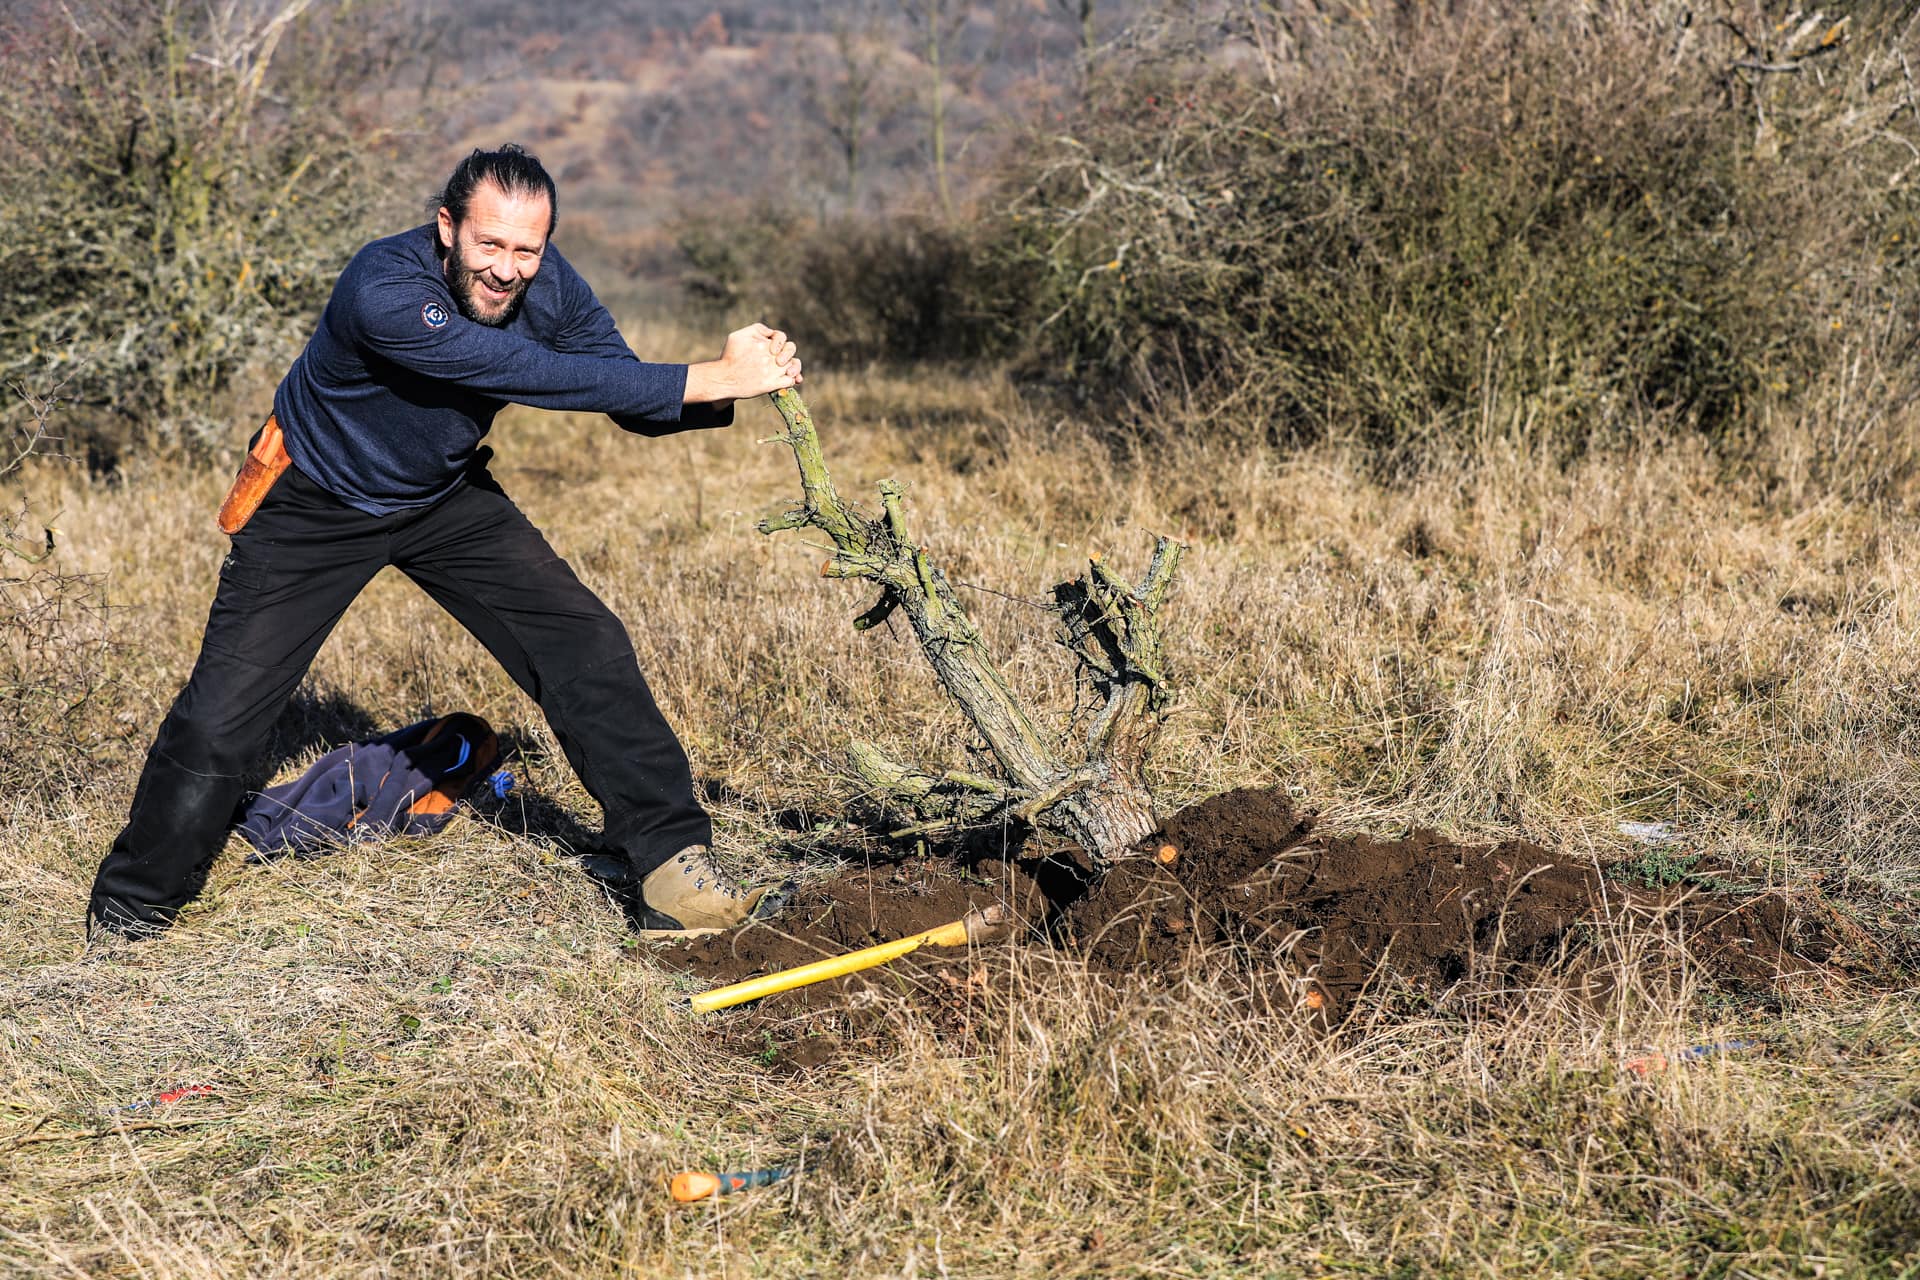
There are other tools, but in my 30 years of experience, this selection of tools is sufficient. The carrying frame should be as light as possible. Most suitable trees are found in stony areas, where the pick is best suited; in sandy soil, a spade is valuable for digging.
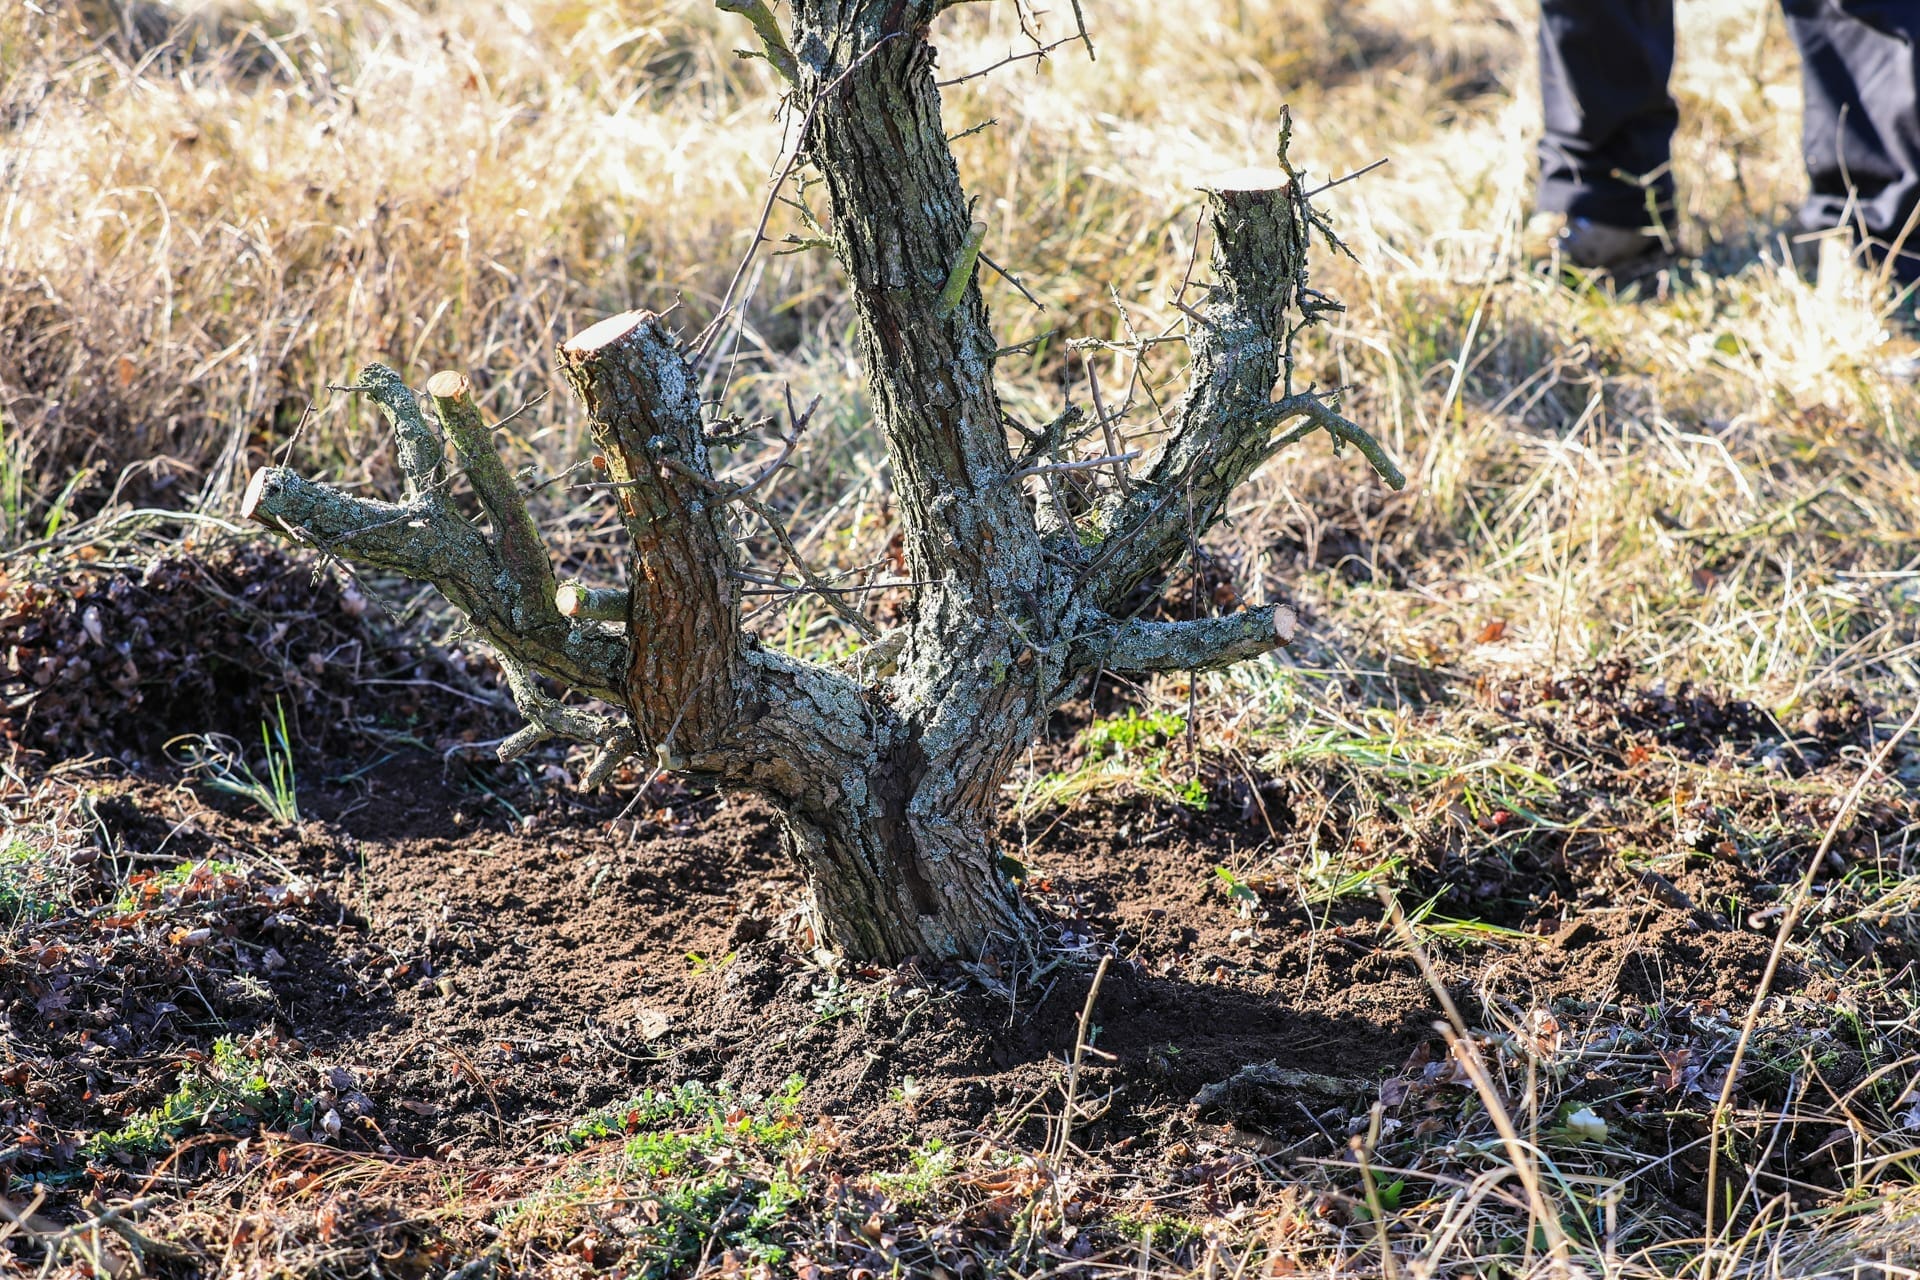
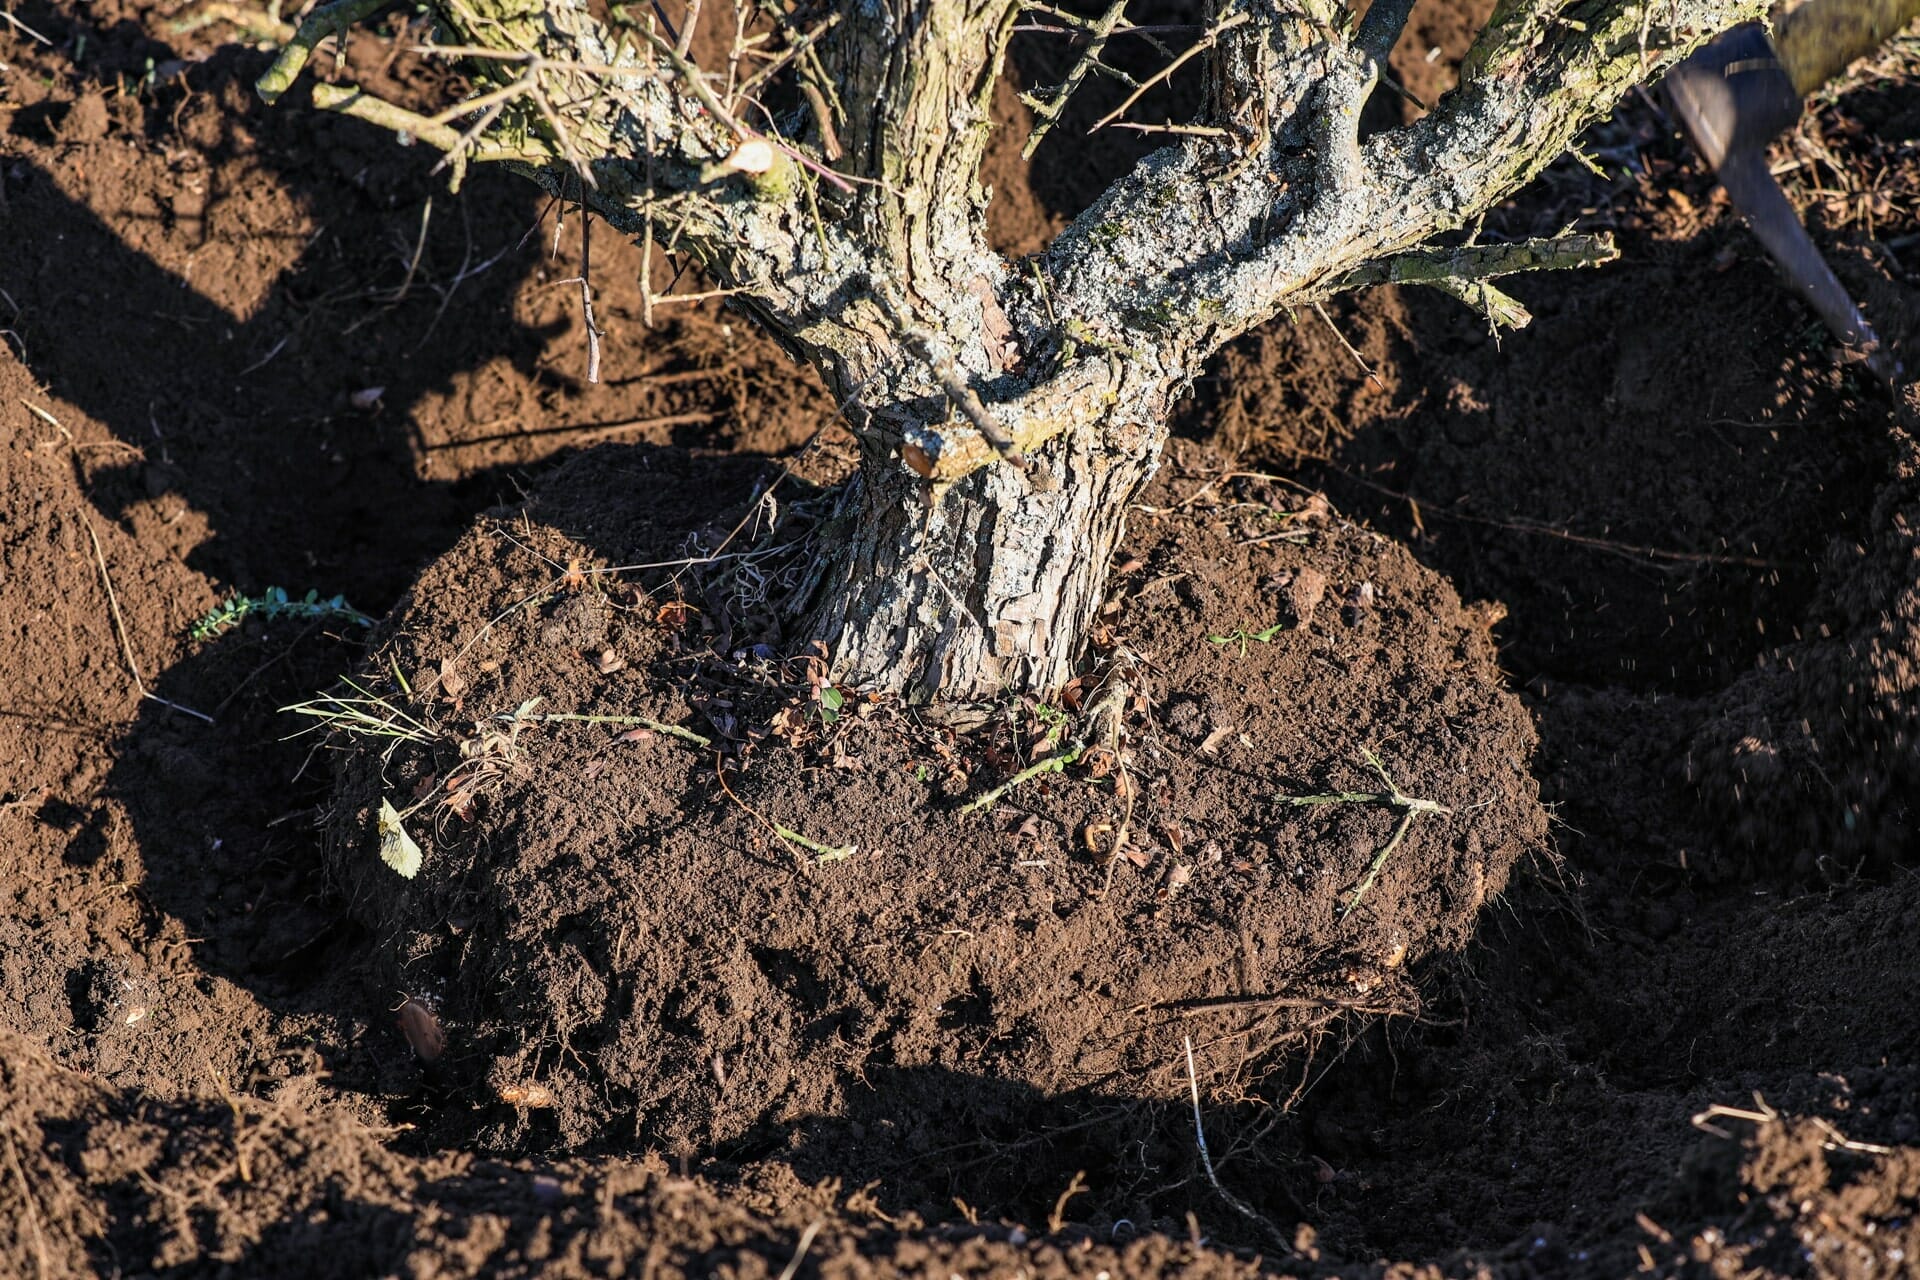
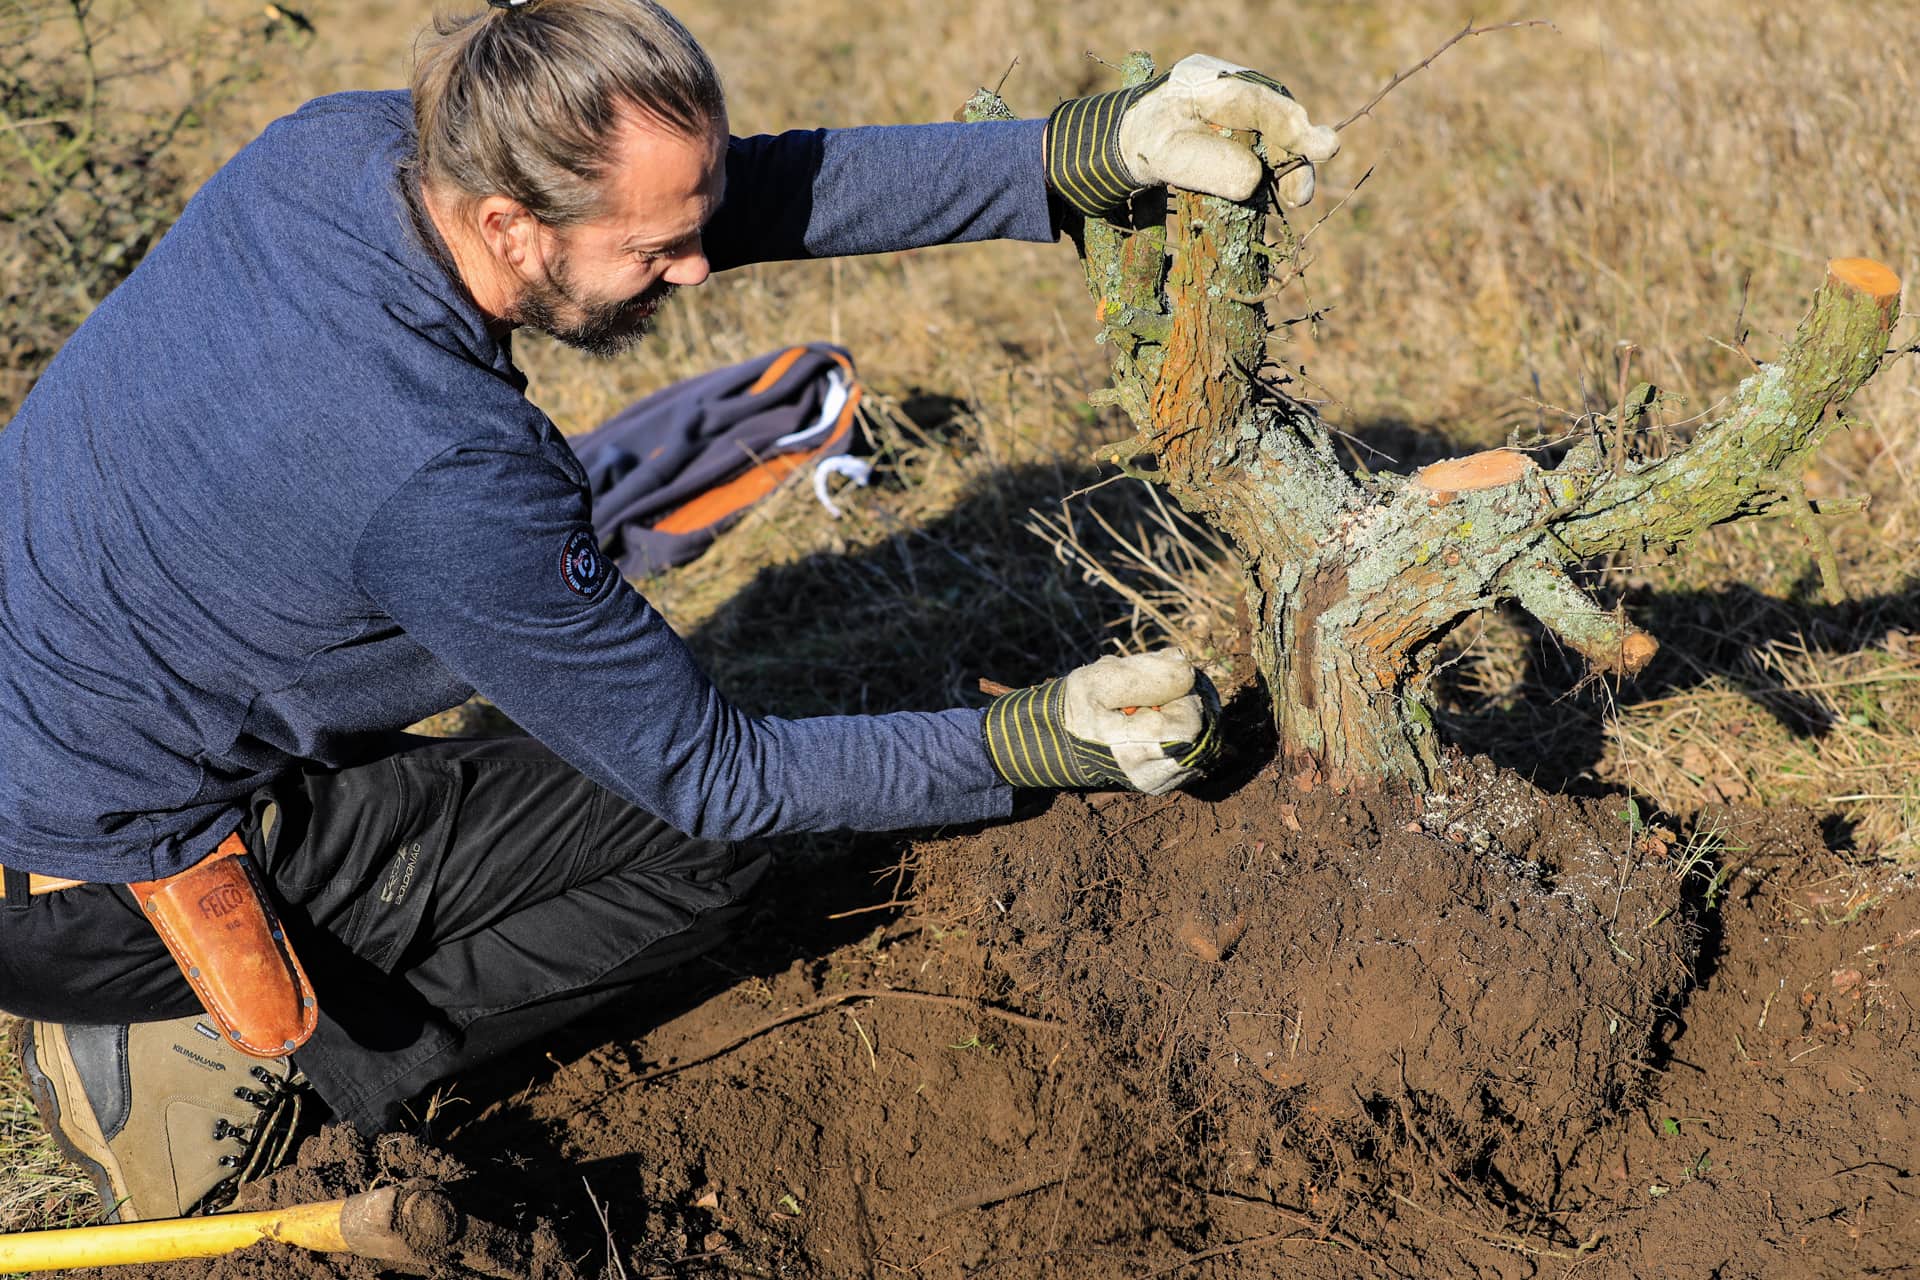
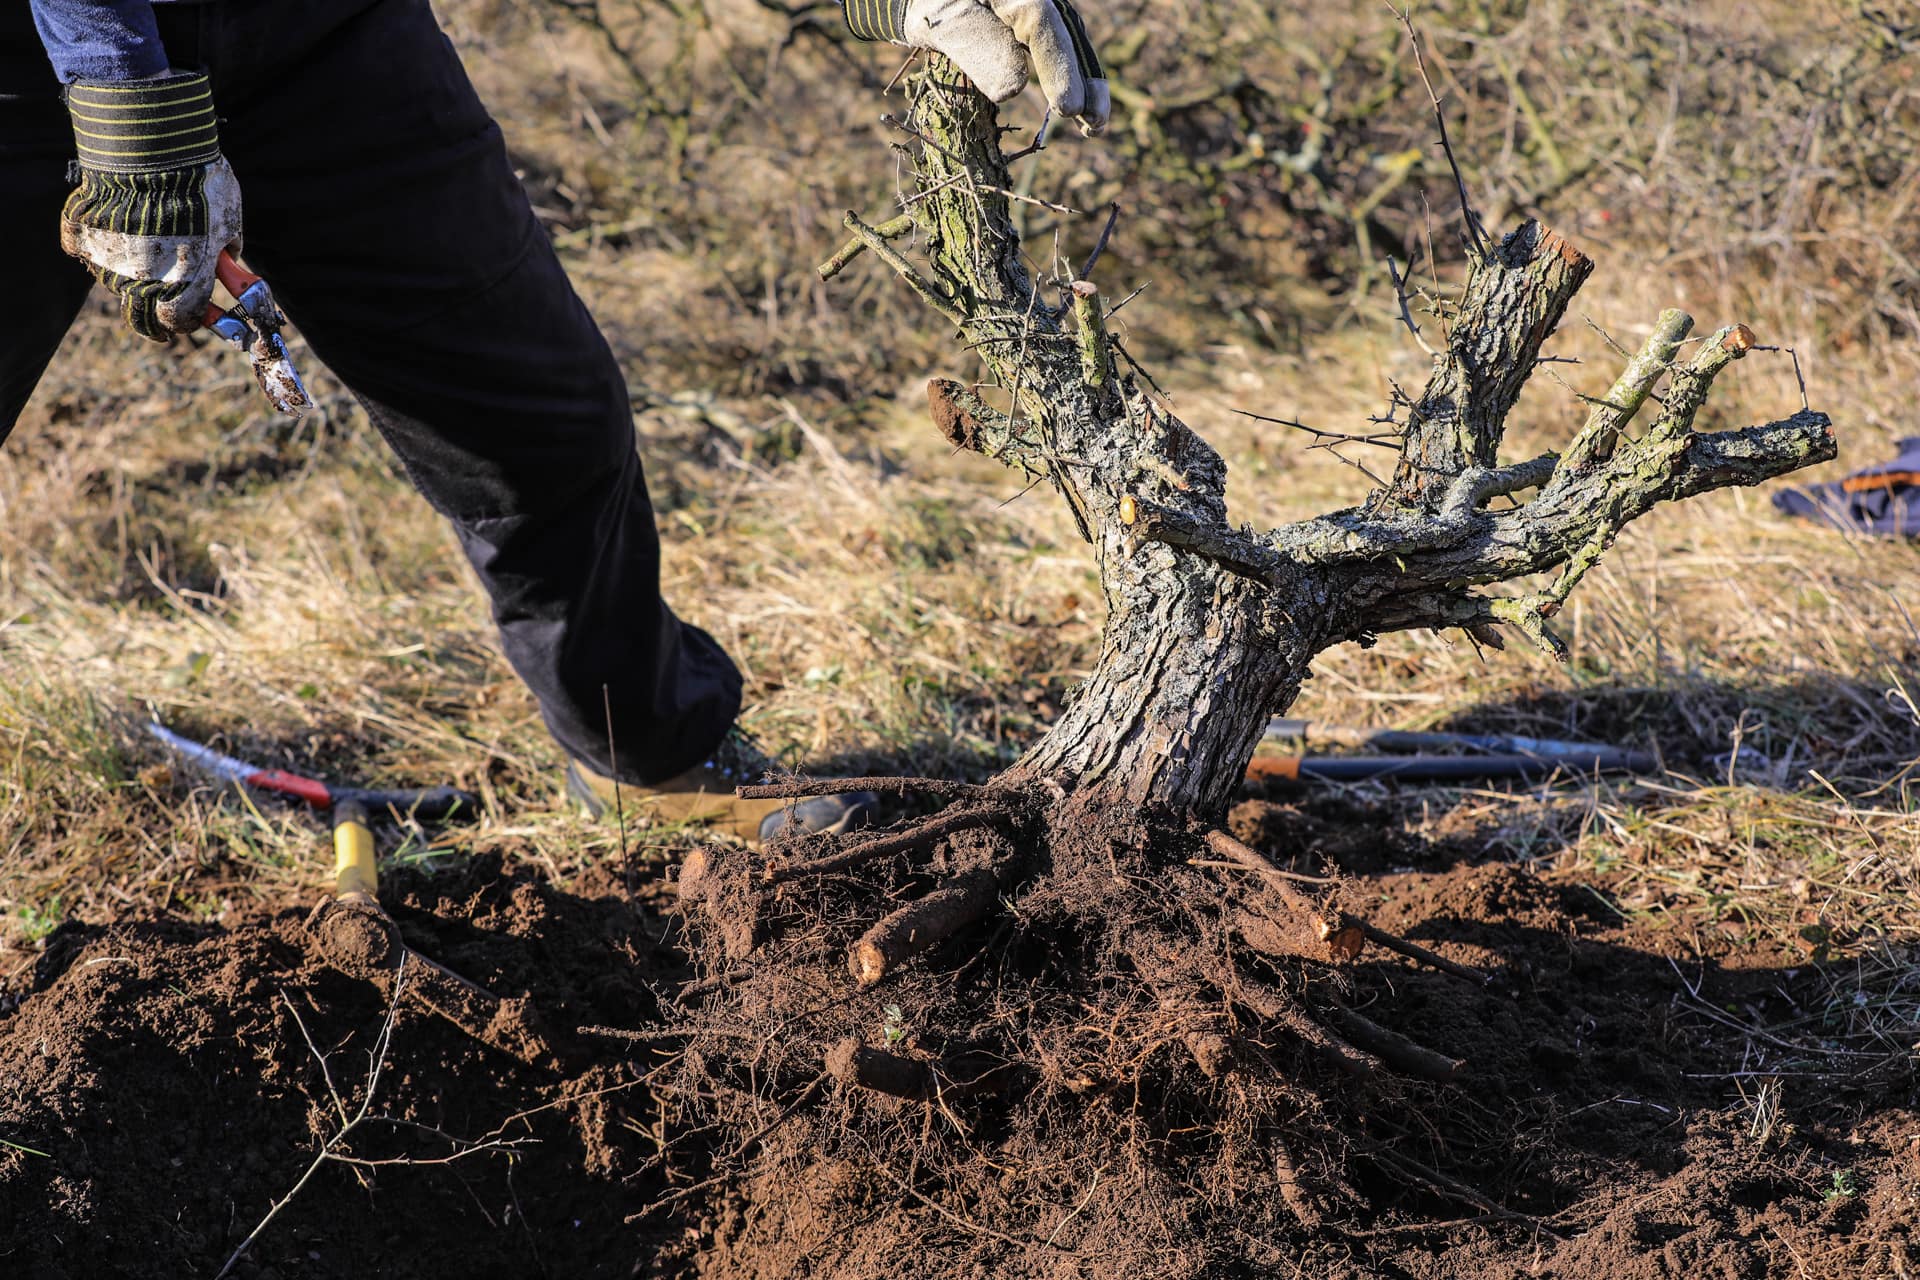
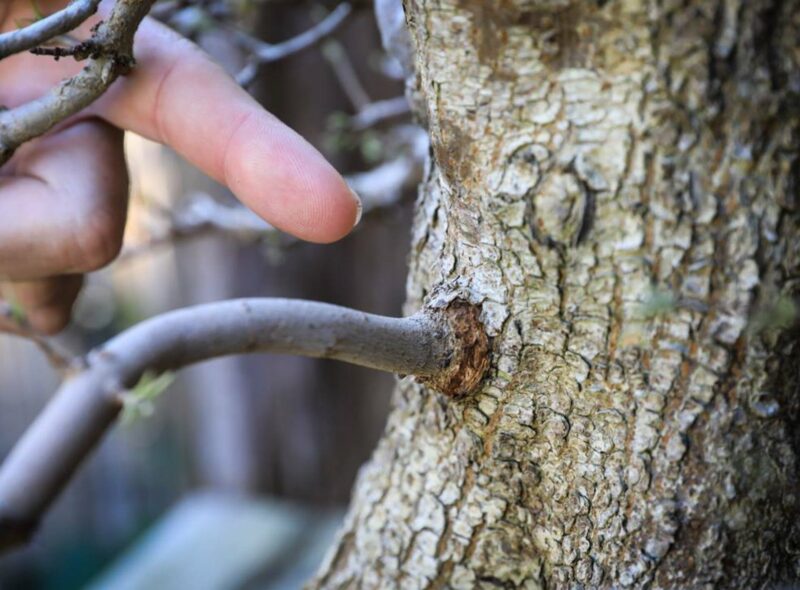
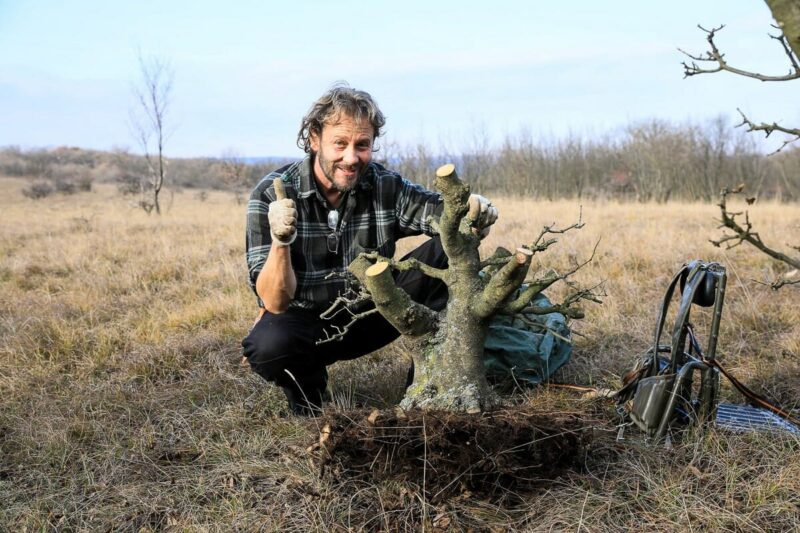
These shrubs and trees sometimes appear shaggy, chaotic and simply impossible at first glance, but when you start to clean out the plant, interesting shapes often emerge.